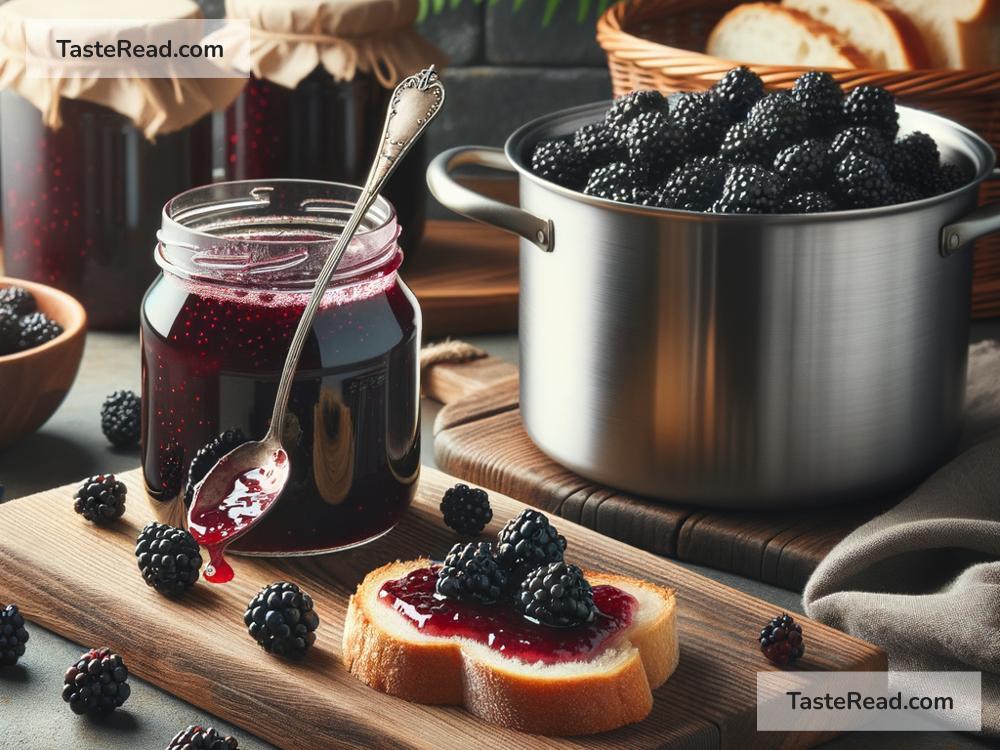
How to Make Homemade Blackberry Jam: A Step-by-Step Guide
Who doesn’t love the sweet and tangy taste of blackberry jam? Whether you spread it on toast, drizzle it over pancakes, or pair it with a scoop of vanilla ice cream, blackberry jam is a delicious treat that’s surprisingly simple to make at home. Best of all, it only requires a few ingredients and tools you probably already have in your kitchen. Let’s dive into the process of making homemade blackberry jam!
Why Make Blackberry Jam at Home?
Sure, store-bought jam is convenient, but homemade jam offers something no jar from the store can: freshness and customization. By making it yourself, you control the sweetness, ensure there are no preservatives, and enjoy the satisfaction of crafting something delicious from scratch. Plus, blackberry season is the perfect time to use freshly picked berries or those you’ve saved in your freezer.
Ingredients for Blackberry Jam
You don’t need too much to make a batch of blackberry jam. Here’s your shopping (or picking) list:
- Fresh blackberries – 4 cups. If you don’t have fresh blackberries, you can use frozen ones, just make sure they’re thawed.
- Granulated sugar – 2 cups. Adjust this to taste if you prefer your jam less sweet.
- Lemon juice – 2 tablespoons. This helps balance the sweetness and acts as a natural preservative.
- Optional: Pectin – If you like your jam thicker, you can add pectin, but blackberries naturally have enough pectin to create a nice consistency without it.
Tools You’ll Need
To make blackberry jam, gather the following equipment:
- A large saucepan or pot
- A wooden spoon
- A potato masher (or fork)
- Sterilized jars with lids for storing the jam
- A funnel (optional, but helpful for pouring the jam into jars)
Step-by-Step Instructions
Making blackberry jam is easy and fun! Here’s how:
Step 1: Prepare the Blackberries
Start by washing your blackberries thoroughly under running water to remove dirt or debris. If your berries are freshly picked, you may want to soak them in a bowl of cool water for a few minutes. After washing, drain the berries and use a potato masher or fork to gently mash them. Don’t worry about mashing them perfectly; leaving a few chunks of berries gives the jam a lovely texture.
Step 2: Combine Ingredients in a Pot
Transfer the mashed blackberries into a large saucepan and place it on the stove over medium heat. Add the sugar and lemon juice. If you’re using pectin for thicker jam, mix it in at this step as per the instructions on the package. Stir everything together to ensure the sugar dissolves completely into the fruit.
Step 3: Cook the Jam
Bring the mixture to a boil while stirring constantly. It’s important to keep stirring so the jam doesn’t stick to the bottom of the pan. Once it starts boiling, lower the heat and let it simmer for about 15-20 minutes. During this time, the jam will thicken.
Be patient and continue stirring every few minutes. You’ll notice bubbles and foam forming on top—this is normal. If the foam bothers you, you can skim it off with a spoon, though it won’t affect the taste of the jam.
Step 4: Test the Jam’s Consistency
After 20 minutes, check whether your jam has reached the desired thickness. To do this, place a small spoonful of jam onto a cold plate (you can chill the plate in the freezer beforehand). Let the jam cool for a minute, then run your finger through it. If the jam doesn’t run back together, it’s ready. If it’s still runny, cook for another 5 minutes and test again.
Step 5: Cool and Jar the Jam
Once the jam is ready, remove it from the heat and let it cool slightly for 5-10 minutes. Meanwhile, prepare your sterilized jars. A funnel can make pouring easier, so carefully ladle the jam into the jars, leaving about 1/4 inch of space at the top. Wipe the rims clean to ensure a tight seal, then screw on the lids.
Step 6: Store the Jam
If you plan to eat the jam right away, refrigerate it after cooling. For long-term storage, you can process the jars in boiling water for 10 minutes to seal them. Properly sealed jars can last for months in a cool, dark pantry. Once opened, store the jar in the fridge and use within a few weeks.
Tips for Perfect Blackberry Jam
- Choose ripe blackberries: Ripe berries are sweeter and make tastier jam. Avoid berries that are too soft, as they may be overripe or spoiled.
- Adjust sweetness: If you prefer less sugar, you can experiment with reducing the amount. Keep in mind that sugar also helps preserve the jam, so reducing it may slightly shorten its shelf life.
- Add a twist: For extra flavor, try adding a pinch of cinnamon, nutmeg, or even a splash of vanilla extract to your jam.
Ready to Enjoy!
Congratulations! You’ve made your own delicious blackberry jam. Now it’s time to savor your creation. Spread it on warm toast, add a dollop to yogurt, or use it as a filling for baked goods. Making homemade blackberry jam is not only simple but also a gratifying experience. Share a jar with a friend or enjoy it all yourself!
Happy jam-making! 😊


