How to Make Homemade Maple Syrup: A Sweet and Simple Guide
There’s nothing quite like the taste of pure maple syrup drizzled over pancakes or waffles. While buying maple syrup from the store is convenient, making your own homemade maple syrup allows you to experience the magic of turning sap into syrup! The process may sound tricky, but it’s doable and incredibly rewarding—plus you’ll have delicious syrup to enjoy and share. In this blog post, we’ll guide you through the steps to make maple syrup at home in simple, beginner-friendly terms.
What Is Maple Syrup?
Before we dive into the process, let’s understand what maple syrup is. Maple syrup is made from the sap of maple trees, particularly sugar maples. This sap contains water and natural sugars, which get concentrated through boiling to create the syrup we love. It takes about 40 gallons of sap to make just one gallon of syrup, but don’t let that deter you—every drop of syrup is worth the effort!
Step 1: Gather Your Supplies
To make homemade maple syrup, you’ll need a few basic supplies:
- Access to Maple Trees – Sugar maples are the best choice, but red or silver maples will also work.
- Spiles (Sap Taps) – These are small metal or plastic spouts that you use to collect the sap.
- Buckets or Jugs – You’ll need clean containers to catch and collect the sap. Food-grade buckets are ideal.
- Drill – To drill a small hole in the tree for the spile.
- Large Pot or Pan – For boiling the sap.
- Thermometer – Optional, but useful for knowing when the syrup is ready.
- Cheesecloth or Strainer – To filter out debris or bits of bark.
- Heat Source – An outdoor fire pit, turkey fryer, or a stovetop can be used for boiling the sap.
Step 2: Tap the Maple Tree
Maple sugaring season happens in late winter or early spring when the days are warm and nights are cold. This temperature change helps the sap flow.
- Identify Your Tree – Make sure it’s a mature maple tree (at least 12 inches in diameter).
- Drill a Hole – Use a drill with a 5/16-inch or 7/16-inch bit to make a hole about 2 inches deep into the tree. The hole should be 3–4 feet above the ground.
- Insert the Spile – Gently tap the spile into the hole with a hammer until it feels firmly in place.
- Attach Your Bucket – Hang your bucket or container on the spile to collect the sap. Cover the bucket with a lid or cloth to keep out rain and debris.
Step 3: Collect the Sap
Sap flows best during the daytime when temperatures rise above freezing. Check your buckets daily, and pour the collected sap into larger containers for storage. Maple sap looks like water and has only a faintly sweet taste—but don’t worry, the magic happens during boiling.
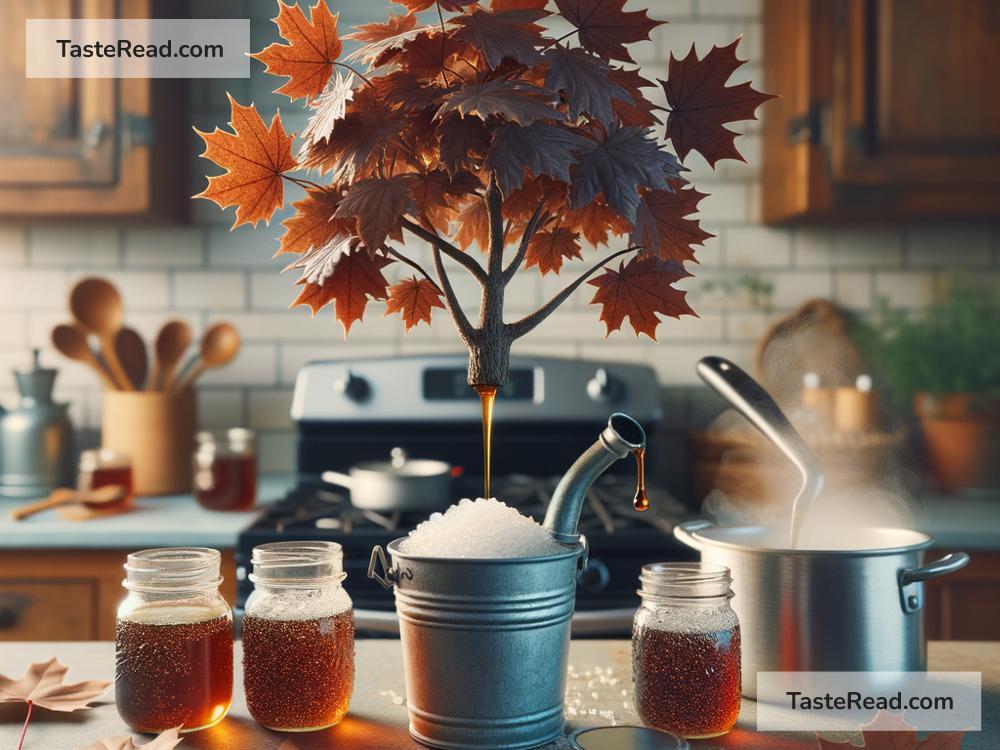
Step 4: Boil the Sap
The process of turning sap into syrup is called evaporation, which removes the water and concentrates the sugars. This is the most time-consuming step, but it’s the heart of syrup-making.
- Strain the Sap – Before boiling, strain your sap through cheesecloth or a fine mesh to remove particles.
- Start Boiling – Pour the sap into a large pot or pan. If you have many gallons, you can boil it outside over a fire or other heat source. Expect the sap to bubble and steam as the water evaporates.
- Watch Closely – As the sap thickens, it will darken and reduce down. Be careful not to let it burn! This step can take several hours, depending on how much sap you’re boiling.
Step 5: Check for Syrup
Maple syrup is ready when its temperature reaches 219°F or when it has a thick, syrupy consistency. If you don’t have a thermometer, use the “spoon test.” Dip a spoon into the syrup; if it pours off slowly in a steady stream, it’s ready.
Step 6: Filter and Bottle
Once the syrup is ready, pour it through a clean cheesecloth or coffee filter to remove any impurities. Allow it to cool slightly, then transfer it into glass jars or bottles. Seal the containers tightly and store your syrup in the refrigerator.
Tips for Success
- Keep It Fun: Making maple syrup can be a family-friendly activity. Involve kids in collecting sap or layering wood for the fire.
- Experiment with Flavors: Different maple species can give slightly different flavors of syrup, so feel free to experiment with tapping various types.
- Be Patient: The boiling process takes time, but the end result is worth the effort.
- Safety First: Watch over the boiling process to prevent spills or burns.
Enjoy Your Homemade Maple Syrup!
Congratulations—you’ve made your very own maple syrup! Use it on pancakes, waffles, oatmeal, or even as a natural sweetener in baking and drinks. Homemade syrup doesn’t contain any additives or preservatives, so the flavor is pure and delicious.
If you end up with more syrup than you can use, consider giving friends or family a bottle as a gift. They’ll appreciate the care and effort that went into creating this sweet treat.
Making homemade maple syrup may take time, but it’s a fulfilling way to connect with nature and enjoy the rewards of your hard work. So grab your bucket, tap a maple tree, and start your syrup-making journey.