How to Make Homemade Raspberry Jam: Simple and Delicious!
There’s nothing quite like a jar of homemade raspberry jam. It’s sweet, fruity, and full of vibrant flavor – perfect for spreading on toast, swirling into yogurt, or even baking into treats. Making raspberry jam at home is easy and fun, and you only need a few ingredients. This guide will walk you through the process step-by-step so you can enjoy the goodness of homemade jam whenever you like!
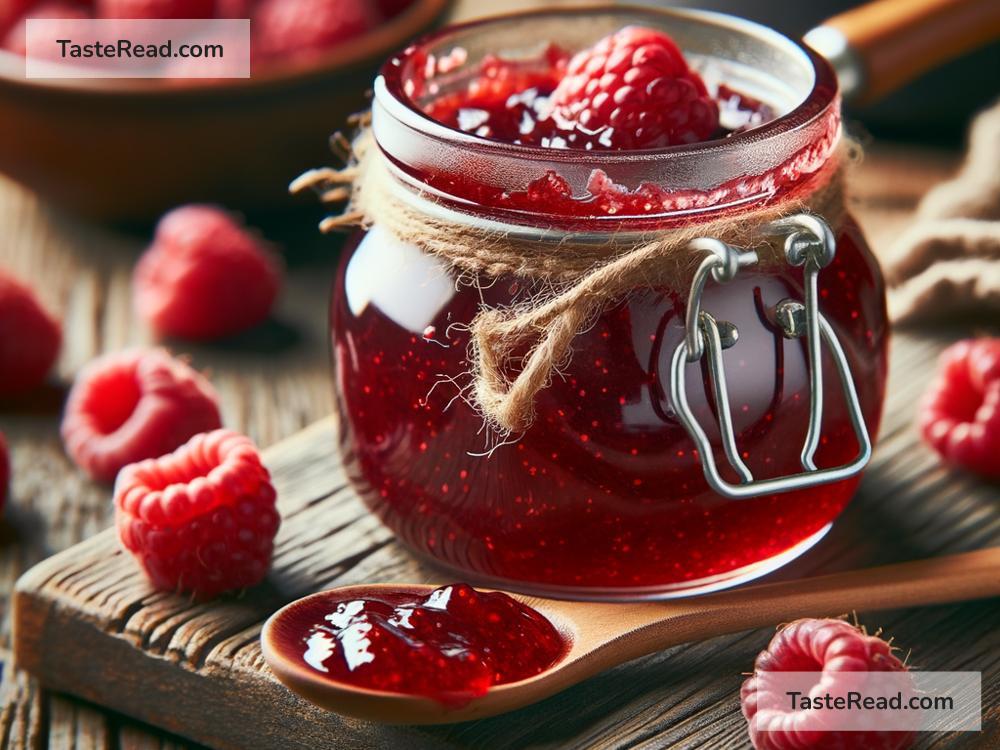
What Makes Raspberry Jam Special?
Raspberries are sweet with just the right amount of tartness, making them perfect for jam. Homemade raspberry jam is fresher and tastier compared to store-bought options. Plus, you can control the amount of sugar and skip any artificial additives or preservatives. It’s a great way to use up extra raspberries and enjoy their flavor long after they’re picked.
What You’ll Need
Making jam doesn’t require fancy tools or hard-to-find ingredients. Here’s a simple list to get started:
Ingredients:
- Fresh Raspberries – 4 cups (about 500 grams).
- You can use frozen raspberries if fresh ones aren’t available, but fresh berries usually have the best flavor.
- Sugar – 2 cups (around 400 grams).
- The sugar helps preserve the jam and balances the tartness of raspberries.
- Lemon Juice – 2 tablespoons.
- Lemon juice adds brightness and helps the jam set properly.
Tools:
- Medium-sized pot.
- Wooden spoon or spatula.
- Sterilized glass jars with lids.
- Ladle or spoon for transferring the jam.
- Optional: A food thermometer (helpful to check the jam’s set point).
Step-by-Step Instructions
Follow these simple steps, and soon you’ll have your very own homemade raspberry jam.
1. Prepare Your Ingredients
Start by washing your raspberries under cold water to remove any dirt. If using frozen raspberries, thaw them first and drain any excess water.
2. Sterilize Your Jars
Properly sterilized jars are essential to store your jam safely. Wash the glass jars and lids in hot, soapy water, then rinse well. Place them in a pot of boiling water for about 10 minutes or put them in a preheated oven at 275°F (135°C) for 15 minutes. Let the jars cool as you prepare the jam.
3. Cook the Raspberries
Place the raspberries into a medium-sized pot. Using a wooden spoon, gently mash the raspberries to release their juices. You can keep mashing for a smoother jam or leave some chunks for a rustic texture – this depends on your preference.
4. Add Sugar and Lemon Juice
Add the sugar and lemon juice to the pot of mashed raspberries. Stir everything together until well combined. The mixture will look thick and syrupy at this point.
5. Bring to a Boil
Turn the stove to medium-high heat and bring the raspberry mixture to a boil. Stir frequently to prevent sticking or burning. Once the mixture starts boiling, reduce the heat to medium and let it bubble gently for about 10-15 minutes.
6. Check If Your Jam Has Set
To test if the jam is ready, you can use one of the following methods:
- Plate Test: Place a small plate in the freezer before you start cooking. Once the jam has boiled for 10-15 minutes, drop a small spoonful onto the cold plate. Let it cool for a minute, then push it with your finger. If the jam “wrinkles” and holds its shape, it’s ready!
- Thermometer Test: If you have a food thermometer, check if the jam has reached 220°F (105°C). That’s usually the magic number for homemade jam.
If the jam hasn’t set, cook for a few more minutes and repeat the test.
7. Ladle Jam into Sterilized Jars
When your jam is ready, remove it from heat. Carefully spoon the hot jam into your sterilized jars, filling them nearly to the top. Leave a little space (around 1/4 inch) at the top to account for expansion.
8. Seal and Store
Wipe the jar rims with a clean, damp cloth. Close the lids tightly and let the jars cool at room temperature. Once cooled, store the jars in the fridge for up to 3 weeks or in a cool, dark pantry if you’ve properly sealed the jars. For longer storage, you can freeze or process the jars in a boiling water bath for 10 minutes.
Bonus Tips for Perfect Jam
- Adjust the Sweetness: If you prefer less sugar, you can use 1½ cups instead of 2. However, keep in mind that sugar helps preserve the jam, so lower this amount cautiously.
- Strain for Seedless Jam: If you don’t like raspberry seeds, push the cooked mixture through a fine mesh sieve before adding sugar and lemon juice.
- Experiment with Flavors: Add a splash of vanilla extract, a pinch of cinnamon, or mix raspberries with other fruits like blackberries or strawberries for unique flavors.
Enjoy Your Homemade Raspberry Jam!
Congratulations – you’ve made raspberry jam from scratch! This simple recipe is perfect for beginners, and homemade jam makes a wonderful gift for family and friends. Once you taste the bright, fruity flavor of your homemade raspberry jam, store-bought alternatives will never compare.
Grab a jar, a slice of fresh bread, and savor the sweetness of your kitchen creation!