How to Make Homemade Strawberry Jam: A Simple Guide
Strawberry jam is a delicious and versatile treat that can be enjoyed on toast, added to desserts, or even layered in cakes. Making homemade strawberry jam is easier than you might think, and you don’t need to be a master chef to create something wonderful in your kitchen. Plus, when you make it yourself, you know exactly what goes into it—no artificial colors or preservatives, just wholesome goodness!
In this blog, we’ll walk you through the step-by-step process of creating your very own homemade strawberry jam, using simple ingredients and straightforward methods.
Why Make Strawberry Jam at Home?
Store-bought jams are convenient, but they often contain added preservatives and artificial ingredients. Making jam at home allows you to control the amount of sugar and ensure the freshest flavor. It’s also a fun and rewarding kitchen project, perfect for filling your shelves or giving as gifts.
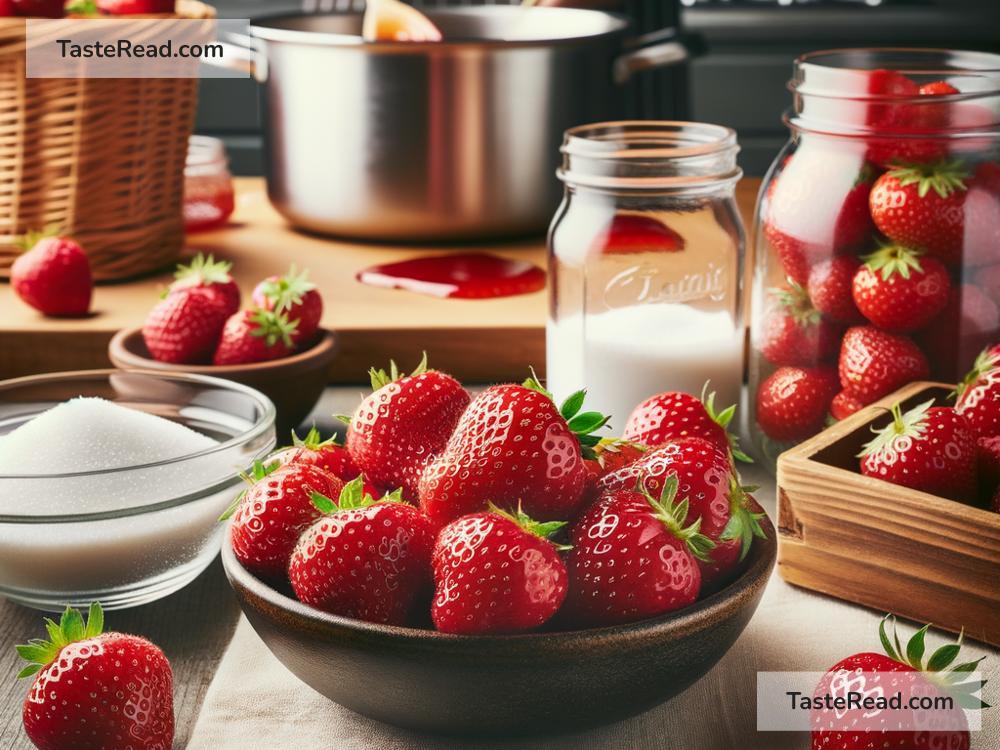
Gather Your Ingredients
To get started, you’ll need just four basic ingredients:
- Fresh strawberries (1 pound or about 450 grams): Choose ripe, sweet strawberries for the best flavor.
- Sugar (2 cups): Sugar helps preserve the jam and balances the natural tartness of the berries.
- Lemon juice (2 tablespoons): Lemon juice adds acidity, helps activate the natural pectin in the fruit, and enhances the flavor.
- Optional: Vanilla extract or spices: You can add a drop of vanilla extract or a pinch of cinnamon for a unique twist.
Equipment You’ll Need
Before you begin, gather these tools:
- A large pot for cooking the jam
- A wooden spoon or spatula for stirring
- A potato masher (optional) for crushing the berries
- Clean jars with lids for storing the jam
- A funnel (optional) for pouring the jam into jars
- A small plate to test the jam’s thickness
Step-by-Step Instructions
Now, let’s dive into the process of making strawberry jam. Follow these steps:
Step 1: Prep the Ingredients
Start by washing the strawberries under cold water to remove any dirt. Remove the green stems using a knife or your fingers. If the strawberries are large, cut them into halves or quarters. Smaller strawberries can be left whole.
Step 2: Crush the Strawberries
Place the prepared strawberries into your large pot. Use a potato masher to crush the berries until they reach your desired texture. If you like chunky jam, leave some fruit pieces intact. If you prefer smooth jam, mash the berries thoroughly. Alternatively, you can pulse them briefly in a blender.
Step 3: Add Sugar and Lemon Juice
Pour the sugar and lemon juice into the pot with the crushed strawberries. Stir everything together to combine. The sugar will start dissolving as it mixes with the fruit.
Step 4: Cook the Mixture
Turn on your stove and set it to medium heat. Bring the mixture to a gentle boil while stirring regularly. Don’t walk away—keep an eye on it to prevent it from burning! Once it starts bubbling, lower the heat slightly and allow it to simmer. Continue stirring to prevent sticking.
Step 5: Check for Thickness
After about 15–20 minutes of simmering, your jam should start thickening. To test if it’s ready, spoon a small amount onto a chilled plate and let it cool for a minute. Then, gently push the jam with your finger. If it wrinkles and holds its shape, your jam is ready! If it’s still too runny, continue cooking for another 5 minutes and test again.
Step 6: Remove from Heat
Once your jam reaches the desired consistency, remove the pot from the heat. If you’d like to add a hint of vanilla extract or spices, stir them in now.
Step 7: Spoon into Jars
Carefully spoon the hot jam into clean, sterilized jars using a ladle or funnel. Leave about 1/4 inch (6 mm) of space at the top of each jar. Wipe the rims with a damp cloth to ensure they’re clean, then secure the lids tightly.
Step 8: Cool and Store
Allow the jars to cool to room temperature, then store in the refrigerator for up to 3 weeks. If you want your jam to last longer, you can process the jars in a boiling water bath for proper canning. This makes the jam shelf-stable for up to a year.
Tips for Success
- Choose ripe strawberries: Sweet, red strawberries make the best jam. If they’re under-ripe, your jam might taste sour.
- Adjust sugar levels: Feel free to reduce the sugar if you prefer a slightly less sweet jam, but keep in mind that sugar helps preserve the jam.
- Keep stirring: Stir regularly while cooking to prevent the jam from sticking to the pot or burning.
Homemade Jam is Worth It!
Making homemade strawberry jam is a fantastic way to enjoy the true flavor of strawberries. It’s simple, satisfying, and lets you create something you can proudly share with family and friends. Whether you spread it on toast, swirl it into yogurt, or gift it in cute jars, homemade jam is always a hit.
So, grab some fresh strawberries and give it a try—it’s easier than you think and tastes even better than store-bought. Happy jam-making!