How to Make Homemade Whipped Cream: Easy Guide for Beginners
Who doesn’t love a dollop of fluffy whipped cream on their favorite dessert? Whether you’re topping a slice of pie, a bowl of fresh fruit, or a cup of hot cocoa, whipped cream adds just the right amount of sweetness and texture. The good news is that you don’t need to buy a can of whipped cream from the store—you can make it yourself at home! And the best part? It’s super simple.
In this blog, I’ll teach you step-by-step how to make homemade whipped cream using just three basic ingredients. Let’s dive in!
What is Whipped Cream?
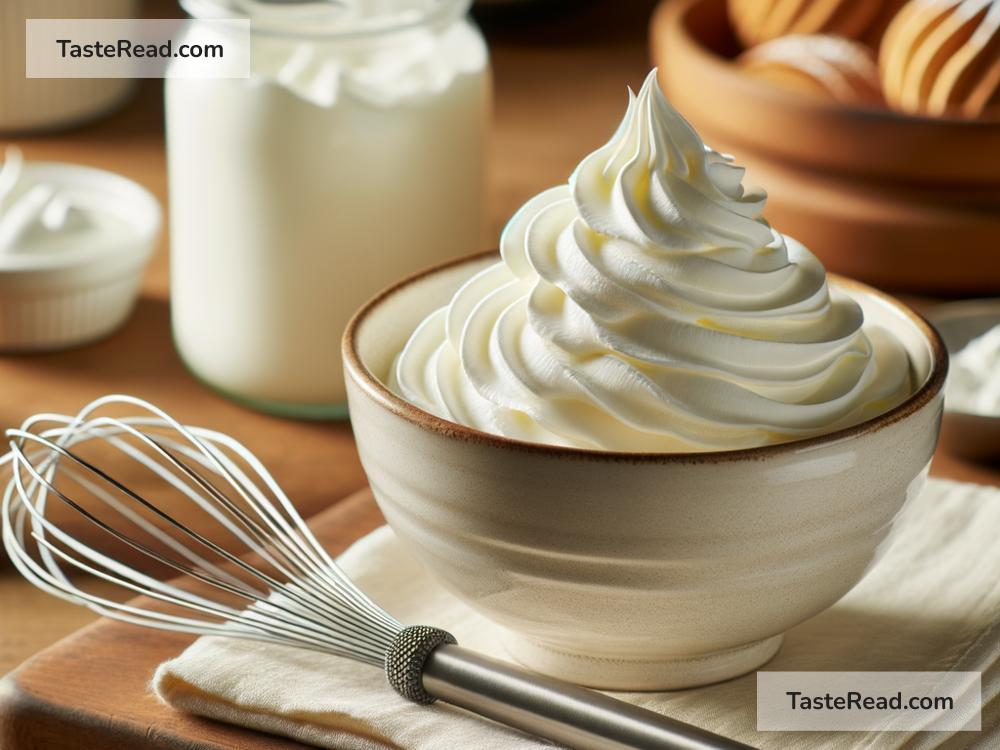
Whipped cream is simply heavy cream that has been beaten until it becomes light, fluffy, and airy. Sugar and a bit of vanilla extract are usually added for sweetness and flavor. It’s an easy recipe that doesn’t require fancy equipment or cooking skills—you basically just mix ingredients together until they form peaks!
Ingredients You’ll Need
To make whipped cream, you need the following ingredients:
-
Heavy Cream (or Heavy Whipping Cream): You’ll need about 1 cup. This is the main ingredient that transforms into whipped cream. Make sure it’s cold for the best results.
-
Sugar: 2–3 tablespoons of granulated sugar (or powdered sugar) will add sweetness. Granulated sugar works fine, but powdered sugar dissolves more easily and creates a smoother texture.
-
Vanilla Extract: Just 1 teaspoon will add a touch of flavor. This is optional, but it’s highly recommended!
That’s it—three ingredients to make magic happen in your kitchen.
Equipment You’ll Need
Here’s what you’ll need to prepare whipped cream:
-
Mixing Bowl: A deep, medium-sized bowl works best. If it’s metal or glass, chill the bowl in the fridge for 10–15 minutes before starting.
-
Whisk, Hand Mixer, or Stand Mixer: You can whip the cream by hand with a whisk (hello, arm workout!), but using a hand or stand mixer will save you time and effort.
Step-by-Step Instructions
Step 1: Chill Everything
Whipped cream turns out best when everything is cold. Start by chilling your mixing bowl and whisk (or beaters from the mixer) in the fridge or freezer for 10–15 minutes. Also, make sure your heavy cream is cold—don’t leave it out at room temperature.
Why chill? Cold cream whips up faster and holds its shape better.
Step 2: Pour the Heavy Cream
Take your chilled mixing bowl out of the fridge and pour the heavy cream into it. Make sure you don’t overfill the bowl, as the cream will expand while whipping.
Step 3: Start Whipping
Using a whisk or mixer, begin whipping the cream. Set your mixer to medium speed if you’re using one. At first, the cream might look like liquid, but don’t worry—it will quickly start to turn foamy and thick.
If you’re whisking by hand, use a steady back-and-forth motion (or make small circles) to incorporate air into the cream. It might take a little longer, but it’s still completely doable!
Step 4: Add Sugar and Vanilla
Once the cream starts to thicken and turn fluffy, pause and add 2–3 tablespoons of sugar, depending on your desired sweetness. Then add 1 teaspoon of vanilla extract for flavor.
You can use powdered sugar instead of granulated sugar if you prefer a smoother, lump-free whipped cream.
Step 5: Continue Whipping
After adding the sugar and vanilla, continue whipping the cream until soft peaks form. Soft peaks mean that the whipped cream holds its shape briefly before falling back down. If you want firmer whipped cream, whip until stiff peaks form, which means the cream holds its shape completely when you lift the whisk or beaters.
Be careful not to over-whip! If you whip the cream for too long, it can turn grainy or even separate into butter. Stop as soon as you see the perfect texture.
Step 6: Taste and Adjust
Take a small spoonful of whipped cream and taste it. If you’d like it sweeter, add a little more sugar and just mix gently until combined.
Tips for Success
- Don’t use half-and-half or milk: These won’t whip like heavy cream because they don’t have enough fat.
- Make it ahead: You can whip the cream 2–3 hours before using it. Just store it in the fridge and re-whip lightly if necessary.
- Experiment with flavors: Instead of vanilla, try almond extract, cocoa powder, or cinnamon for a fun twist!
How to Use and Store
Homemade whipped cream is incredibly versatile! You can use it to top cakes, pies, coffees, pancakes, waffles, ice creams, and more. It’s also delicious on its own—just grab a spoon! If you have leftovers, store them in an airtight container in the fridge. Homemade whipped cream stays fresh for about 24 hours, but it’s best enjoyed immediately.
Final Thoughts
Whipping up your own homemade whipped cream is not only fun, but also rewarding. It tastes so much better than store-bought whipped cream! Plus, you can control the levels of sweetness and flavor to suit your preference.
So next time you’re craving some whipped cream, skip the spray can and grab a whisk instead. With just three ingredients and a little patience, you’ll have delicious whipped cream made from scratch—and you’ll definitely impress your family and friends with your kitchen skills!
Ready to give it a try? Let’s get whipping!