How to Create Rich Chocolate Lava Cakes in Simple English
Chocolate lava cakes are a dessert that feels fancy but is surprisingly easy to make at home. Imagine a cake that’s soft and fluffy on the outside, but oozes warm chocolate lava from the inside when you cut into it. Sounds delicious, right? The best part? You can make them using simple ingredients and a straightforward recipe.
If you’re ready to wow your friends, family, or even just yourself, follow this easy step-by-step guide on how to create rich chocolate lava cakes.
Ingredients You’ll Need
Here are the basic ingredients you’ll need to make 4 servings of chocolate lava cakes:
- 100 grams (roughly 1/2 cup) of unsalted butter
- 100 grams (roughly 1/2 cup) of dark chocolate (preferably 60-70% cocoa)
- 2 large eggs
- 2 large egg yolks
- 1/4 cup (50 grams) of sugar
- 1/4 cup (30 grams) of all-purpose flour
- A pinch of salt
- Optional: powdered sugar, vanilla ice cream, or fresh berries for serving
You probably already have most of these in your kitchen, which makes this dessert convenient to prepare anytime.
Step-by-Step Recipe
Step 1: Prepare Your Baking Tools
Before starting, preheat your oven to 200°C (400°F) so it’s ready when your batter is done. Then take 4 ramekins or small oven-safe bowls, grease them with butter, and lightly dust them with flour. This prevents the cakes from sticking to the dishes and helps them slide out easily onto a plate when you’re serving.
Step 2: Melt the Chocolate and Butter
In a heatproof bowl, combine the dark chocolate and unsalted butter. Place the bowl over a pot of simmering water (creating a “double boiler”) and stir until the chocolate and butter melt completely. You can also melt them in the microwave by heating in short bursts, stirring in between, until smooth. Set the melted mixture aside to cool slightly.
Step 3: Whisk the Eggs, Egg Yolks, and Sugar
In a separate mixing bowl, beat the 2 eggs, 2 egg yolks, and sugar together using a whisk or an electric mixer. Whisk the mixture until it becomes light, fluffy, and pale in color. This step helps create an airy texture for the cake.
Step 4: Combine Wet and Dry Ingredients
Slowly pour the melted chocolate-and-butter mixture into the whisked eggs and sugar while gently stirring. Next, sift the flour and salt into the bowl. Carefully fold the dry ingredients into the wet mixture using a spatula, being careful not to overmix. Your batter should look smooth and shiny.
Step 5: Fill the Ramekins
Divide the batter equally among the 4 prepared ramekins. Each should be about 3/4 full—don’t overfill, as the cakes will rise slightly in the oven. For an extra surprise, you can pop a small piece of chocolate into the center of each ramekin before baking, which will create even more “lava.”
Step 6: Bake the Cakes
Place the ramekins onto a baking sheet and put them in the oven. Bake for 10 to 12 minutes—just long enough for the edges to set but the centers to remain gooey. Keep an eye on them, as timing is crucial for achieving the perfect molten core. If the cakes bake for too long, the center will solidify.
Step 7: Serve Immediately
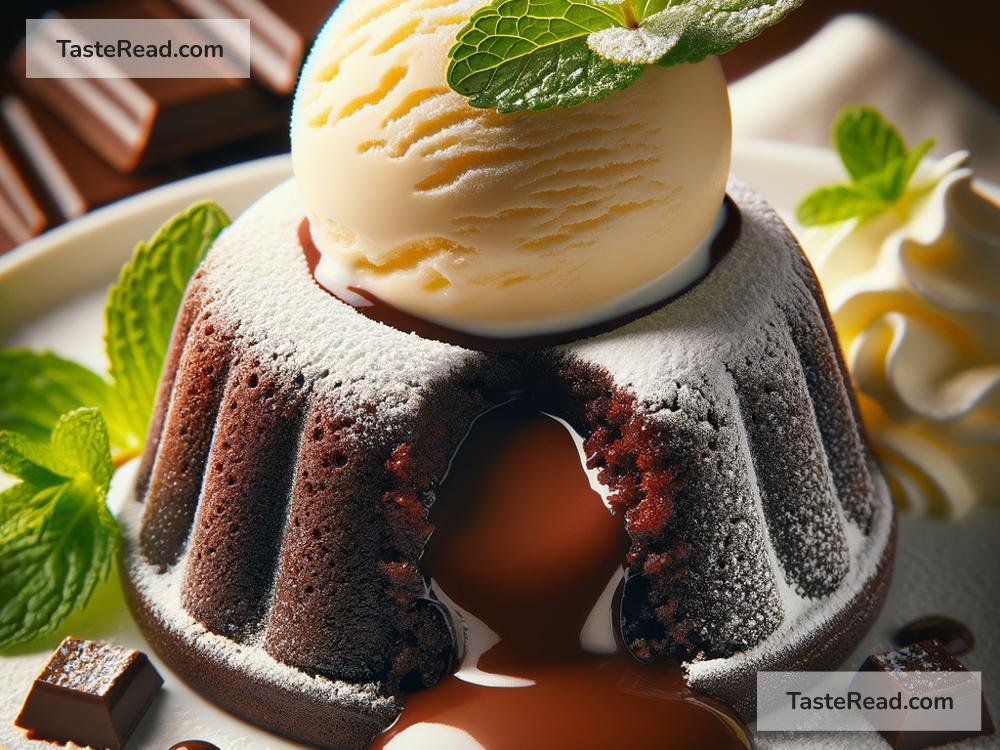
Once the cakes are done baking, let them cool for 1–2 minutes before removing them from the ramekins. To serve, carefully slide a knife around the edge of each cake to loosen it, then gently flip it over onto a plate. Dust with powdered sugar for a classic touch and pair with vanilla ice cream or fresh berries to elevate the dessert.
Cut into one cake to admire the magic—rich chocolate lava will spill out from the center. Yum!
Tips for Success
-
Choose Quality Chocolate: Since chocolate is the star of this recipe, invest in high-quality dark chocolate for the best flavor.
-
Don’t Skip the Egg Yolks: The extra yolks add richness and help achieve the gooey lava texture.
-
Perfect Timing: Keep a close eye on the baking time to avoid overbaking. If you’re unsure, it’s better to underbake a little, as you can always try again.
-
Make Ahead: You can prepare the batter ahead of time and store it in the fridge for up to 24 hours. Just bring the ramekins to room temperature before popping them into the oven.
Why People Love Chocolate Lava Cakes
What makes chocolate lava cakes so special is their contrast: the firm, fluffy outer layer hiding the warm, melty center. They’re indulgent, comforting, and always impressive. Whether you’re hosting guests or just looking for something decadent to treat yourself, this dessert never fails to please.
Conclusion
Now that you know how to make rich chocolate lava cakes step by step, you can bring this bakery-worthy dessert into your own kitchen. With just a handful of ingredients and about 20 minutes of your time, you’ll have a dessert that’s guaranteed to impress—and maybe even become a new family favorite.
So, grab your apron, gather your ingredients, and give this recipe a shot. Warning: Once you try it, you might find yourself craving chocolate lava cakes on every special occasion (or just a random Tuesday)!