How to Make Classic Chocolate Truffles: A Step-by-Step Guide
Chocolate truffles are small, rich bites of pure chocolate goodness that make any occasion feel special. Whether you’re making them for a party, gifting them to loved ones, or simply treating yourself, these delightful confections are sure to impress. The best part? You don’t have to be a professional chocolatier to make them! With just a few basic ingredients and a little time, you can whip up a batch of classic chocolate truffles right in your kitchen. Let’s dive into the process.
What Are Chocolate Truffles?
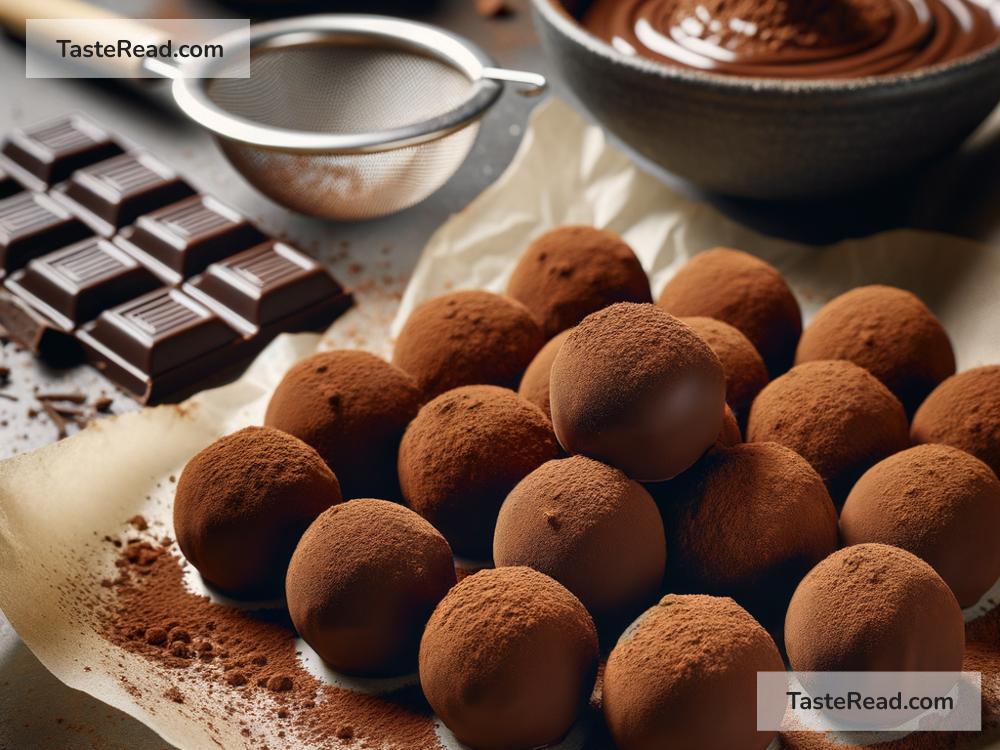
Chocolate truffles are bite-sized treats made with a rich chocolate ganache center and often coated in cocoa powder, nuts, or melted chocolate. They’re velvety, creamy, and melt in your mouth. These delicious treats are called “truffles” because their irregular shape resembles the truffle fungus found in nature. Elegant yet simple, homemade chocolate truffles are surprisingly easy to make, and you only need a handful of ingredients.
Ingredients You’ll Need
For classic chocolate truffles, you’ll need:
- 8 ounces (about 225 grams) of high-quality semi-sweet dark chocolate: Choose chocolate with at least 60-70% cocoa content for the best flavor.
- ½ cup (120 ml) of heavy cream: This binds everything together and gives your truffles their lush, creamy texture.
- 1 teaspoon of vanilla extract (optional): Adds a subtle depth of flavor to your truffles.
- Cocoa powder, powdered sugar, or chopped nuts: Optional coatings for finishing your truffles.
Equipment You’ll Need
- A small saucepan
- A heatproof mixing bowl
- A spatula or whisk
- Plastic wrap
- A small scoop or spoon
- Baking sheet or tray lined with parchment paper
Step-by-Step Instructions
Step 1: Prepare the Chocolate Ganache
Ganache is the rich chocolate mixture that forms the core of your truffles. Start by chopping your chocolate into small, even pieces. This helps it melt quicker and more smoothly.
Heat the heavy cream in a saucepan over medium heat until it’s hot but not boiling. You’ll see tiny bubbles forming around the edges—this is the perfect point to take the cream off the heat. Pour the hot cream over the chopped chocolate in a heatproof bowl.
Let the mixture sit for about 2-3 minutes, allowing the heat of the cream to soften the chocolate. Then, whisk or stir gently until the chocolate fully melts and you’re left with a smooth and shiny ganache. Add the vanilla extract (if using) and stir to incorporate.
Step 2: Chill the Ganache
Cover the bowl of ganache with plastic wrap and refrigerate it for about 1-2 hours, or until it’s firm enough to scoop but still malleable. It’s important not to rush this step—if the ganache is too soft, your truffles won’t hold their shape.
Step 3: Scoop and Shape the Truffles
Once the ganache has chilled and firmed up, it’s time to shape the truffles. Use a small scoop, teaspoon, or melon baller to scoop out portions of the ganache. Roll each portion into a ball using the palms of your hands. Don’t worry if the truffles aren’t perfectly round—a slightly uneven shape is part of their charm.
Place the rolled truffles onto a baking sheet lined with parchment paper.
Step 4: Coat the Truffles
Decorating your truffles is where you can get creative! Here are some classic coating ideas:
- Cocoa powder: Roll each truffle in cocoa powder for a simple, elegant finish.
- Powdered sugar: For a sweeter touch, coat the truffles in powdered sugar.
- Chopped nuts: Roll the truffles in finely chopped almonds, hazelnuts, or pistachios for added crunch.
- Melted chocolate: Dip the truffles in melted chocolate for a glossy, professional look. After dipping, you can even drizzle white chocolate on top for a decorative flair.
Once coated, place the truffles back on the parchment-lined baking sheet. Refrigerate for about 15 minutes to set the coatings.
Tips for Success
- Use the best chocolate you can afford: The quality of your chocolate will directly impact the flavor of your truffles.
- Be patient: Chilling the ganache is key to achieving the right texture. Don’t skip or rush this step.
- Prepare your workspace: Rolling truffles can get messy, so consider wearing gloves or dusting your hands with a bit of cocoa powder to make the process easier.
Serving and Storing Your Truffles
Once they’re ready, serve your chocolate truffles in a pretty box, on a platter, or in small cupcake liners for a polished presentation. These truffles are perfect for special occasions like birthdays, holidays, or Valentine’s Day.
If you have leftovers, store them in an airtight container in the refrigerator. Homemade chocolate truffles can last up to two weeks in the fridge—though they rarely stick around that long because they’re so irresistible!
Why Make Truffles at Home?
Making chocolate truffles at home is not only satisfying but also allows you to customize them to your taste. You can experiment with flavors, coatings, and even fillings. Plus, homemade truffles show thoughtfulness and care, making them ideal gifts that come straight from the heart.
Final Thoughts
Creating classic chocolate truffles is easier than you might think. With simple ingredients and a bit of patience, you can craft these rich, elegant treats that taste store-bought but are made with love. So go ahead, try making chocolate truffles at home—you’ll be surprised at how much fun it is to create (and eat!) these indulgent little bites. Happy truffle-making!