Title: How to Prepare Stuffed Mini Peppers for an Easy Appetizer
Are you on the lookout for an appetizer that’s both easy to make and irresistibly delicious? Look no further! Stuffed mini peppers are here to save the day. These little bites of heaven are perfect for any gathering, be it a family dinner, a friends’ get-together, or a special celebration. Besides being incredibly tasty, they’re also colorful, making your appetizer table look vibrant and inviting. So, let’s dive into how you can prepare these delights with minimal fuss and maximum flavor.
Choosing Your Mini Peppers
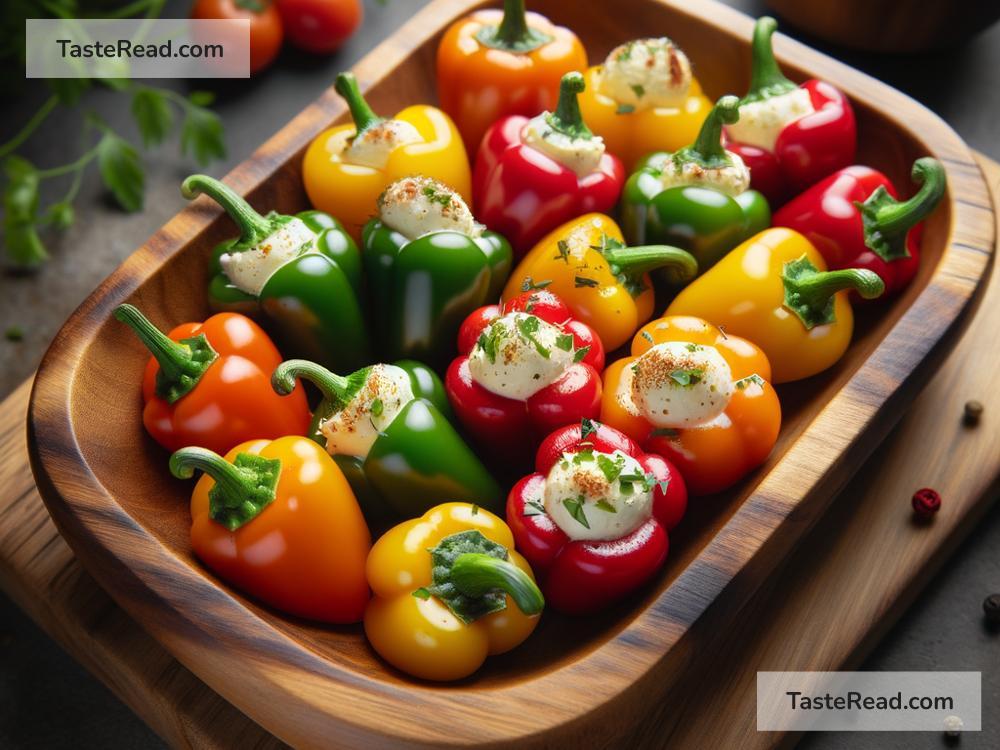
First things first, the star of the show: mini peppers. When you’re at the grocery store or farmers market, look for bright, firm mini peppers. They come in various colors like red, yellow, and orange, adding a beautiful pop of color to your dish. Make sure they are free from blemishes or soft spots. Since these peppers are sweet rather than spicy, they’re suitable for all palettes, including kids!
Ingredients for the Stuffing
The beauty of stuffed mini peppers is their versatility. You can go as simple or as gourmet as you like with the stuffing. Here’s a basic but delicious stuffing recipe to get you started:
- 1 cup of cream cheese, softened
- 1 cup of shredded cheese (cheddar, mozzarella, or a mix works great)
- 1/2 cup cooked and crumbled bacon (optional for a vegetarian version)
- 1/4 cup finely chopped green onions
- Salt and pepper to taste
Feel free to get creative with the stuffing. Add chopped herbs, cooked sausage, different cheeses, or even some grains like quinoa for added texture.
Preparing the Mini Peppers
Now that you have all your ingredients ready, it’s time to prepare the mini peppers. Start by washing them thoroughly under cold water. Pat them dry with a paper towel because you don’t want them to be slippery while you’re cutting.
Next, slice each pepper in half lengthwise, from the stem down to the tip. Carefully remove the seeds and any white membranes inside to create a nice little boat for your stuffing. This step is crucial as it ensures your peppers are ready to be generously filled with the delicious stuffing.
Stuffing the Peppers
With your peppers prepped and your stuffing mixed, it’s now time for the fun part – stuffing! Using a spoon, or even better, a piping bag for a cleaner process, generously fill each pepper half with the stuffing mixture. Don’t be shy; pack it in there! Once all your peppers are happily stuffed, you’re almost ready to move on to the cooking phase.
Cooking Your Stuffed Mini Peppers
There are a couple of different methods you can use to cook your stuffed mini peppers, depending on your preference:
Oven Method:
Preheat your oven to 350°F (175°C). Arrange your stuffed peppers on a baking sheet lined with parchment paper for easy cleanup. Bake for 10-15 minutes or until the peppers are tender and the cheese is bubbly and slightly golden. This method is great if you’re preparing a large batch.
Grill Method:
If you’re up for grilling, preheat your grill to medium heat. Place the stuffed peppers directly on the grill or on a piece of aluminum foil for less mess. Grill for about 10 minutes, turning once, until the peppers are tender and charred. This method adds a wonderful smoky flavor to your appetizers.
Serving Your Stuffed Mini Peppers
Once cooked, let your stuffed mini peppers cool for a few minutes before serving. They’re best enjoyed warm but are also delicious at room temperature, making them perfect for parties. Arrange them beautifully on a serving platter, maybe garnish with some fresh herbs or a sprinkle of cheese, and watch them disappear before your eyes.
Conclusion
Stuffed mini peppers are not only a crowd-pleaser but also incredibly easy to prepare, customizable, and visually appealing. Whether you choose to bake or grill them, these little stuffed wonders are sure to be a hit at your next event. So why wait? Give this recipe a try, and brace yourself for the compliments that are about to come your way. Happy cooking!