Title: A Beginner’s Guide to Baking a Buttery Danish Kringle
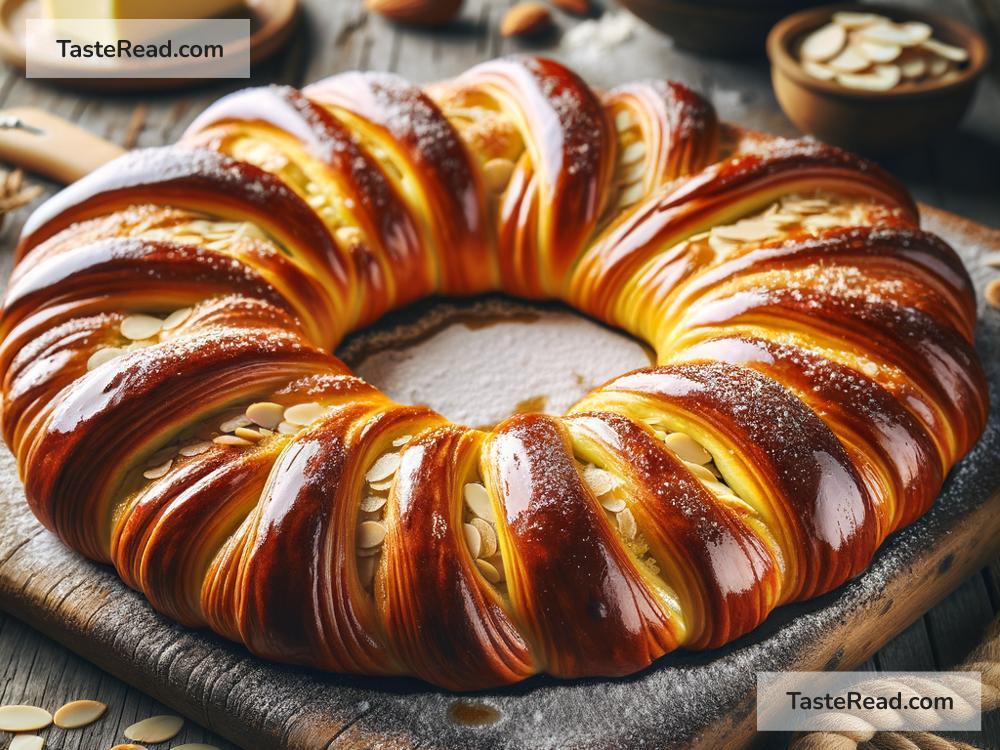
Baking can be a daunting task, especially when it comes to traditional pastries that seem complex and intricate. However, mastering the art of baking a Danish Kringle is surprisingly doable, and the end result is deliciously rewarding. The Danish Kringle is a buttery, flaky pastry that originated in Denmark. It’s a coil-shaped or pretzel-shaped dessert that’s filled with a variety of ingredients such as fruits, nuts, cinnamon, or even cheese. It’s perfect for breakfast, a cozy snack, or as a sophisticated dessert. Here’s an easy guide to making your own buttery Danish Kringle at home.
Ingredients:
Dough:
- 2 cups all-purpose flour
- 1 cup unsalted butter (chilled and sliced)
- 1/2 cup cold water
Filling:
- 1 cup almond paste or your preferred filling (apple, cherry, and cheese are popular choices)
- Optional: ½ cup sliced nuts or fruits to complement your filling choice
Glaze:
- 1 cup powdered sugar
- 2-4 tablespoons milk
- 1/2 teaspoon vanilla extract
Instructions:
Step 1: Preparing the Dough
- In a large mixing bowl, sift 2 cups of all-purpose flour.
- Add 1 cup of sliced chilled unsalted butter to the bowl with flour. Using a pastry blender or your fingertips, mix the butter and flour together until the mixture resembles coarse crumbs. Be careful not to overdo it; small chunks of butter are totally fine.
- Gradually add 1/2 cup of cold water to the mixture and stir until the dough starts to come together. The dough should be manageable but not too sticky.
- Shape the dough into a rectangle, wrap it in plastic wrap, and refrigerate for at least 30 minutes. This chilling process ensures that your dough becomes flaky when baked.
Step 2: Rolling and Filling
- After chilling, take the dough out and roll it on a lightly floured surface into a large rectangle (about 20×12 inches). Try to keep the thickness uniform.
- Spread your chosen filling evenly over the rolled-out dough. If you’re using almond paste, you might want to roll it out separately before laying it over the dough to make spreading easier.
- For added texture and taste, sprinkle a layer of sliced nuts or fruits over the filling.
Step 3: Shaping the Kringle
- Once the filling is in place, start rolling the dough tightly from the long edge, just like you would roll a jelly roll or cinnamon rolls.
- Carefully transfer the rolled dough onto a baking sheet lined with parchment paper.
- Shape the dough into an oval or a pretzel shape by bringing the ends together. Make sure to seal the ends properly to prevent the filling from leaking out during baking.
Step 4: Baking
- Preheat your oven to 375°F (190°C).
- With a sharp knife, make shallow slits across the top of the Kringle. This not only adds a decorative touch but also helps in even baking.
- Bake in the preheated oven for about 25-30 minutes or until golden brown. Keep an eye on your Kringle to avoid over-browning.
- Once done, remove from the oven and allow it to cool on the baking sheet for a few minutes before transferring to a wire rack to cool completely.
Step 5: Glazing and Serving
- While the Kringle is cooling, whisk together 1 cup of powdered sugar, 2-4 tablespoons of milk, and ½ teaspoon of vanilla extract in a small bowl to make the glaze. Adjust the thickness by adding more powdered sugar or milk to get the desired consistency.
- Drizzle the glaze over the cooled Kringle. Allow the glaze to set for a few minutes.
- Your Danish Kringle is now ready to serve. Enjoy it as is, or pair it with your favorite coffee or tea.
Conclusion:
Baking a Danish Kringle might seem like an ambitious project at first, but it’s a wonderful way to dip your toes into the world of pastries. The process is quite straightforward and allows for a lot of creativity with the fillings and shapes. Whether you stick to traditional almond filling or experiment with different flavors, the result is a delicious, buttery treat that’s perfect for any occasion. Happy baking!