How to Bake Irresistible Chocolate Crinkle Cookies
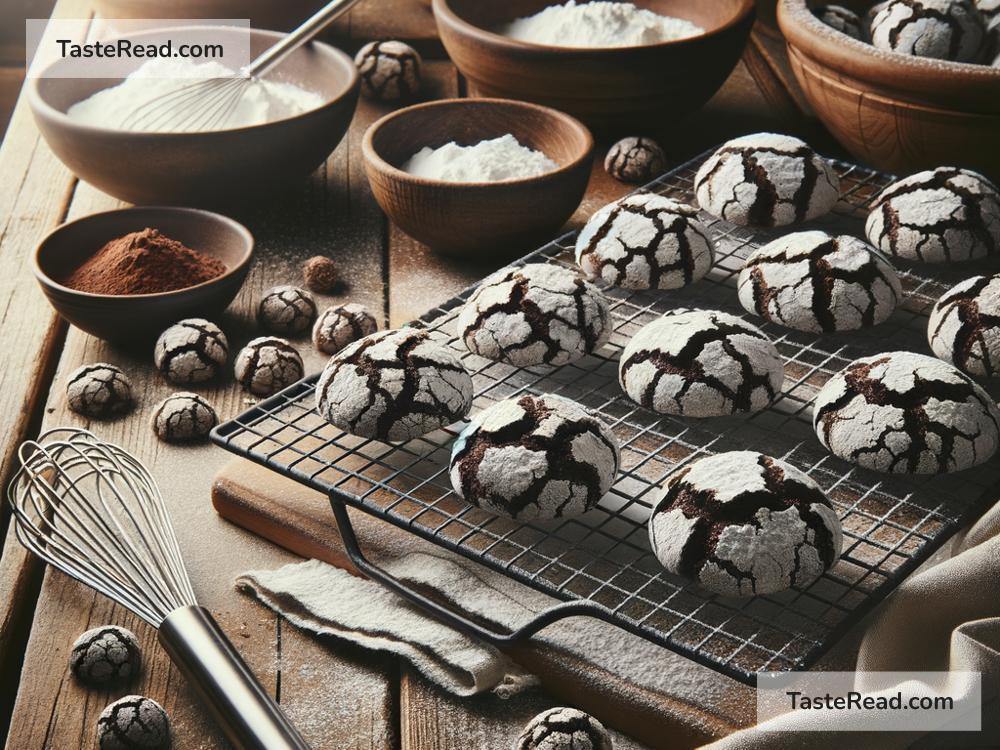
Chocolate crinkle cookies have this magical ability to disappear almost as soon as they’re out of the oven. You know, the kind of cookies that make your kitchen smell like a cozy, chocolatey haven. These little gems have a gorgeous cracked surface, a soft, fudgy center, and are dusted with a sprinkle of powdered sugar. They’re like the brownies of the cookie world, and who can resist that? If you’re looking to bake up a batch of these irresistible treats, you’ve come to the right place. Let’s go through this simple recipe to create the most delicious chocolate crinkle cookies you’ve ever tasted.
Ingredients You Will Need
First things first, let’s get our ingredients ready. For this recipe, you’ll need:
- 1 cup of cocoa powder (for that rich chocolatey flavor)
- 2 cups of granulated sugar (to sweeten things up)
- 1/2 cup of vegetable oil (to make our cookies moist)
- 4 large eggs (to bind everything together)
- 2 teaspoons of vanilla extract (for that lovely aroma)
- 2 cups of all-purpose flour (our base)
- 2 teaspoons of baking powder (to make our cookies puff up)
- 1/2 teaspoon of salt (to balance the sweetness)
- 1/2 cup of powdered sugar (for that beautiful snowy look)
Step 1: Mixing The Ingredients
First, grab a large bowl and mix together your cocoa powder, granulated sugar, and oil. Stir until they’re well combined. Next, crack those eggs in, one at a time, making sure each is fully incorporated before adding the next. Splash in your vanilla extract and give it another good mix.
In a separate bowl, whisk together the flour, baking powder, and salt. This is going to be the dry mix that we’ll slowly add to our chocolate mixture. Add the dry ingredients to the chocolate mixture in bits, stirring each time just until they’re combined. Try not to overmix, as this could make your cookies a bit too tough.
Step 2: Chilling The Dough
Once your dough is all mixed, it’s going to be pretty sticky. Don’t worry, that’s exactly how it should be. Cover your bowl with plastic wrap and let it chill in the refrigerator for at least 4 hours, or even overnight. This step is crucial because it helps the dough firm up, making it easier to handle and forming those beautiful cracks when baking.
Step 3: Shaping And Coating The Cookies
After your patience has been tested and the dough has chilled, it’s time to get rolling. Preheat your oven to 350°F (175°C) and line your baking sheets with parchment paper. This helps to prevent the cookies from sticking and ensures an even bake.
Pour the powdered sugar into a small bowl. Scoop out a tablespoon of dough and roll it into a ball with your hands. Roll this dough ball into the powdered sugar until it’s completely coated. Repeat with the rest of the dough, placing the coated balls on the baking sheets, a couple of inches apart to give them room to spread.
Step 4: Baking To Perfection
Bake your cookies for 10-12 minutes until they puff up and have those characteristic cracks all over the surface. The key is not to overbake them; you want them to stay soft and fudgy on the inside. Once they’re out of the oven, let them cool on the baking sheet for a few minutes before transferring them to a wire rack to cool completely.
Step 5: Enjoy Your Creation
Congratulations! You’ve just baked a batch of irresistible chocolate crinkle cookies. These cookies are best enjoyed with a glass of milk, a cup of coffee, or simply on their own. They’re perfect for holiday gatherings, cookie exchanges, or whenever you need a chocolate fix.
Final Thoughts
Baking chocolate crinkle cookies is not only simple, but it’s also incredibly rewarding. There’s something about the process of making them, from mixing the dough to rolling them in powdered sugar, that feels like pure kitchen magic. The end result is a batch of delectable cookies that are sure to impress anyone who tries them. So, whether you’re a seasoned baker or a novice in the kitchen, give this recipe a try. Your taste buds will thank you.
Happy baking!