Mastering the Art of Infused Butter and Oils: Advanced Techniques Made Simple
Welcome to the culinary adventure of infusing butter and oils! Whether you’re a home cook looking to elevate your dishes or you’re simply curious about creating flavor-packed condiments, mastering advanced techniques for infused butter and oils can be your game-changer. There’s something magical about the aroma and flavor that herbs, spices, and other ingredients release into oils and butter. Let’s dive into the steps and tips to perfect this craft in the simplest way possible.
Understanding Infusion
At its core, infusion is the process of transferring flavors from various ingredients—like herbs, spices, fruits, and nuts—into a fat base, typically butter or oil. This method allows the base to adopt the intricate flavors, creating a versatile and delicious addition to any dish.
Choosing Your Base
The first step in creating infused butter or oil is selecting your base. For butter, opt for unsalted varieties to control the sodium in your infusion. When it comes to oils, choose one with a neutral flavor, like canola or vegetable oil, unless the recipe specifically calls for a flavored one, such as olive or coconut oil. This allows the true essence of your infusion ingredients to shine.
Picking Your Infusion Ingredients
Next, decide on your infusion ingredients. The possibilities are endless:
- Herbs and Spices: Basil, rosemary, thyme, or chili flakes can introduce a fresh or spicy kick.
- Fruits and Nuts: Lemon peel, orange zest, or crushed almonds can add a subtle sweetness or nuttiness.
- Specialty Ingredients: For those interested in infusions like CBD or THC, research and legality checks are key. Ensure it’s legal in your area and understand the proper dosages for safe consumption.
Techniques for Infusion
Now, onto the exciting part! Below are advanced techniques to ensure your infused butter and oils come out perfectly every time.
Slow Cook Method
This method requires a slow cooker. It’s ideal for achieving a deep, consistent infusion without much fuss.
- Blend Your Base and Infusion Ingredients: Place your base and chosen ingredients in the slow cooker.
- Slow Cook It: Set the cooker on low. Let the mixture warm for about 3-4 hours, ensuring the flavors meld together smoothly.
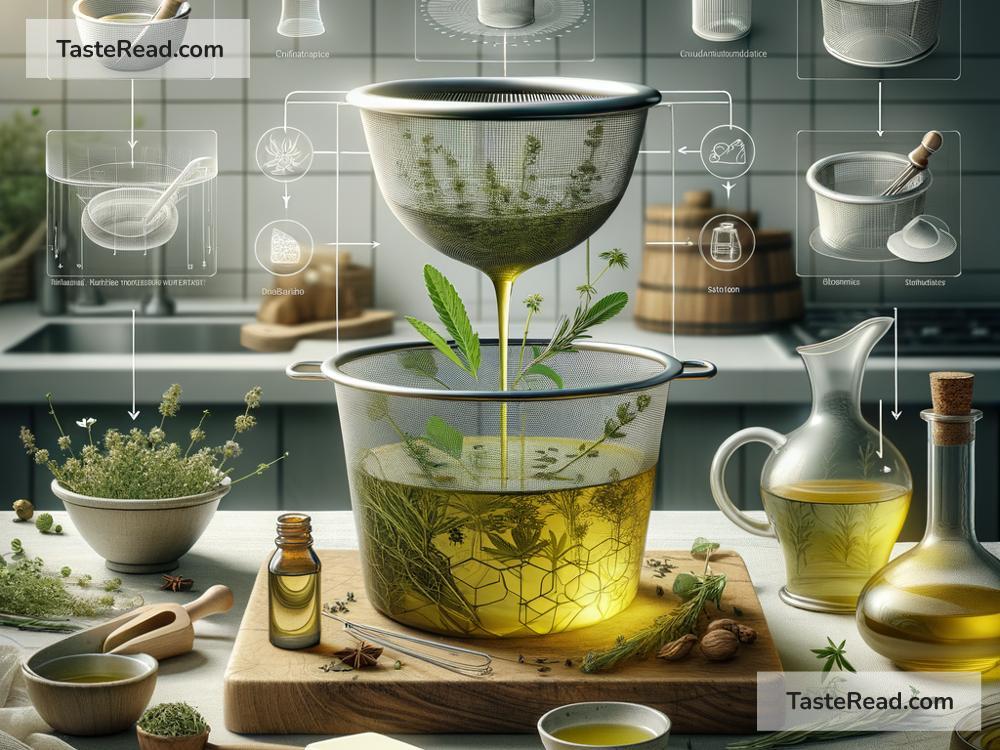
- Cool and Strain: Allow the mixture to cool slightly, then strain it with a cheese cloth or fine mesh strainer to remove solid particles.
Double Boiler Method
For delicate ingredients like citrus peels or light herbs, the double boiler method ensures they don’t overheat and turn bitter.
- Setup Your Double Boiler: Fill the bottom pot with water and place your mixture in the top bowl. Ensure no water makes its way into your mixture.
- Gentle Heat: Keep the water at a simmer. The steam will gently heat the upper bowl, allowing your base to infuse without scorching.
- Strain and Store: Similar to the slow cook method, strain and store your infusion in a clean, dry container.
Quick Infuse Method
Short on time? The quick infuse method uses a blender to speed up the process.
- Blend Your Ingredients: Combine your base and infusion ingredients in a blender. Pulse until the added flavor agents are finely chopped.
- Gentle Heat: In a saucepan, gently heat the mixture for about 10 minutes. Avoid boiling to preserve flavors.
- Strain and Cool: Strain the infused base and let it cool before transferring it to storage.
No-Heat Infusion
A no-heat option is fantastic for ingredients that are best expressed without warmth, like delicate herbs or raw garlic.
- Combine and Wait: Simply mix your base with the infusion ingredients in a jar. Seal it tightly and let it sit in a cool, dark place.
- Shake Occasionally: Give the jar a good shake once a day. This process can take anywhere from a week to a month, depending on the strength of infusion desired.
- Strain and Enjoy: Once you’re happy with the infusion level, strain and use it as desired.
Storage Tips
Properly storing your infused butter and oils is crucial for their longevity. Keep them in airtight containers in the refrigerator. For butter, it’s good to use within a month, while oils can last up to three months.
Conclusion
Creating infused butter and oils is like painting on a culinary canvas—the techniques are your brushes, and the ingredients are your palette of colors. By understanding the basics and mastering these advanced techniques, you’ll unleash a world of flavors that can elevate any dish. So, experiment, enjoy the process, and get ready to impress with your infused creations!