How to Bake a Simple Loaf of Bread at Home
Baking bread at home might sound like a task reserved for professional bakers, but it’s actually quite simple and enormously satisfying. Picture it: The aroma of fresh bread wafting through your kitchen, the warm, crusty loaf breaking open to reveal its soft, fluffy interior—there’s truly nothing like it. Plus, the process of baking bread can be incredibly therapeutic. So, if you’re a beginner looking to bake your very first loaf or someone just wanting to keep things straightforward, you’ve come to the right place. Here’s a step-by-step guide to baking a simple yet delicious loaf of bread at home.
Ingredients:
To start, you’ll need a few basic ingredients that you might already have in your kitchen:
- 3 cups of all-purpose flour (plus a little extra for dusting)
- 1/4 teaspoon of active dry yeast
- 1 teaspoon of salt
- 1 and 1/2 cups of warm water
Yes, that’s it! Bread making doesn’t require anything fancy, just high-quality basic ingredients.
Step 1: Mix Your Ingredients
First up, in a large mixing bowl, combine the flour, yeast, and salt. Gradually add in the warm water, stirring as you go, until a shaggy dough begins to form. You’re not looking for perfection here; the dough should be a bit sticky and rough around the edges.
Step 2: Let It Rest
Cover the bowl with a clean kitchen towel or plastic wrap and let it sit at room temperature. This is when the magic happens. Allow the dough to rest for about 12 to 18 hours (overnight works great). During this time, the dough will rise and bubbles will form, thanks to the yeast doing its job. This process, called proofing, develops the flavor and texture of your bread.
Step 3: Shape Your Dough
After the resting period, you’ll notice the dough has expanded and has a lot of bubbles. Dust a little flour onto a work surface and turn the dough out onto it. Fold the dough over a few times on itself, then shape it into a rough ball. If the dough is too sticky, sprinkle a little more flour, but try not to add too much, as it can make the bread dense.
Step 4: Let It Rise Again
Place your dough ball onto a piece of parchment paper for its second rise. Cover it loosely with plastic wrap or a towel and let it sit for about 2 hours. During this time, the dough will rise again and nearly double in size.
Step 5: Preheat Your Oven
About 30 minutes before your dough is done rising, preheat your oven to 450°F (230°C). If you have a Dutch oven or any heavy, oven-safe pot with a lid, place it in the oven as it preheats. The pot will get screaming hot and help create an ideal environment for your bread to bake.
Step 6: Bake
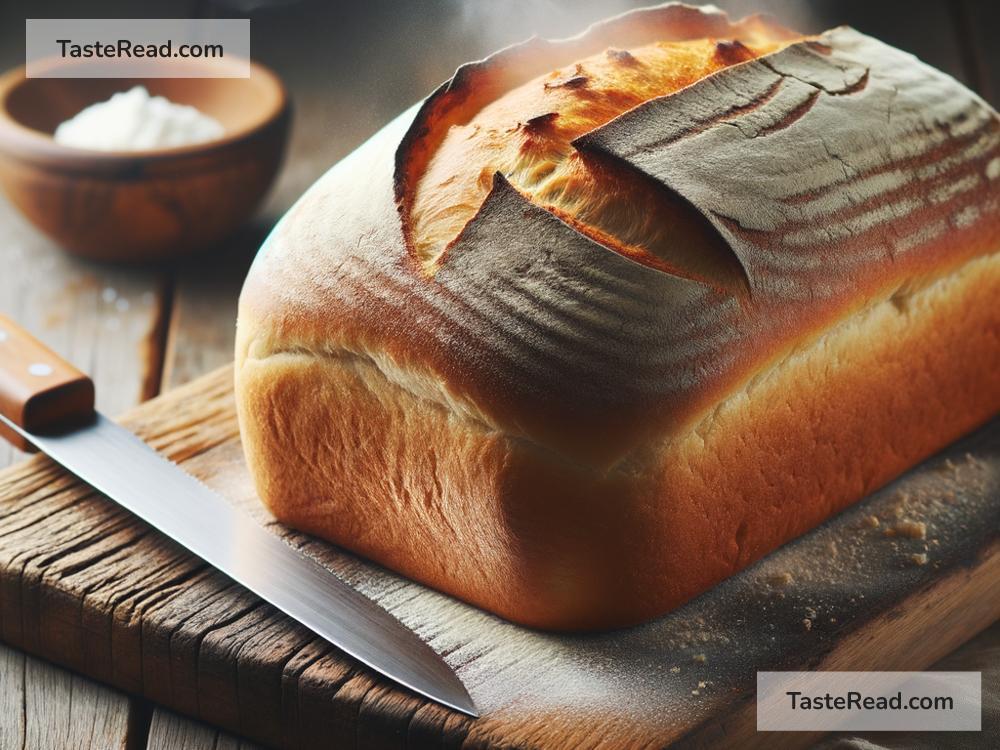
Carefully remove the hot pot from the oven. Lift the dough using the parchment paper and place it (paper and all) into the pot. Cover it with the lid and bake for 30 minutes. Then, remove the lid and bake for another 15-20 minutes until the bread is beautifully golden and sounds hollow when tapped on the bottom.
Step 7: Cooling
This might be the hardest part—waiting for your bread to cool. Transfer the bread to a wire rack and try to resist cutting into it immediately. Giving it time to cool prevents the inside from being too gummy. Wait for at least an hour (if you can), and then enjoy the fruits of your labor.
Conclusion:
Baking bread at home doesn’t have to be complicated. With these steps, you can bake a loaf that’s simple, delicious, and sure to impress. Remember, bread-making is as much an art as it is a science. Each time you bake, you’ll learn more about how the dough feels and how your specific oven affects your bake. Don’t be afraid to experiment with adding herbs, cheeses, or different types of flour to make it your own. Happy baking!