How to Boil and Peel Eggs Without Cracks: The Ultimate Guide
Boiling and peeling eggs is a kitchen skill that appears deceptively simple, yet anyone who’s found themselves peeling away half the egg white along with the shell knows it can be a fragile operation. But don’t fret, achieving that perfect, smooth finish on a boiled egg isn’t just a game of chance. With these straightforward steps, you’ll master the art of boiling and peeling eggs without cracks, making your cooking tasks a bit smoother and your egg dishes a lot more appealing.
Choose the Right Eggs
It all starts with the eggs you choose. While fresh eggs might seem like the best choice for every recipe, when it comes to boiling eggs, slightly older eggs perform better. This is due to the pH levels of the egg white, which increase as the egg ages, making the white less likely to adhere to the shell. Aim for eggs that have been sitting in your fridge for a week or so. They’re not just easier to peel but are also perfectly safe to eat.
Start with Room Temperature Eggs
If you store your eggs in the refrigerator, let them sit out for about 15 to 20 minutes before you start cooking. Plunging cold eggs into hot water can cause them to crack due to the sudden change in temperature. Conversely, if you start with room-temperature eggs, they are more likely to stay intact during the cooking process.
Use the Right Pot
Choosing the right size pot is crucial. The eggs should fit in a single layer at the bottom of the pot without being overcrowded. This ensures that they cook evenly and prevents them from bumping into each other, which can cause cracks. Once your eggs are in the pot, fill it with enough water to cover the eggs by about an inch. This helps in cooking them evenly.
Bring to a Boil, Then Simmer
Place the pot on the stove and turn the heat up to high. Once the water reaches a full boil, reduce the heat to low or turn it off completely, allowing the eggs to simmer. This gentle cooking technique minimizes the risk of cracks. For perfect hard-boiled eggs, let them sit in hot water for about 9 to 12 minutes, depending on their size and your desired level of doneness.
The Ice Water Bath
As soon as your eggs are done cooking, the next important step is to cool them down rapidly. This not only stops the cooking process but also makes peeling easier. Prepare a bowl of ice water and, using a slotted spoon, transfer the eggs directly from the boiling water to the ice bath. Let them chill for at least 5 minutes. This sudden temperature drop causes the egg inside to contract slightly, pulling away from the shell and thus making peeling a breeze.
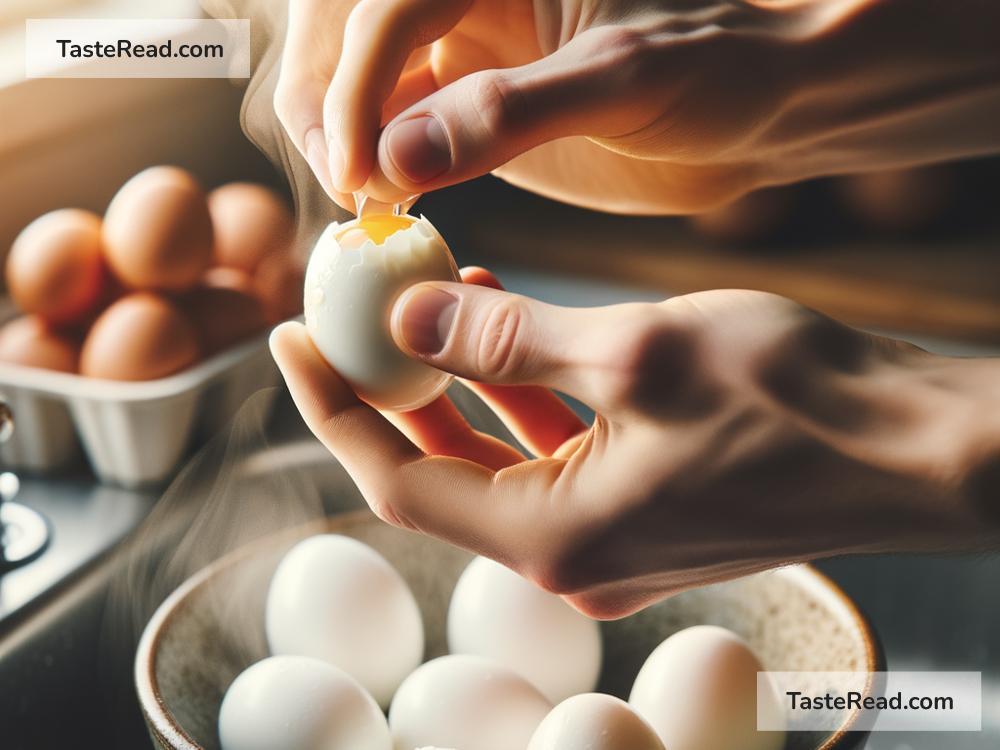
Peeling the Egg
Now comes the moment of truth: peeling the egg. Gently tap the wider end of the egg on a flat surface to crack the shell, then do the same with the narrower end. Roll the egg gently between your hands to loosen the shell all around. Start peeling at the wider end, which usually has an air pocket, making it easier to get under the shell. Hold the egg under running cold water or dip it in a bowl of water as you peel – this can help slip the shell off more cleanly.
Getting it Just Right
Patience and practice are key to mastering the art of boiling and peeling eggs without cracks. Each step, from choosing the right eggs to the final peel, plays a part in achieving that elusive perfect result. So, don’t get discouraged if your first few attempts aren’t flawless. Keep tweaking your process; maybe your eggs need a minute more or less in the pot, or perhaps adjusting the temperature of the water could help.
Conclusion
Boiling and peeling eggs without cracks might seem like a kitchen mystery, but with these simple guidelines, it’s more than attainable. Whether you’re prepping eggs for a salad, making deviled eggs, or just aiming for a quick, protein-packed snack, mastering this technique can make your culinary endeavors both easier and more satisfying. Happy cooking!