How to Prepare a Smooth and Creamy Oreo Milkshake
Are you craving something sweet, creamy, and absolutely delicious? Look no further than the classic Oreo Milkshake! This delightful treat has always been a favorite among both kids and adults. It’s smooth, it’s creamy, and it floods your taste buds with that irresistible Oreo goodness. And guess what? You don’t even need to step out to a diner to enjoy one. You can easily whip up this heavenly drink right in your kitchen with just a few ingredients. Let’s dive into how to prepare a smooth and creamy Oreo Milkshake.
Ingredients:
Before we start, make sure you have all the ingredients ready. You will need:
- 6-8 Oreo cookies
- 2 cups of vanilla ice cream (choose a good quality one for a creamier texture)
- ½ – ¾ cup of milk (depending on how thick you want your milkshake)
- Whipped Cream (for topping)
- Optional: Chocolate syrup for an extra chocolatey experience
Equipment:
- Blender
- Serving glass
- Spoon
Step-by-Step Guide:
- Prepare Your Oreos:
Before you toss everything into the blender, you want to prepare your Oreos. Take 6-8 Oreo cookies (feel free to add more if you’re a true Oreo fan) and break them into smaller pieces. This helps them blend more easily and evenly.
- Blend Oreos, Ice Cream, and Milk Together:
Add the broken Oreo pieces into the blender. Scoop in your 2 cups of vanilla ice cream on top of the Oreos. Pour in the milk over the ice cream and cookies. The amount of milk can vary depending on how thick or thin you like your milkshake. Start with ½ cup and add more if needed.
Now, blend everything together on a medium-to-high setting until the mixture is smooth and creamy. Make sure there are no large chunks of cookie left. The goal is to have those Oreo pieces broken down but still recognizable for that wonderful Oreo texture.
- Taste Test:
Before serving, do a quick taste test. If you feel your milkshake needs a bit more sweetness or a stronger Oreo flavor, don’t hesitate to add an extra cookie or two and blend again.
- Serve it Up:
Grab a tall glass and if you’re feeling fancy, drizzle some chocolate syrup inside the glass for that extra wow factor. Pour your delicious Oreo Milkshake into the glass. Make sure to leave some room at the top for the whipped cream!
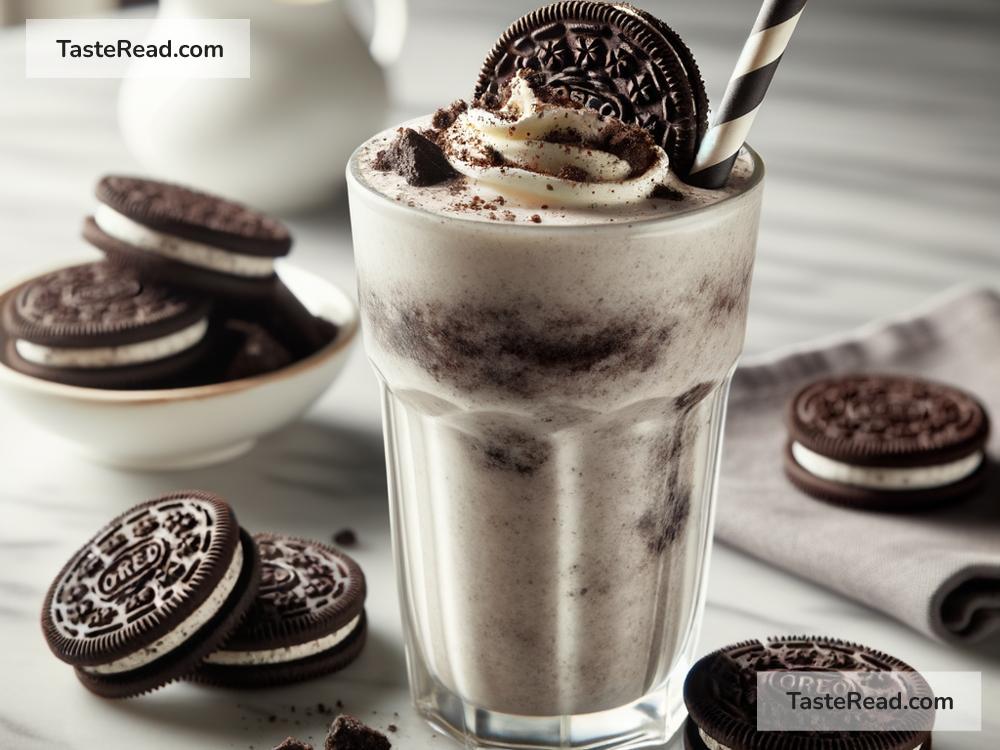
- Top with Whipped Cream (and More):
Top your milkshake with a generous dollop of whipped cream. For an added touch, you can sprinkle some crushed Oreo pieces or even a whole Oreo cookie on top. Not only does it make your milkshake look more tempting, but it also adds an extra punch of that beloved Oreo flavor.
- Enjoy Your Creation:
Insert a straw, grab a spoon, and dive into your scrumptious Oreo Milkshake. Enjoy the creamy blend of vanilla ice cream with the crunchy, chocolaty goodness of Oreos in every sip and bite.
Tips for the Perfect Oreo Milkshake:
- Quality Matters: The quality of ice cream you choose can make a huge difference. Opt for a creamier, richer vanilla ice cream for the best results.
- Adjust Consistency: The thickness of your milkshake is up to you. Add less milk for a thicker shake or more milk for a thinner one. Start with a smaller amount; you can always add more if needed.
- Customize: This recipe is quite versatile. Feel free to add in some bananas for a healthier twist or even a scoop of chocolate ice cream for an extra chocolate boost.
- Make it Vegan: If you’re vegan or lactose intolerant, you can easily substitute dairy ingredients with their vegan counterparts. There are plenty of dairy-free ice creams and whipped creams that taste amazing.
Making an Oreo Milkshake is all about having fun and enjoying the process. Don’t be afraid to experiment with different variations and finding what tastes best to you. Whether it’s a hot summer day or you’re just looking to treat yourself, an Oreo Milkshake is a perfect choice. So, go ahead, give this recipe a try and indulge in a glass of pure bliss. Cheers to your delicious creation!