The Ultimate Guide to Making a Decadent Layered Chocolate Mousse Cake
A chocolate mousse cake is essentially what dreams are made of: airy, creamy, and deeply chocolatey. When you layer that with more chocolate cake, it’s like stepping into a world where everything is just, well, perfect.
Creating a layered chocolate mousse cake might sound like something only professional bakers can achieve. But guess what? With this guide, you’ll learn how to make an indulgent dessert that not only looks impressive but also tastes like it came straight from a gourmet bakery. And the best part? It’s simpler than you might think. So, roll up your sleeves and get ready to dazzle your friends and family with your baking prowess.
Ingredients:
Let’s start by gathering the ingredients you’ll need. This recipe breaks down into two main parts: the chocolate cake and the chocolate mousse.
For the Chocolate Cake:
- 1 cup all-purpose flour
- 1 cup sugar
- 1/2 cup cocoa powder
- 1 teaspoon baking powder
- 1/2 teaspoon baking soda
- 1/2 teaspoon salt
- 1/2 cup milk
- 1/4 cup vegetable oil
- 1 large egg
- 1/2 teaspoon vanilla extract
- 1/2 cup boiling water
For the Chocolate Mousse:
- 1 and 1/2 cups heavy cream
- 1 cup chocolate chips or finely chopped chocolate
- 2 tablespoons sugar
- 1 teaspoon vanilla extract
Directions:
1. Bake the Chocolate Cake:
- Preheat your oven to 350°F (175°C). Grease and flour an 8-inch round cake pan.
- In a large bowl, whisk together the flour, sugar, cocoa powder, baking powder, baking soda, and salt.
- Add milk, vegetable oil, egg, and vanilla to the flour mixture and mix until well combined.
- Carefully stir in boiling water. The batter will be thin, but that’s okay.
- Pour the batter into the prepared pan and bake for 30-35 minutes, or until a toothpick inserted into the center comes out clean.
- Allow the cake to cool completely, then slice it horizontally into two even layers.
2. Prepare the Chocolate Mousse:
- In a small saucepan, heat 1/2 cup of the heavy cream until it just begins to simmer.
- Place the chocolate in a bowl and pour the hot cream over it. Leave it for a minute, then stir until the chocolate has melted and the mixture is smooth. Add sugar and vanilla extract, then set aside to cool to room temperature.
- In a separate bowl, whip the remaining 1 cup of heavy cream until stiff peaks form.
- Gently fold the whipped cream into the cooled chocolate mixture until no streaks remain. Be careful not to deflate the mousse.
3. Assemble the Cake:
- Place one layer of the chocolate cake on a serving plate.
- Spread half of the chocolate mousse over the first cake layer. Don’t worry if it spills over the sides a little; it adds to the homemade charm.
- Carefully place the second cake layer on top of the mousse.
- Top the second cake layer with the remaining mousse, smoothing it out with a spatula or the back of a spoon.
4. Chill and Serve:
- Refrigerate the cake for at least 1 hour to set the mousse. This is a critical step, as it allows the flavours to meld together and the mousse to firm up.
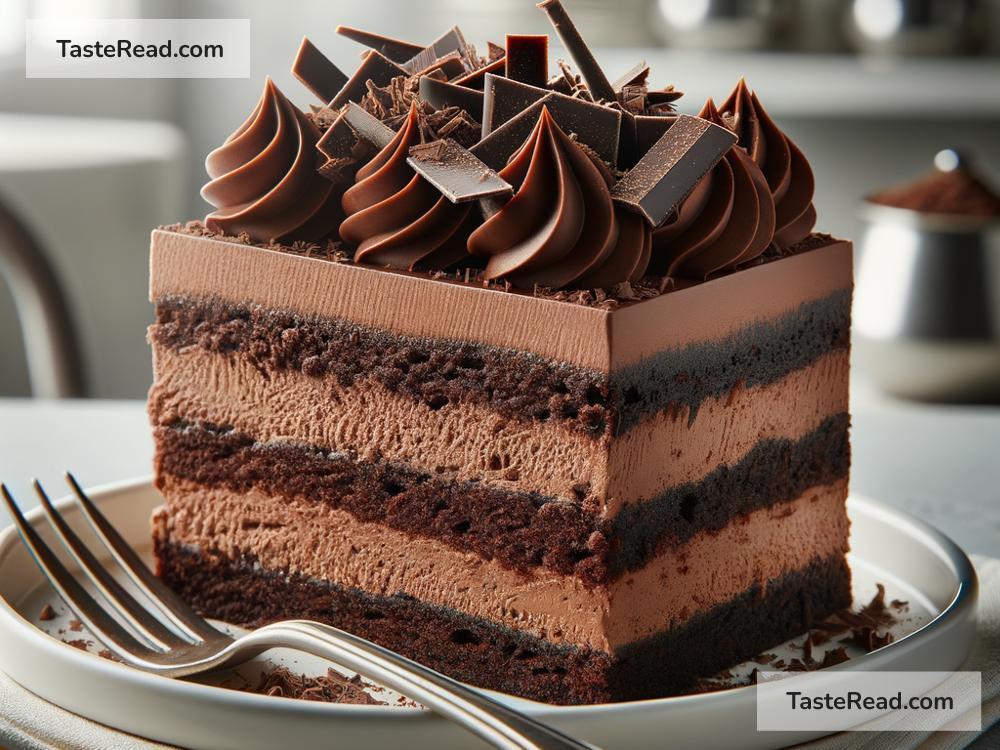
- For an extra touch of fanciness, dust the top with a little cocoa powder or sprinkle with chocolate shavings before serving.
Tips for Success:
- Make sure all your ingredients are at room temperature (except for the boiling water, of course) to ensure they combine smoothly.
- When folding the whipped cream into the chocolate, use a gentle hand to keep the mousse light and fluffy.
- If you’re short on time, you can make the chocolate cake a day ahead and store it tightly wrapped at room temperature.
There you have it—a decadent layered chocolate mousse cake that’s bound to impress. Whether for a special occasion or just because you need a little chocolate therapy, this cake is sure to deliver a mouthwatering experience. So dive in, slice up a piece, and enjoy the sumptuous layers of chocolatey goodness.