A Beginner’s Guide to Creating Fluffy Angel Food Cake
Angel Food Cake is like a slice of cloud heaven – light, fluffy, and sweet. The joy of baking this cake isn’t just in its taste but in the delightful process of creating something so airy and delicate from simple ingredients. If the thought of baking scares you, fear not! Here’s a simple guide to help any beginner bake the fluffiest Angel Food Cake that’ll impress anyone who tastes it.
Gather Your Ingredients
First things first, make sure you have all the ingredients. For a standard Angel Food Cake, you’ll need:
- 1 cup cake flour (not all-purpose flour)
- 1 1/2 cups granulated sugar
- 12 large egg whites, at room temperature
- 1/4 teaspoon salt
- 1 1/2 teaspoons cream of tartar
- 1 teaspoon vanilla extract
Yup, that’s it! Angel Food Cake’s magic lies in its simplicity.
Essential Equipment
A proper tube pan is non-negotiable. The unique shape allows the cake to bake evenly while the central tube helps with rising. Also, ensure you have a very clean mixing bowl and whisk attachment (if using a mixer). Any grease can prevent the egg whites from achieving their full volume.
Step-by-Step Guide
1. Prep and Preheat
First, set your oven to 350˚F (175˚C). Don’t grease your pan; Angel Food Cake climbs the sides of the pan as it bakes, and greasing would prevent it from doing so.
2. Mix Dry Ingredients
Sift 1/2 cup of the granulated sugar with the cake flour and salt. Doing this three times isn’t just for fun – it incorporates air and ensures there are no lumps, which is crucial for a fluffy texture.
3. Whip the Egg Whites
The egg whites should be at room temperature. This is important because room-temperature egg whites whip up much fluffier. Start whipping the egg whites with the cream of tartar until it’s frothy. Then, slowly add in the remaining 1 cup of sugar while continuing to whip. Add the vanilla extract. Stop once the egg whites have reached stiff peaks – this means when you lift the whisk, the peaks stand straight without collapsing.
4. Fold in Dry Ingredients
This step requires gentleness. You’ll gradually fold the dry ingredients into the whipped egg whites in four additions. Use a large spatula and make sure to fold, not stir, to keep as much air in the mixture as possible.
5. Bake
Gently transfer the batter to your ungreased tube pan. Smooth the top with your spatula and tap the pan lightly on your countertop to remove any large air bubbles. Bake for about 40-45 minutes. You’ll know it’s done when the top springs back when gently touched and a toothpick comes out clean.
6. Cooling
Here’s a unique aspect of Angel Food Cake – it needs to cool upside down. This trick ensures that gravity helps the cake maintain its volume and doesn’t collapse as it cools. Most tube pans come with little feet for this purpose, but if yours doesn’t, simply rest the center tube over a bottle neck.
7. Finishing Up
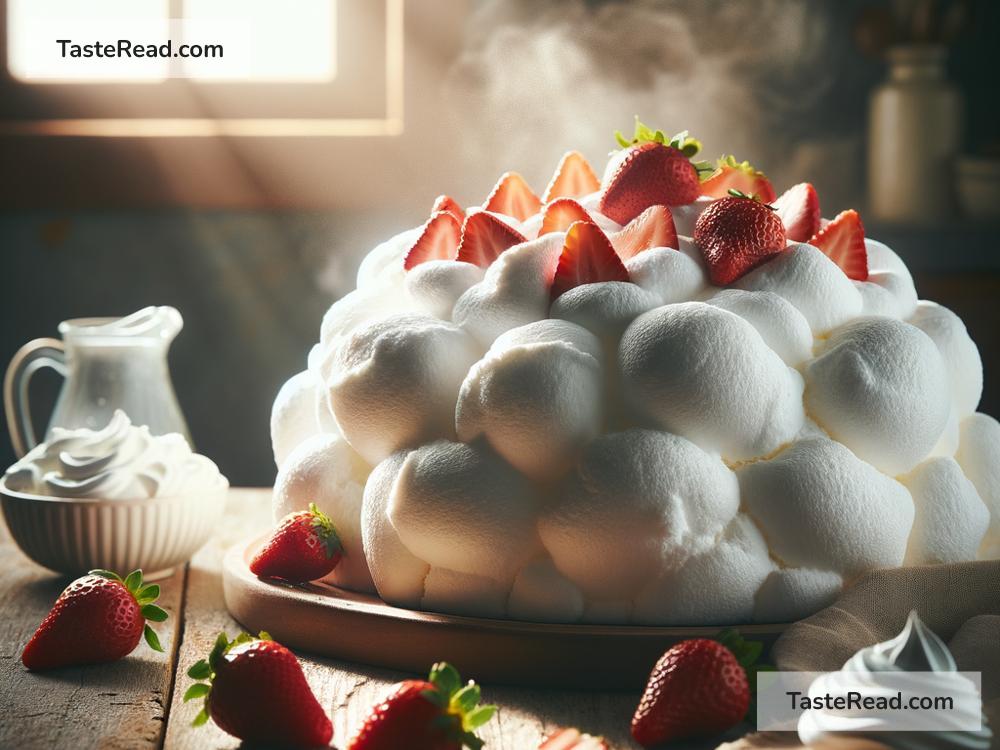
Once the cake has fully cooled (give it at least an hour), run a knife around the edges of the pan, including the tube part, to help release the cake. It should come out easily. Serve your fluffy masterpiece with fresh fruit, whipped cream, or enjoy it just as it is.
Tips for Success
- Room Temperature Egg Whites: Take your eggs out of the fridge ahead of time.
- Don’t Skimp on the Sifting: The flour and sugar mixture needs to be as airy as possible.
- Stiff Peaks are Key: Be patient when whipping your egg whites and get them to the right consistency.
- Gentle Folding: Preserve as much air in your batter as you can by being gentle and slow.
- Cooling Upside Down is Crucial: This step might seem odd but it’s essential for keeping your cake high and mighty.
Angel Food Cake is elegance in simplicity. It looks impressive, tastes heavenly, and now, you know how to make it. Whether it’s for a special occasion or just because you deserve a treat, baking a fluffy Angel Food Cake is a delightful endeavor that rewards you with a slice of sweetness worth every effort. Happy baking!