How to Get the Perfect Glaze in Food Photography Shots
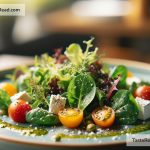
Food photography is an art, and like any art form, it requires a certain level of skill and technique to get right. One aspect that can transform your food photography from good to great is mastering the art of glazing. A perfect glaze can make your dishes look mouth-wateringly irresistible, elevating the overall appeal of your photos. Whether you’re a professional food blogger, an aspiring photographer, or simply someone who takes pride in their culinary creations on Instagram, knowing how to get that perfect glaze can make all the difference. So, let’s dive in and discover how to achieve that shine that’ll make your viewers want to reach through the screen.
1. Understand Your Light
The key to a perfect glaze in food photography starts with understanding and manipulating light. Soft, diffused light works best to highlight the glossy texture of your food. If you’re shooting in natural light, aim for times when the sunlight is not too harsh, such as during the early morning or late afternoon. Using a diffuser, like a sheer curtain or a professional photography diffuser, can help soften the light. If you’re indoors, setting up next to a window with plenty of indirect light can work wonders.
2. Angle is Everything
The angle at which you shoot can significantly affect how the glaze appears in your photos. Typically, shooting at a slight angle or side-on can capture the glaze more effectively than a top-down approach. This is because side angles allow the light to reflect off the glaze, creating that shiny, appealing texture we’re aiming for. Experiment with different angles to see which best accentuates the glaze on your specific dish.
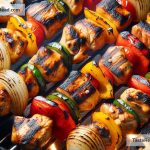
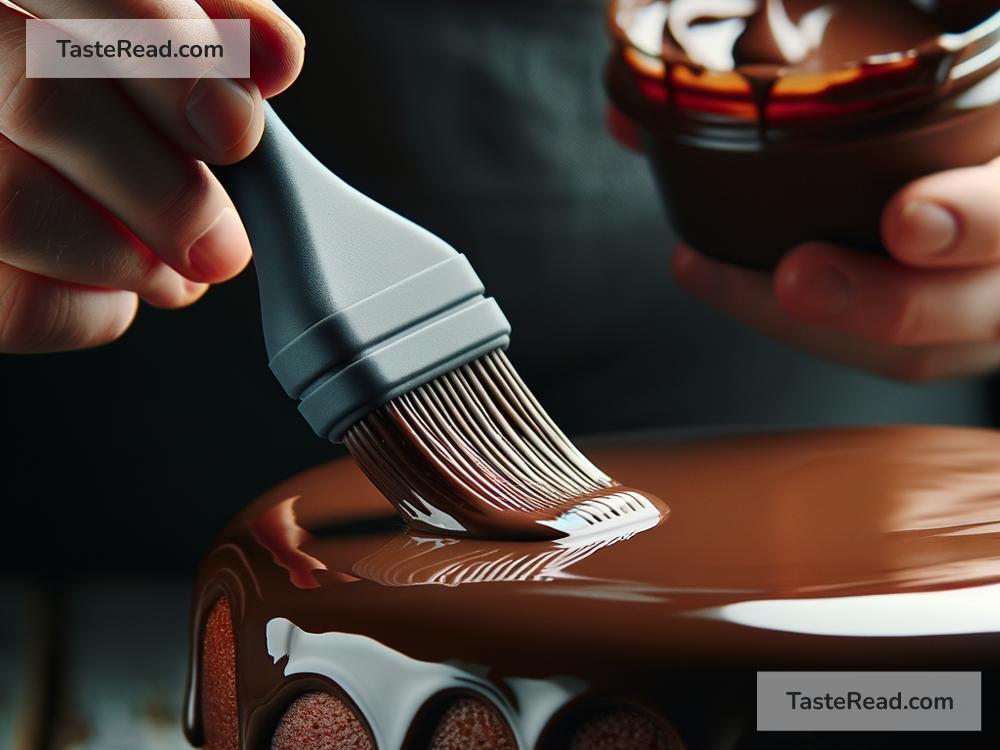
3. Brush on the Shine
Sometimes, the natural glaze of your food might not be enough to achieve that eye-catching shine in photos. In such cases, it’s perfectly fine to give nature a little help. A simple trick is to brush a light coating of oil or melted butter over the food. This technique works exceptionally well for meats and vegetables, adding a glossy sheen that looks fantastic in photos. Be careful not to overdo it; a light brush is all you need.
4. Create a Make-believe Glaze
For some dishes, especially desserts, creating a glaze from scratch might be the way to go. A mixture of sugar and water, heated and then cooled, can create a simple syrup glaze that works well on fruits and pastries. Apply it sparingly with a brush for just the right amount of shine. Another option is to use honey or maple syrup, which not only adds a glaze but can also enhance the color of the food.
5. Post-Processing Polish
After capturing your photos, a bit of post-processing can help fine-tune the glaze. Software like Adobe Lightroom or Photoshop has tools that allow you to enhance the shine. A slight boost in contrast and saturation can make the glaze pop without making the photo look unnatural. Remember, less is more when it comes to editing; your goal is to enhance the photo’s natural appeal, not create an overdone or artificial look.
6. Practice and Patience
Like any other skill, getting the perfect glaze in your food photography takes practice and patience. Each dish is different, and what works well for one might not work for another. The key is to experiment with lighting, angles, and techniques until you find what best showcases the glaze. Over time, you’ll develop an instinct for capturing that perfect shine.
7. Keep it Natural
Last but not least, aim to keep your photography as authentic as possible. While it’s okay to enhance the glaze, the final image should still be true to what the food actually looks like. Your audience appreciates honesty, especially in food photography, so strive for photographs that are appealing yet genuine.
Conclusion
Mastering the art of getting the perfect glaze in food photography is all about understanding light, experimenting with angles, and sometimes giving nature a little nudge. With these tips, you’re well on your way to capturing food photos that not only look professional but irresistibly delicious. So, grab your camera, play around with these techniques, and watch as your food photography shines—quite literally.