How to Make Homemade Ice Cream Without a Machine
Nothing screams summer like a scoop of rich and creamy ice cream. But what if I told you that you don’t need a fancy ice cream machine to make this frozen delight at home? With a few simple ingredients and a bit of arm muscle, you can whip up delicious homemade ice cream. It’s an exciting activity, especially if you have little helpers in the kitchen eager to customize their flavors. Here’s how you can make your own ice cream without a machine, breaking it down into simple steps anyone can follow.
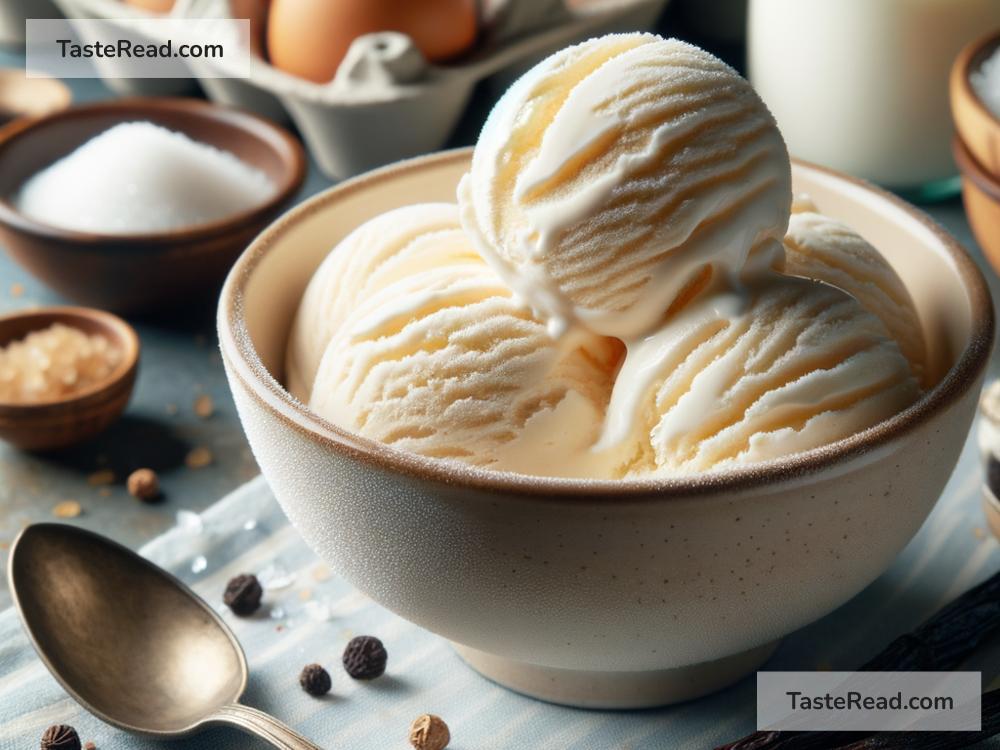
You’ll Need:
- Heavy Cream: This is the main ingredient that makes the ice cream rich and creamy.
- Condensed Milk: It sweetens the ice cream and adds to its creamy texture.
- Vanilla Extract: For that classic ice cream flavor, but this is optional and customizable.
- A Large Mixing Bowl: Preferably metal, as it will retain cold better.
- A Whisk or Electric Mixer: To whip the cream.
- A Freezer-Safe Container: To freeze the ice cream.
- A Freezer: Obviously, to freeze your ice cream!
- Patience and Muscle Power: Especially if you’re whisking by hand!
Step 1: Chill the Mixing Bowl
For best results, place your mixing bowl in the freezer for about 15 to 30 minutes before you start. This helps in whipping the cream more efficiently.
Step 2: Whip the Cream
Pour the heavy cream into the chilled bowl. Using a whisk or an electric mixer, whip the cream until stiff peaks form. If you’re using a whisk, brace yourself for a mini workout! It’s vital not to overbeat the cream; otherwise, it can become too thick and butter-like.
Step 3: Add Condensed Milk and Vanilla Extract
Once the cream is whipped, gently fold in the condensed milk and vanilla extract (or any other flavorings you prefer). Be careful not to deflate the cream; fold it in gently until well combined.
Step 4: Flavoring Your Ice Cream
Here’s where you can get creative. Add in your favorite mix-ins to customize your ice cream. Chocolate chips, crushed cookies, berries, nuts, or swirls of caramel or chocolate sauce are all fantastic options. Just gently fold these into your mixture.
Step 5: Freeze
Pour the mixture into a freezer-safe container. Cover it with a lid or plastic wrap to prevent ice crystals from forming on the top. Then, freeze your concoction for at least 6 hours, but ideally overnight. The waiting is the hardest part, but it’s worth it!
Step 6: Enjoy!
Once your ice cream has set, it’s time to enjoy your homemade treat. Scoop it out, and if it’s too hard, let it sit at room temperature for a few minutes to soften. Serve it in cones or bowls, and don’t forget the toppings!
Additional Tips:
- For Softer Ice Cream: Mix your ice cream every hour for the first 4 hours of freezing. This process, known as “churning,” helps break up ice crystals, mimicking the function of an ice cream machine and resulting in a softer texture.
- Keep It Creamy: Homemade ice cream can sometimes become hard. To keep it creamy, add a tablespoon of alcohol like vodka or a liqueur. Alcohol doesn’t freeze, which helps prevent the ice cream from getting too hard.
- Healthier Options: For a lighter version, substitute heavy cream with half-and-half or use low-fat condensed milk. You can also add fresh fruits for natural sweetness and flavor.
Making homemade ice cream without a machine is a fun and easy process that yields deliciously creamy results. It allows you to be creative with flavors, and it’s a great activity to involve kids in the kitchen. The most challenging part is waiting for the ice cream to freeze, but the anticipation makes that first scoop even more satisfying. So why wait? Dive into your homemade ice cream adventure today!