How to Master the Craft of Baking Rustic Baguettes
Baking rustic baguettes from scratch sounds like a task fit for professional bakers, right? But guess what? With a touch of patience and a dash of love, you can craft beautiful, crusty baguettes in your own kitchen. Here’s a simple guide to help you master the art of baking these classic French loaves.
The Ingredients: Keep It Simple
The beauty of rustic baguettes lies in their simplicity. You’ll need just four basic ingredients:
– Flour: Go for high-quality all-purpose or bread flour for the best results.
– Water: Use lukewarm water to help activate the yeast.
– Yeast: Either active dry yeast or instant yeast will do the trick.
– Salt: This is crucial for flavor. Don’t overlook it!
That’s it! With just these, you’re set to create magic.
The Mixing: Start with a Spark
First, dissolve the yeast in lukewarm water. Make sure the water is not too hot, or you’ll risk killing the yeast. Give it a few minutes; you should see some bubbles forming if the yeast is happy and active. In a large bowl, combine the flour and salt, then pour in the yeasty water. Stir everything together until it forms a shaggy dough.
The Kneading: Show Some Muscle
Kneading dough can be a workout, but it’s essential. Turn your dough onto a lightly floured surface and push, fold, and turn it for about 10 minutes. You’re aiming for a dough that’s smooth, elastic, and slightly tacky. If the dough sticks to your hands too much, a little flour can help, but try not to add too much.
The First Rise: Patience is Key
Once your dough feels right, place it in a lightly oiled bowl, cover it with a clean kitchen towel, and let it rise. This is where patience really comes in. Your dough needs time to double in size, which can take anywhere from 1 to 2 hours depending on the warmth of your kitchen.
Shaping: The Signature Look
After the dough has risen, gently deflate it and divide it into two or three pieces, depending on how large you want your baguettes. Here’s the fun part: shaping. Gently elongate each piece of dough into a rough rectangle. Then fold the long sides into the middle and press them together. Finally, roll each piece gently with your hands to lengthen it into that classic baguette shape. Try to keep an even thickness from end to end.
Scoring: It’s All About the Slashes
Scoring dough might seem purely decorative, but it actually helps control how the baguettes expand in the oven. Just before baking, use a sharp knife or a lame (a special baker’s tool) to make a series of diagonal slashes along the top of each loaf. Don’t be shy; a good, deep slash will yield the best results.
The Second Rise: Almost There
Place your shaped and scored baguettes onto a lightly floured surface or a baguette pan if you have one. Cover them with a towel again and let them puff up for about 30 to 45 minutes. They won’t double in size this time, but they should look noticeably fuller.
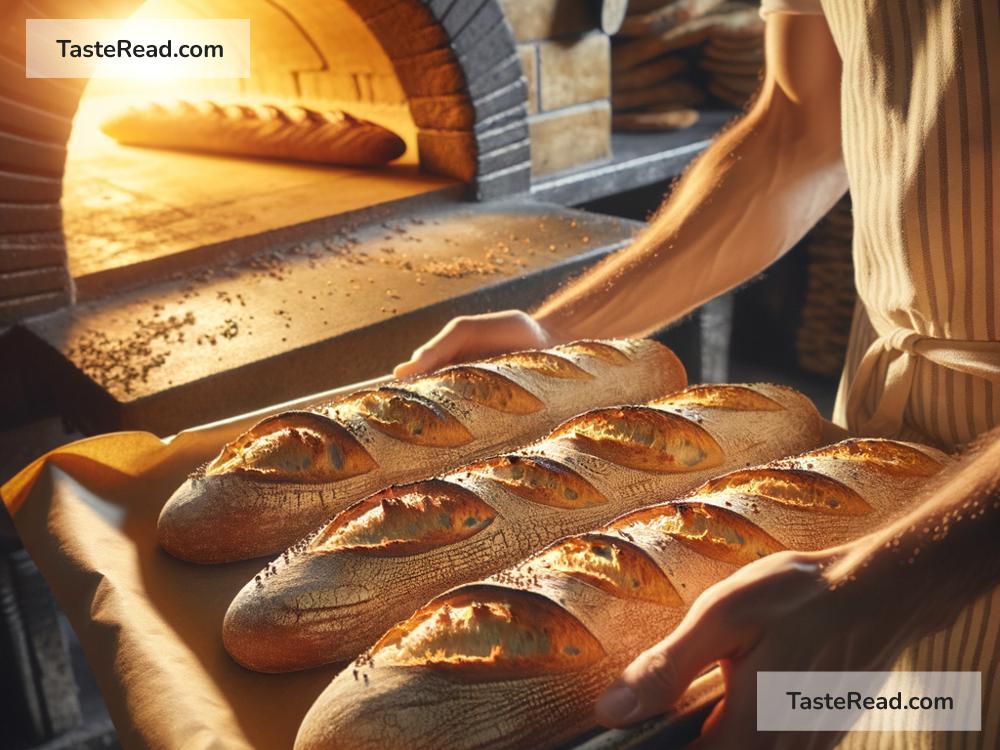
Baking: Turn Up the Heat
Preheat your oven to a hot 475°F (245°C) and place a baking stone or an inverted baking sheet inside to heat up. If you’re looking for that classic crispy crust, place a pan of water on the bottom rack of the oven to create steam.
When it’s time to bake, carefully transfer the baguettes to the oven. Bake for 20 to 25 minutes or until the baguettes are golden brown and sound hollow when tapped on the bottom. Resist the urge to open the oven too much; let the steam and heat work their magic.
Cooling: The Final Test of Patience
Once baked to perfection, remove the baguettes from the oven and let them cool on a wire rack. Waiting for them to cool is crucial as it completes the cooking process and helps develop the texture and flavor.
Enjoy the Fruits of Your Labor
Congratulations! You’ve just baked rustic baguettes that are sure to impress. Slice them up while still slightly warm and enjoy with butter, cheese, or your favorite spread. The crispy crust, tender crumb, and the incomparable aroma of freshly baked bread will make all the effort worthwhile.
Mastering the craft of baking rustic baguettes at home is a journey of love and patience. Each step, from mixing to baking, allows you to connect with the timeless art of bread-making. Embrace every moment, and don’t be afraid to experiment. Happy baking!