Title: A Beginner’s Guide to Photographing Multilayered Dishes: Making Complexity Look Simple
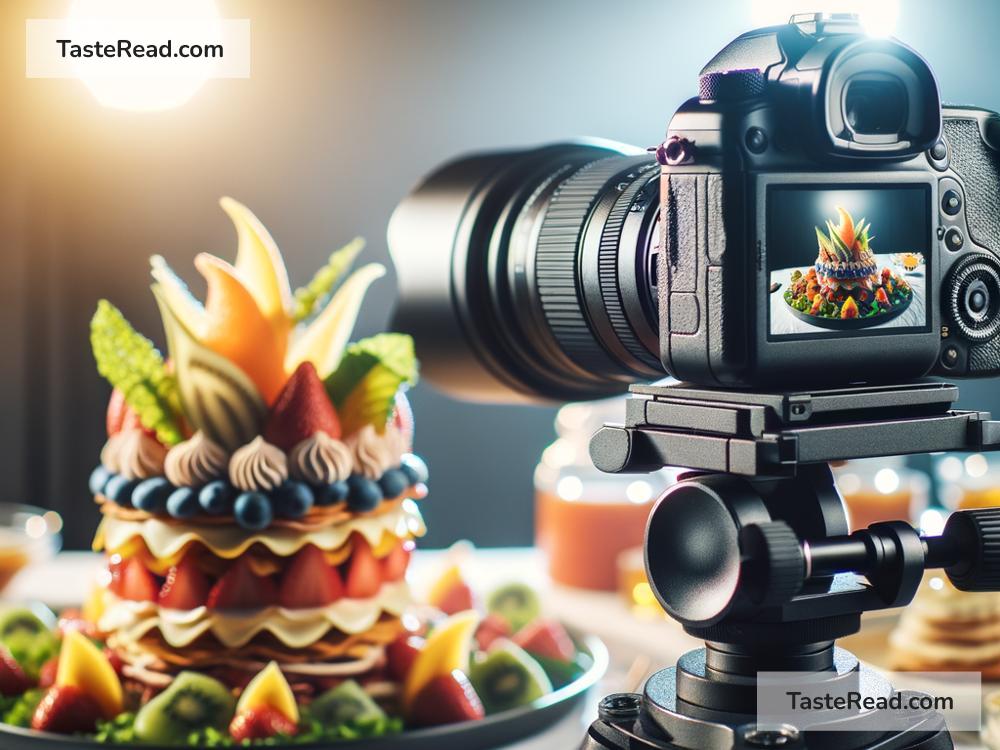
When it comes to food photography, capturing the essence and beauty of complex dishes with multiple layers can seem daunting. These dishes are often the pièces de résistance of a menu, showcasing the chef’s skill in combining textures, colors, and flavors. But fear not! Whether you’re a budding food blogger, a social media enthusiast, or just passionate about photography, this guide will walk you through the steps to making those intricate dishes look as breathtaking in photos as they do in real life.
1. Understand Your Dish
Before you even pick up your camera, take a moment to really look at the dish you’re about to photograph. Understand its layers, textures, and colors. What makes it unique? Is it the vibrant layers of a rainbow cake, the intricate assembly of a gourmet burger, or the delicate layers of a fine pastry? Knowing what makes the dish special will help you decide how to approach the photograph.
2. Choose the Right Angle
The angle from which you photograph your dish can dramatically change the story it tells. For layered dishes, the goal is usually to showcase the depth and intricacies of those layers. An angle that’s slightly above the dish can work wonders, offering a clear view of the layers while still providing some of the dish’s context. In some cases, a side angle might be best to truly emphasize the thickness and texture of each layer. Don’t be afraid to experiment with different angles to find the one that best highlights the unique qualities of your dish.
3. Lighting Matters
Natural light is your best friend in food photography. It softens colors and brings out textures, making your dish look even more appealing. If possible, set up your shoot near a window with plenty of indirect natural light. Remember, the aim is to illuminate the dish without causing harsh shadows or overexposing any parts. Sometimes, using a simple white reflector (a piece of card will do) can help bounce light back onto the dish, evenly lighting those intricate layers.
4. Simplify Your Composition
When photographing complex dishes, it’s easy to get carried away and overload the frame. However, simplicity is key. Resist the urge to fill every space. Use plain backgrounds and minimal props to ensure your dish remains the star of the show. A neutral-colored plate or a simple wooden table can provide a clean, uncluttered backdrop that makes the colors and textures of your layered dish pop.
5. Focus on the Details
The beauty of a layered dish lies in its details. Use a good quality camera and lens that allow you to capture the crispness of each layer. Playing with depth of field—how much of your image is in focus—can help direct the viewer’s attention. Setting a wider aperture (a lower f-number) blurs the background and focuses sharply on a specific part of the dish, making those delicate layers the focal point.
6. Enhance the Colors
While natural presentation is key, sometimes your dish might need a little extra help to look its best in photos. Enhancing the colors and contrast slightly in post-production can make your dish stand out. Remember, the goal is enhancement, not alteration. Tools like Lightroom or Photoshop are great, but even free apps can help adjust your images. The trick is to keep it subtle; your photo should still look natural and appetizing.
7. Practice, Practice, Practice
Like with any skill, the more you practice, the better you’ll get. Experiment with different dishes, playing with angles, lighting, and compositions. Analyze your photos to see what works and what doesn’t, and don’t be afraid to ask for feedback from others. Over time, you’ll develop an eye for what makes a stunning food photograph.
Photographing complex dishes with multiple layers doesn’t have to be complicated. With a bit of planning, the right technique, and practice, you can capture the beauty and intricacy of any dish. Remember, the goal is to make viewers feel like they can almost taste the dish through your photo. By following these simple tips, you’re well on your way to doing just that. So, grab your camera, find a dish that inspires you, and start shooting. Who knows? Your next photo might just be the one that makes everyone’s mouth water. Happy shooting!