How to Prepare and Grill Corn on the Cob — The Easy & Delicious Way
Grilling season is upon us, and what’s a barbecue without the sweet, juicy goodness of corn on the cob? There’s something about that charred flavor mixed with the natural sweetness of corn that screams summer. But if you’ve ever been intimidated by the prospect of grilling corn yourself, worry no more! We’re here to break down the process into simple, easy-to-follow steps. Before you know it, you’ll be grilling corn like a pro.
1. Picking the Perfect Corn
The foundation of delicious grilled corn starts at the grocery store or farmers market. Look for corn with bright green husks and moist, sticky tassels (those are the silk-like strands sticking out at the top). Give the corn a gentle squeeze to make sure it feels plump and doesn’t have any soft spots. Freshness is key!
2. To Husk or Not to Husk
When it comes to grilling corn, there are two main camps: those who grill with the husks on and those who prefer their corn husked. Both methods have their merits.
Grilling With Husks On: Grilling corn in its husk helps steam the corn inside, resulting in juicy, tender kernels. It also adds a smoky flavor. Soak the corn (husks and all) in water for about 15 to 20 minutes before grilling. This prevents the husks from catching fire. When you’re ready, peel back the husks (but don’t remove them), remove the silk, butter the corn (optional), re-cover with the husks, and it’s ready to grill.
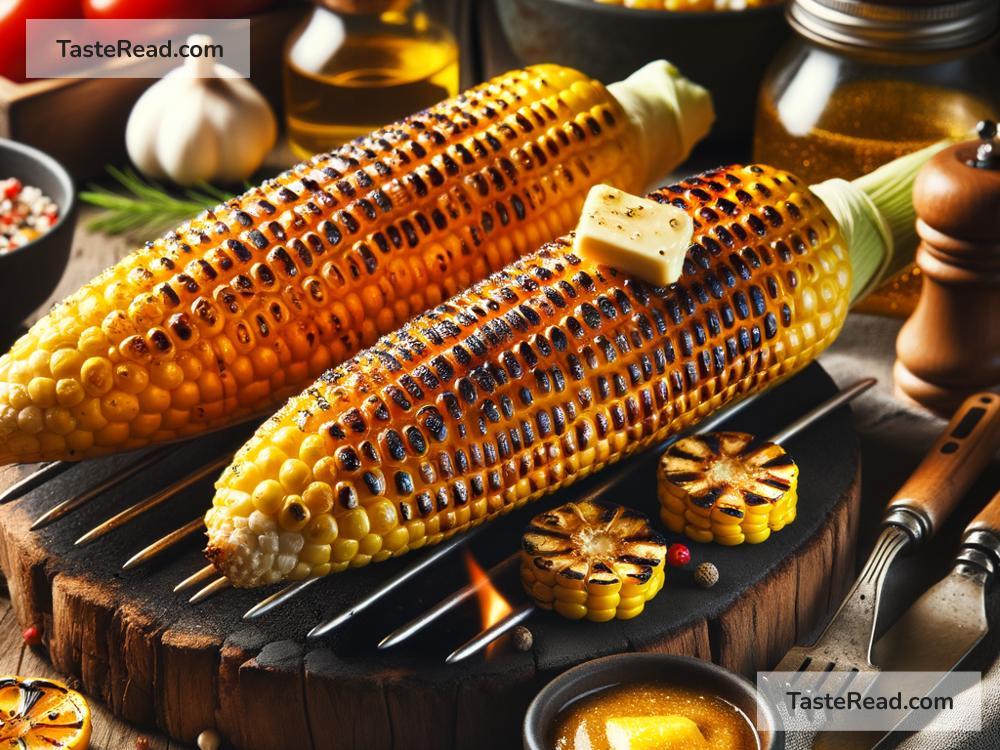
Grilling Husked Corn: If you prefer a more charred flavor, remove the husks and silk before grilling. This method allows the corn to get those beautiful grill marks directly on the kernels.
3. Prepping Your Grill
Whether you have a charcoal or gas grill, make sure it’s clean and heated to a medium-high temperature before you start. If you’re using a charcoal grill, distribute the coals evenly to ensure consistent heating. For gas grills, just set to medium-high heat.
4. Grilling Time
Place your prepped corn on the grill. If you kept the husks on, place them directly on the grill. For husked corn, you might want to lightly oil the grill grates before placing the corn on to prevent sticking.
Turn the corn every 3-4 minutes to ensure even cooking and to avoid burning. Total cooking time should be around 12-15 minutes, depending on your grill and the size of the corn. You’ll know the corn is done when it’s tender and has some delicious-looking grill marks.
5. Adding Flavors
What makes grilled corn even better? Flavor enhancements! You can keep it simple with a brush of melted butter and a sprinkle of salt. Or, get adventurous with seasonings like chili powder, lime zest, grated Parmesan cheese, or fresh herbs. A popular Mexican street food version involves smearing grilled corn with mayo, sprinkling it with cotija cheese and chili powder, and then squeezing fresh lime juice over it. Delicious!
6. Serving Your Masterpiece
Once your corn is grilled to perfection, let it cool for a couple of minutes before serving. If you grilled with the husks on, now is the time to remove them completely (caution: it will be hot!). Grab some corn holders (or just use your hands if you’re feeling bold), add your favorite toppings, and dig in.
In Conclusion
Grilling corn on the cob is easier than you might think, and it’s a surefire way to impress at your next barbecue. Whether you prefer the steamy, smoky flavor of corn grilled in its husks or the direct char of husk-less corn, following these simple steps will result in mouth-watering corn every time. Experiment with different flavors and toppings to make each cob your own unique creation. Happy grilling!
Remember, the best part about cooking is making it your own, so feel free to adjust any of these steps to suit your taste. The main goal is to enjoy the process and the delicious results. So, fire up that grill, and let the magic of summer barbecues bring joy to your table.