How to Prepare and Roast a Whole Chicken with Crispy Skin
Roasting a whole chicken may sound like a culinary challenge, but it’s actually quite simple and incredibly rewarding. Not only will you end up with a delicious homemade meal, but the aroma that fills your kitchen is unbeatable. The star of the show? That perfectly crispy skin. If you’re ready to take on this kitchen adventure, follow these easy steps to roast a whole chicken to perfection.
Step 1: Prepare Your Ingredients
First, let’s gather what we need. You’ll need a whole chicken, about 4-5 pounds works well for a standard size oven. For the crispy skin, we only need a few simple ingredients: salt, pepper, and olive oil or butter. Feel free to add herbs like rosemary or thyme, and garlic for extra flavor. Make sure your chicken is thawed if it was frozen.
Step 2: Preheat Your Oven and Prepare the Chicken
Start by preheating your oven to 425°F (220°C). This high heat is key for crispy skin. While waiting, let’s prep the chicken. Remove any giblets from the cavity and give it a good rinse under cold water, inside and out. Pat the chicken dry with paper towels – the drier the skin, the crispier it will be.
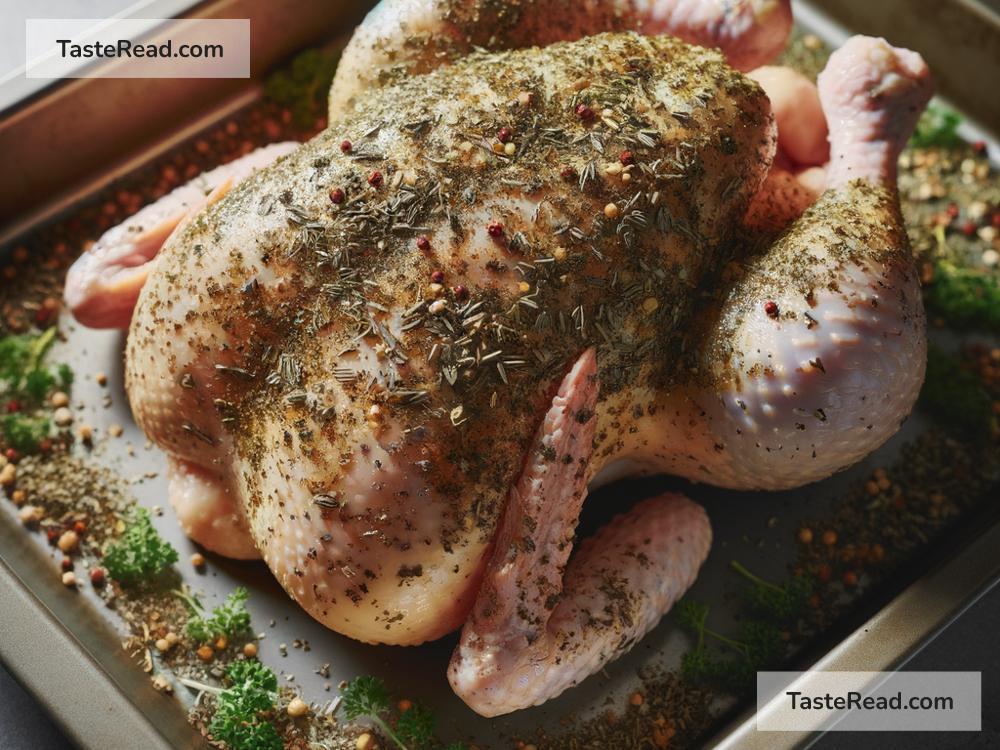
Next, it’s seasoning time. Rub the outside of the chicken with olive oil or soft butter; this helps the skin turn golden and crispy. Sprinkle generously with salt and pepper, even inside the cavity. If you’re using herbs and garlic, place them inside the cavity or under the skin for added flavor.
Step 3: Tying and Roasting
If you have kitchen twine, tie the legs together. This isn’t essential, but it helps the chicken cook evenly and keeps it looking neat. Tuck the wing tips under the body to prevent them from burning.
Place the chicken breast-side up in a roasting pan or on a wire rack over a baking sheet. This allows air to circulate around the chicken, making it cook evenly and helping the skin crisp up all over.
Now, into the oven it goes! Roast at 425°F (220°C) for 1 hour and 10 minutes, but start checking at 1 hour. The chicken is done when the juices run clear from a cut between the thigh and the body, or a meat thermometer inserted into the thickest part of the thigh reads 165°F (74°C).
Step 4: Rest Before Carving
This might be the hardest part – waiting! Once your chicken is perfectly roasted, take it out of the oven and let it rest for at least 10 minutes before carving. This allows the juices to redistribute, ensuring your chicken is moist and flavorful throughout. Use this time to make a quick gravy from the pan drippings if you like.
Step 5: Carve and Serve
Carving a chicken can be intimidating, but it’s easier than it looks. Start by removing the legs and thighs, cutting through the joints. Then, slice down one side of the breastbone and along the rib cage to remove the breast. Repeat on the other side. Finally, slice the breast and thigh meat into portions, and you’re ready to serve.
There you have it, a beautifully roasted whole chicken with skin so crispy it sings. Serve it alongside your favorite sides – roasted vegetables, mashed potatoes, or a simple salad work great.
Some Additional Tips for the Perfect Roast:
- Let the chicken come to room temperature for about 30 minutes before roasting; this ensures it cooks evenly.
- Don’t crowd the pan; give your chicken some space so the heat can circulate efficiently.
- Save your bones and veggie scraps for homemade chicken stock – it’s easy to make and tastes better than store-bought.
Roasting a whole chicken might seem like a feast reserved for special occasions, but it’s simple enough to prepare any day of the week. With a little patience and preparation, you’ll end up with a meal that’s sure to impress. Enjoy the process and the delicious results!