How to Properly Rest Meat After Cooking for Juicy Results
Imagine cutting into a piece of meat straight off the grill or pan, only to find the juices running all over your plate instead of staying in the meat where they belong. Believe it or not, the secret to succulent, mouth-watering meat lies not just in how you cook it, but also in how you rest it afterwards. Let’s delve into the simple steps you can follow to rest your meat correctly for the juiciest results possible.
Why Resting Meat is Essential
First things first: why bother resting meat at all? When you cook meat, the heat causes its fibers to tighten and the juices to move towards the center. If you slice into it immediately, these juices haven’t had the chance to redistribute, and they’ll just end up on your plate instead of in your mouth where they should be. Resting allows the fibers to relax and the juices to soak back into the entire cut, ensuring every bite is as delicious as the first.
The Steps to Perfectly Rested Meat
1. Cook Your Meat to Perfection
Before you even think about resting, you need to cook your meat properly. Use a meat thermometer to ensure it’s cooked to your desired doneness without going overboard.
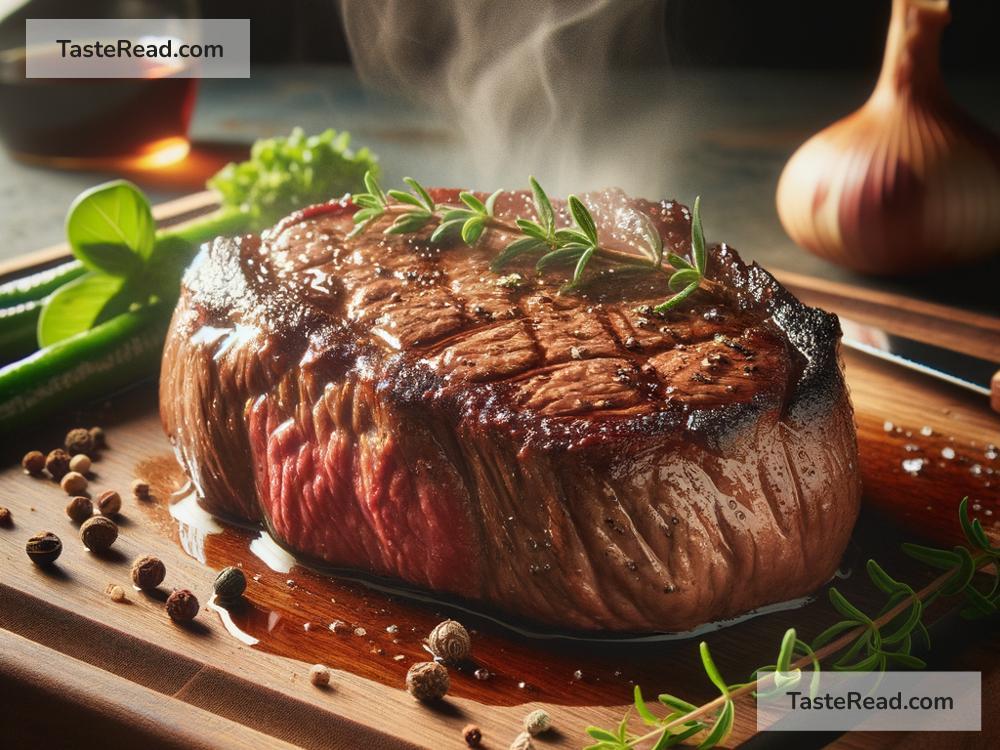
2. Remove and Rest
As soon as your meat reaches its perfect temperature, take it off the heat. This is where the magic of resting begins. Put it on a warm plate or a cutting board — somewhere it won’t lose too much heat.
3. Tent with Foil (Optional)
This step is especially useful in colder environments, where your meat might cool down too quickly. Loosely tenting the meat with a piece of aluminum foil can help keep it warm without cooking it further. Just remember, the keyword here is ‘loosely’ – wrapping it too tightly will cause the meat to sweat, affecting the crispy exterior you worked so hard to achieve.
4. Wait
Now comes the hardest part: the waiting. Depending on the size of your meat, this can range from a few minutes for small cuts (like steak) to upwards of 20 minutes or more for large roasts. A good rule of thumb is to rest your meat for about 5 to 10 minutes per pound. During this time, resist the urge to poke or cut into the meat. Patience is key.
5. Serve and Enjoy
Once the resting period is over, it’s finally time to slice into your perfectly rested meat and enjoy the juicy, flavorful results. You’ll notice a significant difference in how much juicier and more tender it is compared to meat that wasn’t given the chance to rest.
Tips for Resting Meat Successfully
-
Keep Warm: If you’re concerned about your meat going cold, remember the foil tent trick. Just ensure you’re keeping it in a warm place.
-
Consider Carryover Cooking: Remember, meat continues to cook slightly after being removed from the heat. This is known as carryover cooking. Account for this when deciding how long to cook and rest your meat to avoid overcooking.
-
Use a Timer: It’s easy to get distracted while waiting for your meat to rest. Set a timer to remind you when it’s ready to be carved.
Common Mistakes to Avoid
-
Cutting Too Soon: It can be tempting, but give your meat the time it needs to reabsorb those juices.
-
Covering Too Tightly With Foil: While tenting can help keep your meat warm, wrapping it too tightly will steam the meat, potentially making the outer layer soggy.
-
Ignoring Rest Time in Cooking Plan: Factor in rest time when planning your meal to ensure everything comes out hot and ready together.
Resting meat might seem like a small, perhaps unnecessary step, especially when your stomach is grumbling. However, once you experience the difference it makes in the texture and taste of your meat, you’ll see why it’s a crucial part of the cooking process. It’s a simple technique that requires nothing more than a bit of patience, but the reward is juicy, flavorful meat that’s well worth the wait. So the next time you’re cooking meat, remember to give it the rest it deserves. Bon appétit!