How to Shoot Food Photos in Natural Light: Tips for Beginners
In the world of Instagram and food blogs, stunning food photos are a must. But don’t let the professional photos intimidate you. If you’re a beginner, one of the best ways to capture drool-worthy food photos is by using natural light. It’s simple, it’s free, and when done right, it can visually elevate your dish from good to gourmet. So, if you’re ready to step up your food photography game, here are some beginner-friendly tips on how to shoot food photos in natural light.
1. Choose the Right Time and Place
Natural light can vary dramatically throughout the day. The soft, diffused light of early morning or late afternoon is ideal for food photography. It’s gentle, creating a warm and inviting atmosphere without the harsh shadows or overly bright highlights midday light can produce.
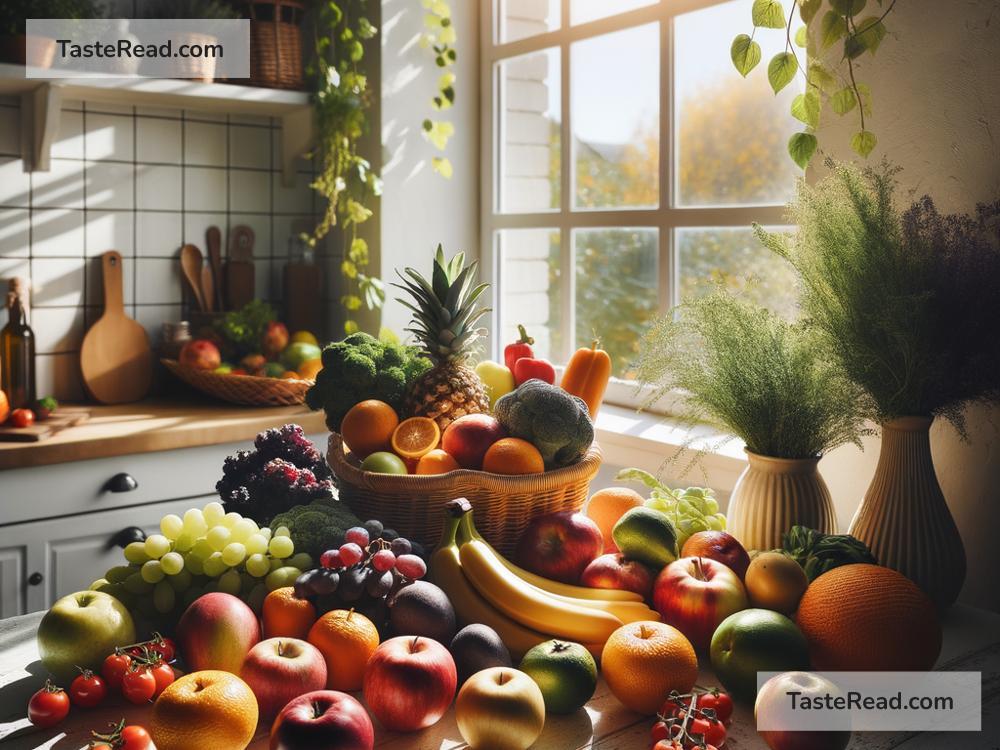
Set up your shooting area near a window where plenty of natural light pours in. Avoid direct sunlight as it tends to be too harsh and creates strong shadows. If the sunlight through your window is too direct, try diffusing it with sheer curtains or a white sheet. This softens the light, giving your photos a more balanced look.
2. Understand the Direction of Light
The direction of light significantly affects the look and feel of your photo. Here are the three main directions you can experiment with:
-
Backlighting: This is when the light source is behind the food. It creates a glowing effect around the edges, making your dish look almost heavenly. However, it can also create shadows in the front, so you might need a reflector (a white board or even a piece of aluminum foil can work) to bounce some light back.
-
Side-lighting: As the name suggests, this is when the light comes from one side. It’s great for emphasizing textures and details, making it a popular choice for food photography. It creates a nice balance between light and shadow, giving your photos depth.
-
Front-lighting: This is when the light source is behind the camera, shining directly on the food. It minimizes shadows but can also flatten the image, making it less dynamic. It’s not the most recommended for food photography, but it can work well for certain shots.
Experiment with these directions to see what best showcases your dish.
3. Work with Reflectors and Diffusers
Reflectors and diffusers can be your best friends in manipulating natural light. As mentioned earlier, you can use anything white (like a board or paper) as a reflector to bounce light back onto the darker parts of your food, making the shadows less harsh. Similarly, a diffuser (which can be a translucent white fabric or a purpose-made photography diffuser) softens the light, ensuring your food looks its best.
4. Mind Your Background and Composition
A cluttered background can distract from the star of the show: your food. Choose simple backgrounds that complement your dish without overwhelming it. Natural textures like wood, marble, or a simple cloth can add a nice touch without stealing the spotlight.
As for composition, the rule of thirds is a good starting point. Imagine your frame divided into nine equal parts by two equally spaced vertical and horizontal lines. Placing the main elements of your dish along these lines or at their intersections creates a more balanced and engaging photo.
5. Play with Angles
The angle you choose can change the story you’re telling with your photo. A top-down angle works great for dishes where the arrangement or shape is important, like a pizza or a bowl of soup. A side view might be more appropriate for layered dishes like a cake or a burger. Don’t be afraid to move around and take multiple shots from different angles to find the best one.
6. Edit Wisely
A little bit of post-processing can make a big difference. There are many free and easy-to-use editing apps available that can help enhance your photos. Adjust the brightness, contrast, and saturation to make your dish pop, but remember to keep it looking natural. Over-edited photos can look fake and unappetizing.
Conclusion
Capturing beautiful food photos in natural light doesn’t require professional equipment or years of experience. With these beginner-friendly tips, you can start taking gorgeous food photos right away. Practice, patience, and a bit of creativity are key. So, grab your camera (or phone), find a window, and let the magic of natural light do the rest. Happy shooting!