Capturing the Flavor: Tips for Nighttime Food Photography Using Light and Contrast
When the sun goes down and the lights are low, the world transforms. It’s a different realm altogether – quieter, moodier, and imbued with a sense of mystery. This transformation brings with it a unique opportunity for photographers, especially those with a penchant for capturing the essence of food. Nighttime food photography can be a challenging yet deeply rewarding venture. The key to making your nighttime food shots stand out lies in understanding and playing with light and contrast. In simpler terms, it’s all about how bright your subject is compared to the background and how you can use light to make your dish look absolutely irresistible, even in the dark. So, let’s dive into the nitty-gritty of using light and contrast to make your nighttime food photography a resounding success.
1. Embrace Artificial Light
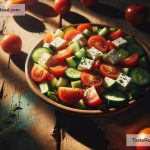
The absence of natural light doesn’t mean the absence of light altogether. Nighttime is when artificial lights can shine quite literally. Think of table lamps, overhead lights, or even the soft glow from a nearby window. An LED panel, a ring light, or even your smartphone flashlight can become your best allies. Play around with these light sources to see which angle makes your dish look its most appealing. The goal is to highlight the textures and colors of the food, making it jump off the image.
2. Experiment with Diffusers and Reflectors
Direct artificial light can sometimes be too harsh for food photography, creating unwanted shadows and overexposing parts of your delicious subject. To combat this, use diffusers – they could be professional photography umbrellas or even a thin white cloth can work wonders. These diffusers soften the light, giving your food a gentle, appealing glow. Similarly, reflectors (which can be as simple as a piece of white cardboard) can help balance the light, filling in shadows and evenly distributing the light across the frame.
3. Understand the Role of Contrast
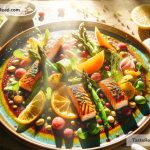
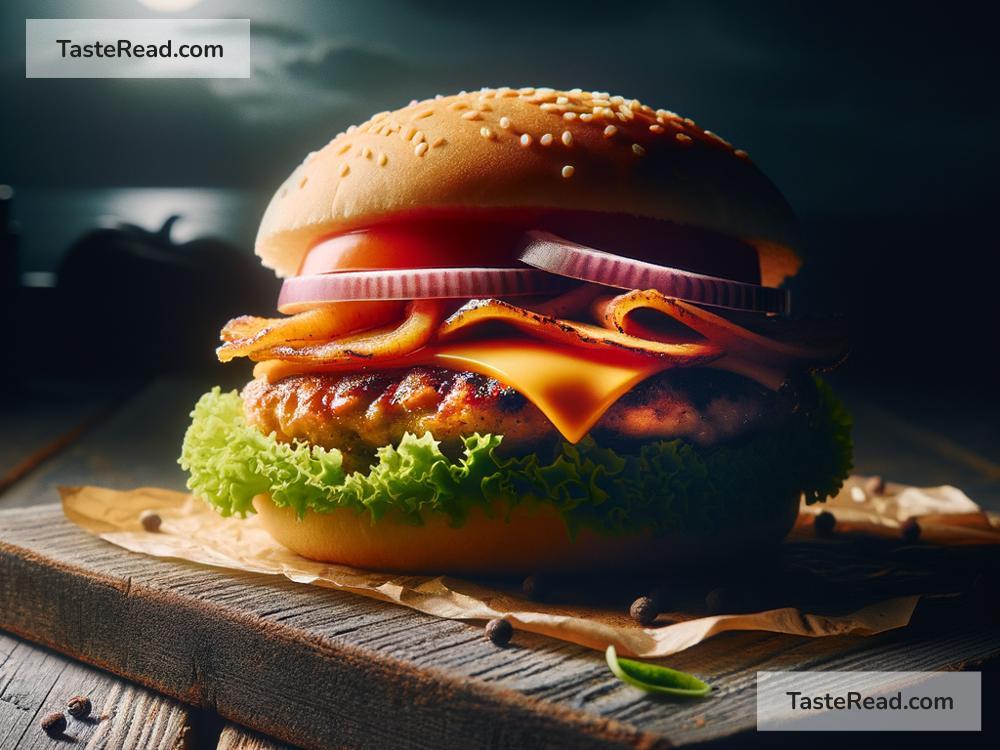
Contrast isn’t just about light and dark; it’s about creating depth and dimension. Use contrast to make your food ‘pop’ against the background. If you’re shooting a dark chocolate cake, for instance, placing it against a lighter background could make it stand out more. Play with the scene – a sprinkle of powdered sugar on a dark table, or the gleam of a fork nearby can add layers of contrast that draw the viewer’s eye directly to the hero of your story: the food.
4. Don’t Be Afraid of Shadows
Shadows often get a bad rap in photography, but when used creatively, they can add a dramatic flair to your images. Instead of trying to eliminate them completely, use shadows to create a mood or emphasize texture. For instance, the shadow of a fork tine creeping across the plate can add intrigue and depth to your shot. Remember, the goal is to make the viewer’s mouth water, and sometimes, a little drama is exactly what’s needed.
5. Keep It Sharp
When working with artificial lighting, it’s crucial to maintain sharpness in your images. Ensure your camera is stable (a tripod is a photographer’s best friend) and use a remote shutter or the timer function to avoid any shake. A sharp, well-lit image captures all the textures of the food, making it look as tantalizing on screen as it does on the plate.
6. Post-Processing Magic
Even with all the precautions, sometimes the captured image might not fully convey the beauty of your dish. That’s where editing comes into play. Programs like Lightroom and Photoshop allow you to adjust exposure, contrast, and sharpness, among other things. A slight increase in contrast can make colors pop, while playing with the brightness can bring out those hidden details. However, remember the golden rule: keep it natural. The aim is to enhance, not to transform.
Closing Thoughts
Nighttime food photography, with its interplay of light and contrast, can transform a simple dish into a masterpiece. It requires patience, experimentation, and a bit of creativity but the end results are worth it. So next time the sun sets, don’t pack up your camera. Instead, see it as an opportunity to capture food in a whole new light (pun intended). Happy shooting!