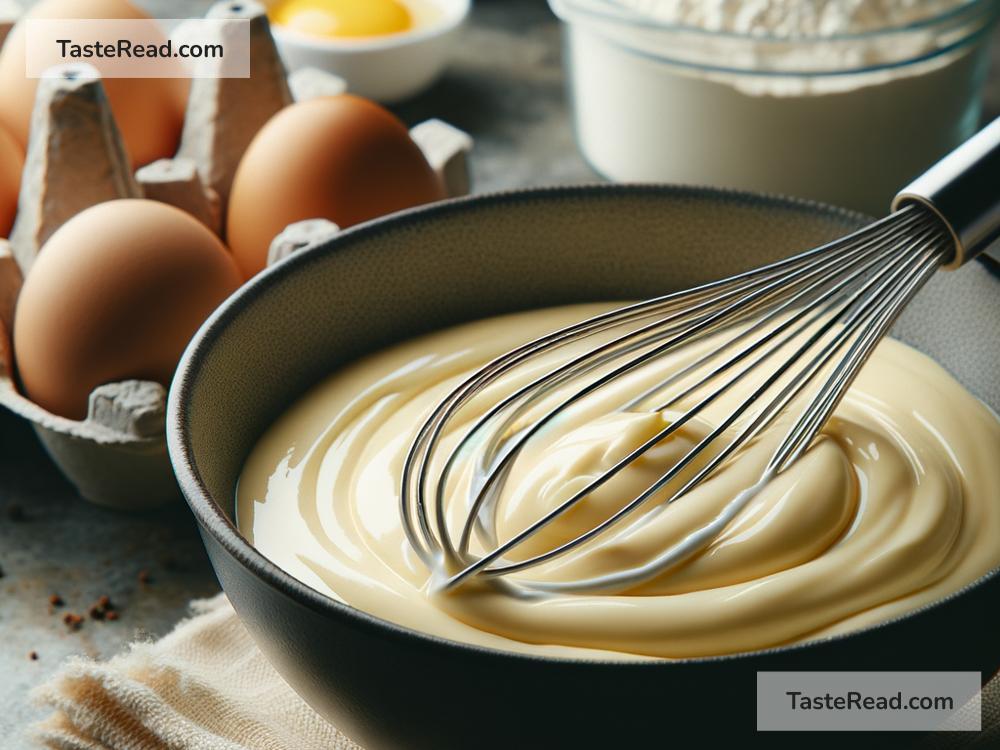
How to Whisk Ingredients for Fluffy Batters and Sauces: A Simple Guide
Creating the perfect fluffy batter or smooth sauce can seem like a bit of a culinary mystery. But one of the secrets behind those airy pancakes and silky gravies is a technique that’s been used in kitchens for generations: whisking. This simple yet crucial step can make all the difference. Worry not; mastering the whisk is easier than you think, and I’m here to guide you through it. Let’s get whisking!
1. Choosing Your Whisk
Before diving into the method, let’s talk about your tool. Whisks come in various shapes and sizes, but for most home cooks, a standard balloon whisk will do wonders. It has a wide, bulbous shape, perfect for incorporating air into your mixture, making it fluffy and light. If you’re working with a small bowl or a more delicate sauce, a smaller whisk, such as a French whisk, may give you more control.
2. Understand Your Goal
Depending on what you’re making, the aim of whisking can vary. For batters, the goal is usually to incorporate air, making them light and fluffy. For sauces and emulsions (like mayonnaise or vinaigrette), the objective is to combine ingredients smoothly and evenly. Always keep the end result in mind, as it will guide your technique.
3. The Basics of Whisking
Alright, let’s get to the fun part. Here’s a simple step-by-step guide to effective whisking:
Step 1: Add Your Ingredients
Start by adding your ingredients to a bowl. If you’re making a batter, this usually means combining your dry ingredients first and then gradually adding in the wet ones. For sauces, you’ll often start with a liquid base.
Step 2: Grip the Whisk Properly
Hold the whisk with a comfortable grip near the handle but not too tightly. You want to have flexibility in your movements. Think of it like holding a pencil; too tight, and your hand gets tired quickly; too loose, and you lack control.
Step 3: Use the Right Motion
Here’s where many get it wrong. Whisking isn’t just about moving your wrist back and forth. Instead, use a combination of wrist motions and arm movements. Think of drawing circles or figure-eights in your mixture. This motion ensures that you’re incorporating as much air as possible and mixing all ingredients thoroughly.
Step 4: Adjust Your Speed
Speed matters. For fluffy batters, start slower to incorporate the ingredients without splashing, then increase your speed to whip air into the mixture. For sauces, a steady, even pace is usually best to emulsify ingredients without creating too many air bubbles.
Step 5: Check Consistency
Periodically, stop whisking and lift your whisk to check the consistency of your mixture. For batters, you’re looking for a smooth, airy texture without clumps. For sauces, you want a uniform, velvety consistency. Adjust your whisking as needed to achieve the desired result.
4. Clean Up Like a Pro
Once your masterpiece is complete, it’s time for clean-up. Whisks can be tricky to clean, but a good soak in warm, soapy water usually loosens stuck-on ingredients. Use a sponge to gently scrub the wires, and you’re all set for next time.
Additional Tips for Perfect Whisking
- Choose the Right Bowl: Use a bowl that’s large enough to accommodate your ingredients with room for them to expand as you whisk. A slightly rounded bottom helps, too, as it lets you easily reach into the corners.
- Stabilize Your Bowl: To make your whisking easier, place a damp cloth underneath your bowl to keep it steady.
- Practice: Like any culinary skill, perfecting your whisking technique takes practice. Don’t be discouraged by lumps in your first pancake batter or a slightly split sauce. Keep at it!
Whisking is more than just mixing ingredients. It’s an art that, once mastered, can elevate your cooking to new heights, making your batters fluffier and your sauces silkier. With a bit of practice and these simple steps, you’ll be on your way to whisking like a pro. So grab your whisk, and let’s make some culinary magic happen!


