Mastering the Art of Gelatin Clarification for Crystal Clear Jellies
Gelatin clarification is a culinary technique that transforms liquids into beautiful, clear jellies. It’s a bit like magic—turning your favorite drinks into sparkling jewels on the plate. But how do you master this technique? It’s not as daunting as it might seem, and I’m here to guide you through it step by step.
What is Gelatin Clarification?
First things first, let’s talk about what gelatin clarification really means. At its core, it’s a method used to remove all the tiny particles from a liquid, which could make it cloudy. This is done by using gelatin, a natural thickener derived from animal collagen. When gelatin is added to a liquid, it traps these particles as it sets. Once firm, the jelly can be carefully melted again, leaving behind a clear, transparent liquid that is reborn as a jelly.
Why Use Gelatin Clarification?
One might wonder why go through all this trouble? The answer is simple – for the wow factor. Imagine serving a dish that looks like a sparkling gem but tastes like your favorite cocktail, fruit juice, or even a rich broth. It’s not only a visual treat but also adds a dimension of sophistication to your dishes.
Ingredients & Equipment
- Gelatin Sheets or Powder: This is the star of the show. Gelatin sheets are preferred for their consistent quality, but powder works fine too.
- Your Liquid of Choice: Pretty much any liquid can be clarified, from coffee to fruit juices, to broths.
- A Strainer and Cheesecloth: To help with the clarification process.
- A Saucepan and Bowl: For heating and setting the gelatin.
Step-by-Step Guide to Gelatin Clarification
1. Prepare the Gelatin: Start by soaking the gelatin sheets in cold water until they become soft (about 5 to 10 minutes) or if using powder, sprinkle it over cold water to let it ‘bloom’.
2. Warm Your Liquid: Gently heat your chosen liquid, but make sure not to boil it. You just want it warm enough to dissolve the softened gelatin.
3. Dissolve the Gelatin: Squeeze out any excess water from the gelatin sheets and whisk them into the warm liquid until fully dissolved. If using powder, ensure it completely dissolves as well.
4. Set the Gelatin: Pour the mixture into a shallow dish or container and let it cool to room temperature, then refrigerate. Wait until the gelatin completely sets, which could take several hours or overnight.
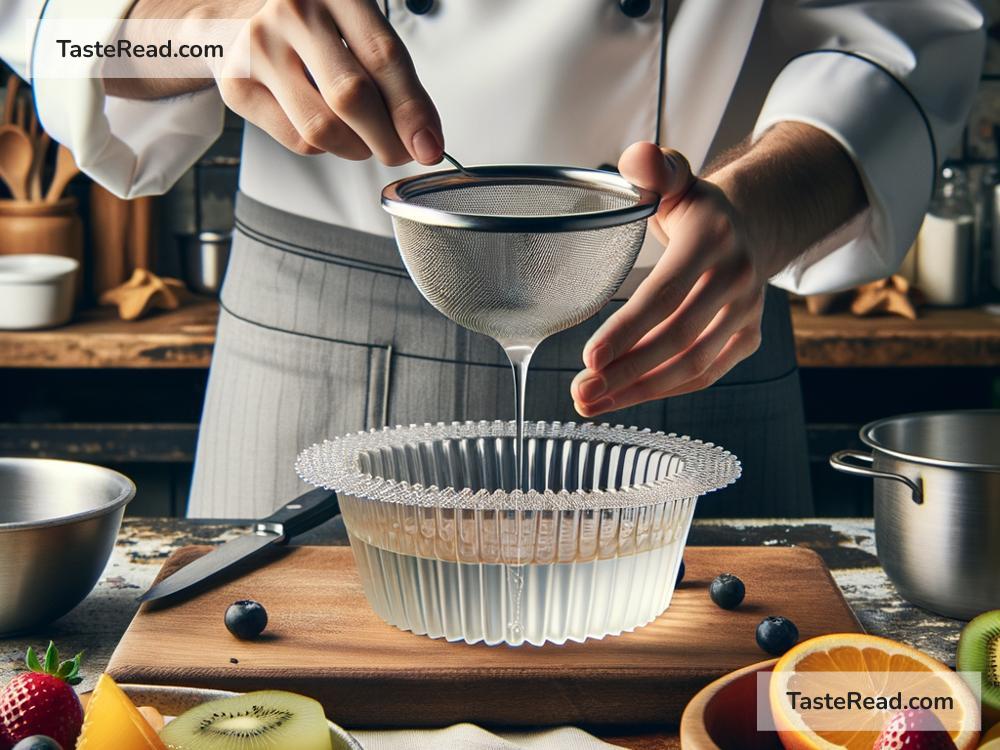
5. Clarify the Gelatin: Once set, carefully remove the gelatin from the container. Break it into pieces and place it in a strainer lined with cheesecloth over a bowl. Allow the gelatin to slowly melt and drip through the cheesecloth into the bowl, refrigerating if necessary. This process can take several hours, so patience is key.
6. Collect the Clear Jelly: What drips through is your clarified jelly. Marvel at its clarity and natural beauty!
7. Refrigerate or Use: You can pour this clear jelly into molds for a decorative effect or refrigerate it until needed.
Tips for Success
- Patience is Virtue: The clarification process cannot be rushed. Patience will yield the best results.
- Experiment with Flavors: This method opens a world of possibilities. Mix and match different liquids to find your favorite combinations.
- Keep It Cool: Make sure to keep the liquid cool while it’s dripping through the cheesecloth to avoid melting too quickly and getting a cloudy result.
Conclusion
Mastering the art of gelatin clarification might sound like it belongs in a professional kitchen, but with some patience and practice, it’s something any passionate home cook can achieve. The beauty of this technique lies in its simplicity and the stunning results it produces. Whether you’re looking to impress guests at your next dinner party or just experimenting with culinary techniques, gelatin clarification is a skill worth adding to your repertoire. Embrace the process, and let your culinary creativeness shine through crystal clear jellies.