Mastering the Technique of Making Homemade Bread with a Sourdough Starter
Bread-making at home can feel like a daunting task, especially when diving into the world of sourdough. But don’t worry; it’s a rewarding experience. Today, we’ll break down the process of creating delicious homemade bread using a sourdough starter, explaining each step in straightforward terms.
1. Understanding Sourdough Starter
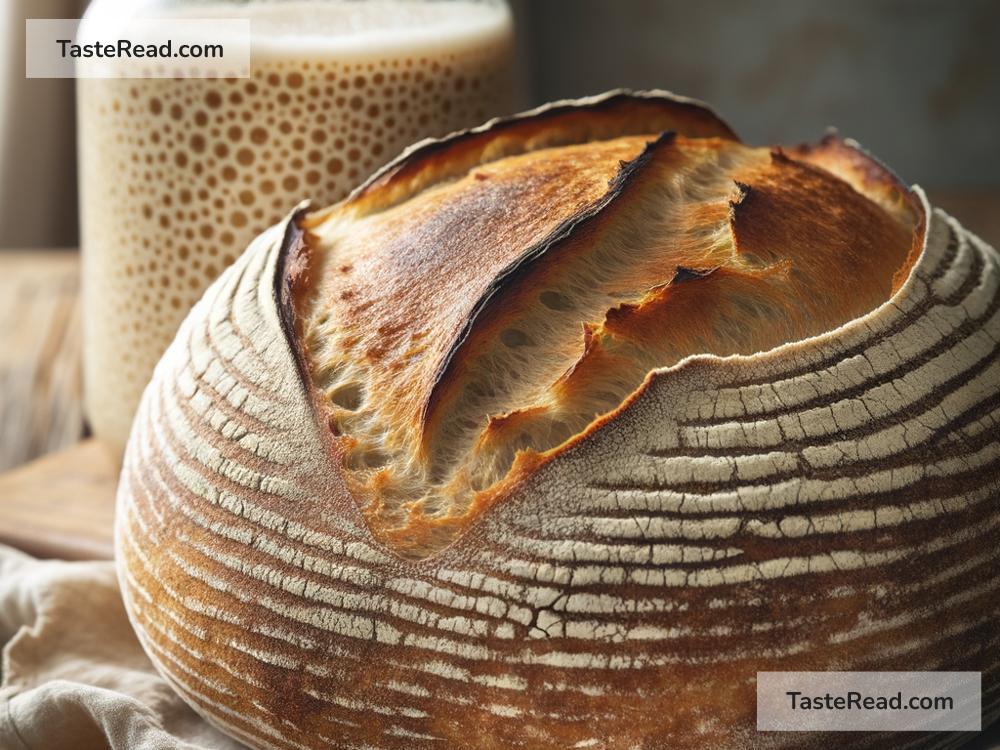
First, let’s talk about the star of the show: the sourdough starter. A sourdough starter is a mixture of flour and water that captures wild yeast from the environment. This natural yeast allows the bread to rise without the need for commercial yeast. To make your starter, mix equal parts flour and water in a jar and leave it at room temperature. Feed it daily with more flour and water. In about 5-7 days, you’ll notice it bubbling and smelling slightly sour – signs that it’s active and ready to use.
2. Preparing Your Dough
Now, for the bread-making part. You need flour, water, salt, and your active sourdough starter. A simple ratio to remember is: 1000g flour, 700g water, 20g salt, and 200g active sourdough starter. This will make two loaves.
Mix the flour and water first and let it sit for about 30 minutes. This process is called autolysis, and it helps with gluten development without extra kneading. Add the sourdough starter and salt after this resting period, and mix until everything is well incorporated.
3. The Bulk Fermentation Process
After mixing, it’s time for the dough to rise during what’s called ‘bulk fermentation’. This step is crucial for flavor and texture development. Place your dough in a large bowl and cover it with a damp cloth. Leave it at room temperature for about 4-6 hours. During this time, you should perform a series of ‘stretch and folds’ – gently lifting and folding the dough over itself every 30-60 minutes. This technique strengthens the dough and helps it rise properly.
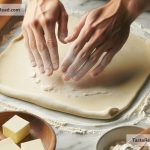
4. Shaping Your Bread
Once your dough has doubled in size, it’s time to shape it. Lightly flour your surface, and gently turn out the dough. Divide it in half (if making two loaves) and shape each half into a tight ball by folding the dough over itself and rolling it on the counter. This process creates tension on the surface, which helps in achieving a better rise.
5. Proofing
After shaping, the loaves need to rest and rise a bit more in what’s called the final proof. Place them in well-floured proofing baskets or any bowl lined with a clean kitchen towel. Cover them and let them rest for about 3-4 hours at room temperature, or overnight in the fridge for a more complex flavor.
6. Baking
Preheat your oven to a hot 475°F (245°C) with a Dutch oven inside. A Dutch oven captures steam and mimics a professional bread oven, giving your bread a crispy crust and soft interior. Carefully place your proofed dough into the hot Dutch oven, score the top with a sharp knife or razor blade (to allow expansion), cover it, and bake. After about 20 minutes, remove the lid to let the bread finish baking and develop a golden crust. This usually takes another 25-30 minutes.
7. Cooling and Enjoying
Resist the temptation to cut the bread right away. Allow it to cool completely on a wire rack; this final step is crucial for the texture to set. The waiting might be the hardest part, but it’s worth it.
Making bread with a sourdough starter is a rewarding journey
Yes, it involves patience and practice, but the results are gratifying. Each loaf is unique, reflecting the care and attention you’ve put into it. The tangy flavor, crispy crust, and tender crumb of homemade sourdough bread are unbeatable. Plus, the process of kneading, shaping, and baking can be incredibly therapeutic.
As you continue to bake, you’ll learn more about how slight changes in temperature, hydration, or fermentation time can influence your bread. Keep experimenting and trust your instincts. Happy baking!