How to Make Pickles from Leftover Vegetable Brines: A Simple Guide
Do you often find yourself tossing out vegetable brines after you’ve finished your pickles or olives? What if I told you that this liquid gold could be transformed into delicious, homemade pickles using leftovers from your fridge? Yes, it’s possible, and I’m here to guide you through the simple process of making pickles from leftover vegetable brines. Not only is it easy and economical, but it also contributes to reducing food waste. Let’s dive in!
Why Use Leftover Brine?
Leftover brine is full of flavors and the perfect acidic environment that encourages pickling. It’s a mixture that has already been perfected – a balance of vinegar, salt, water, and spices. By reusing it, you’re giving your vegetables a second life in a seasoned bath that’s just waiting to work its magic again.
Choosing Your Vegetables
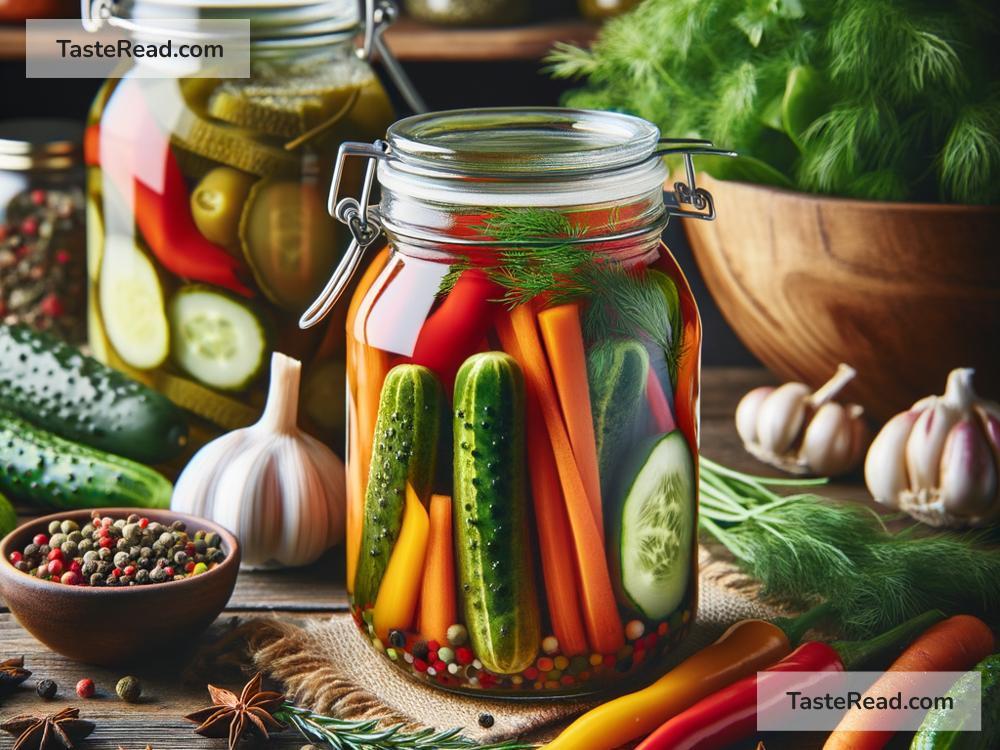
The beauty of this method is that it’s incredibly versatile. You can pickle almost any vegetable lying around in your kitchen. Popular choices include cucumbers, carrots, green beans, cauliflower, and even radishes. Feel free to experiment with what you have – this process is forgiving and you might end up creating a new favorite.
Preparing Your Vegetables
-
Wash and Dry: Begin by washing your vegetables thoroughly to remove any dirt. Dry them to ensure the brine isn’t diluted.
-
Cut to Size: Depending on the vegetable, you may want to slice them to fit your container or to expose more surface area to the brine. For cucumbers, cutting them into spears or slices works well. Carrots can be sliced or left whole if they’re small.
-
Blanch if Necessary: Some harder vegetables like carrots or green beans benefit from a quick blanching (boiling them for a few minutes and then plunging them into ice water). It softens them slightly so the brine can penetrate better.
Reusing the Brine
-
Inspect the Brine: Make sure your leftover brine is clear and smells good. If it looks cloudy or has an off smell, it’s best to discard it.
-
Reheat: Pour the brine into a pot and bring it to a rapid boil. This step is crucial as it kills any bacteria and ensures safety. Let it cool slightly before use.
-
Add Extra Flavors (Optional): This is the perfect opportunity to customize your pickles. Feel free to add extra spices like mustard seeds, peppercorns, or fresh dill to the brine. Garlic cloves and chili peppers are also great additions if you’re after a spicy kick.
Pickling Process
-
Fill Jars: Place your prepared vegetables tightly into clean jars. If you’ve decided to add extra flavors, distribute them evenly among the jars.
-
Pour the Brine: Carefully pour the hot brine over the vegetables, making sure they’re completely submerged. Leave about a half-inch of space at the top.
-
Cool and Seal: Let the jars cool to room temperature. Once cooled, seal them tightly.
-
Refrigerate: Unlike traditional canning, these pickles need to be stored in the refrigerator. The cold environment stops the fermentation process and keeps your pickles crisp.
Waiting Game
Patience is key – your homemade pickles won’t be ready overnight. Generally, it takes about a week for the flavors to fully develop. Taste them at the one-week mark; if you’d like a stronger flavor, let them sit a bit longer.
Enjoy and Repeat
Congratulations, you’ve just made a batch of delicious, crunchy pickles from leftover brine! Enjoy them as a snack, alongside your meals, or as a flavorful addition to salads and sandwiches. Remember, the brine can usually be reused a couple of times for pickling, so don’t hesitate to start the process again when you find yourself with more leftovers.
Conclusion
Making pickles from leftover vegetable brines is not only simple but also incredibly satisfying. It teaches us to look at what we have in our kitchens differently and to appreciate the potential of reuse. This method encourages creativity, reduces waste, and results in tasty treats that are sure to impress your family and friends. Start saving those brines, and happy pickling!