Title: How to Create Crackers from Old Dough: A Simple Guide
Ever found yourself with leftover dough after a baking spree and wondered what to do with it? Instead of letting it go to waste or relegating it to the back of your fridge, why not repurpose it into something delicious? Yes, I’m talking about turning that old dough into crispy, flavorful crackers that can rival any store-bought variety. Not only is this a fantastic way to reduce food waste, but it also gives you the opportunity to experiment with flavors. Here’s a simple guide on how to create crackers from old dough.
What You Need:
- Old dough (any kind will do – be it pizza, bread, or pie dough)
- Olive oil or melted butter
- Seasonings of choice (salt, pepper, garlic powder, rosemary, etc.)
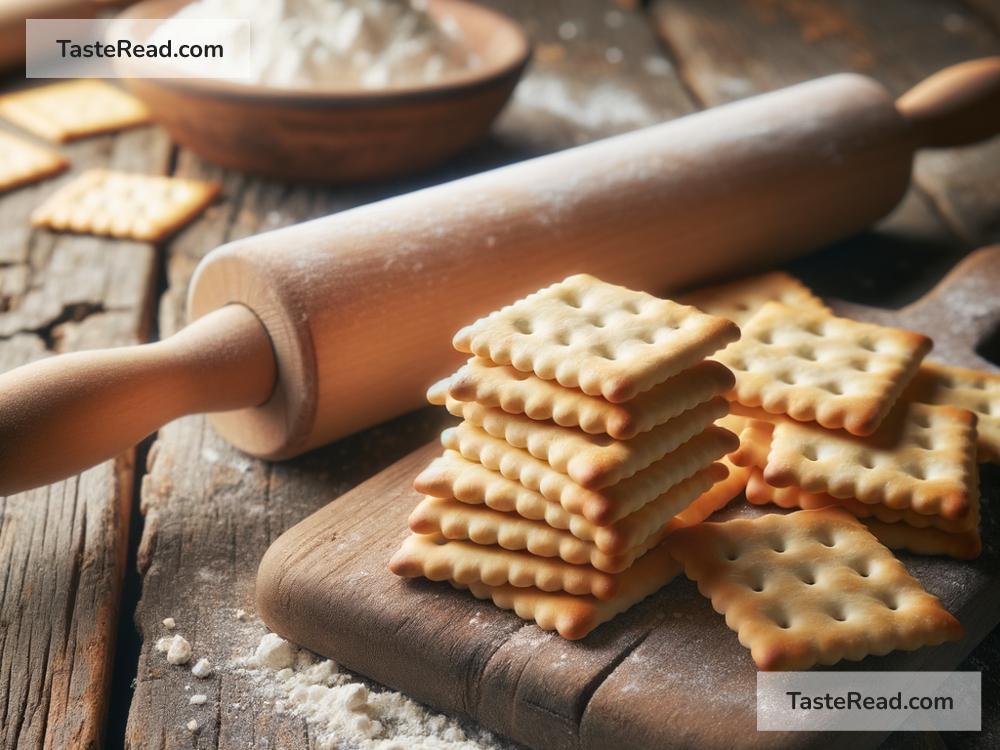
- A rolling pin
- A baking sheet
- Parchment paper
- A sharp knife or pizza cutter
Step 1: Bring Your Dough Back to Life
If your dough has been sitting in the fridge, let it come to room temperature. This makes it easier to roll out. If it’s a bit dry, kneading in a splash of water can help bring it back to a pliable consistency.
Step 2: Preheat Your Oven
Get your oven heating to about 375°F (190°C). This is a sweet spot for baking crackers, allowing them to crisp up without burning too quickly.
Step 3: Roll It Out
Lightly flour your work surface and the rolling pin to prevent the dough from sticking. Roll the dough as thin as you can manage – the thinner the dough, the crispier your crackers will be. Aim for about 1/8 inch (about 3mm) thickness, or even thinner if you can.
Step 4: Season
Once rolled out, brush the dough lightly with olive oil or melted butter. This not only helps the seasonings adhere to the dough but also contributes to the golden color and crispy texture of the crackers. Sprinkle your choice of seasonings over the dough. You can go simple with just sea salt, or mix and match flavors to create your perfect blend. Garlic powder, dried herbs, chili flakes, and grated cheese are all fantastic options.
Step 5: Cut Your Crackers
Using a sharp knife or pizza cutter, slice the dough into cracker-sized pieces. You can go traditional with squares or rectangles, or get a bit more creative with triangles or any shape that pleases you. If you want to get really fancy, you can even use cookie cutters.
Step 6: Bake to Perfection
Line a baking sheet with parchment paper and arrange your crackers in a single layer, making sure they don’t overlap. Bake in the preheated oven for 10-15 minutes, or until they start to turn golden brown around the edges. The baking time can vary depending on the thickness of your crackers, so keep an eye on them.
Step 7: Cool and Enjoy
Once baked to your liking, remove the crackers from the oven and let them cool on the baking sheet for a few minutes. Then transfer them to a wire rack to cool completely. This helps them crisp up even more.
Additional Tips:
- Experiment with Liquid Flavors: In addition to brushing your dough with oil or butter, you can also infuse it with additional flavors. Adding a splash of soy sauce, vinegar, or even a bit of lime juice to the mix can add a unique twist to your crackers.
- Don’t Waste Scraps: If you’re left with odd bits after cutting your crackers, don’t throw them away. These can be baked alongside the rest and enjoyed as a baker’s treat.
- Storage: Your homemade crackers can be stored in an airtight container at room temperature. They should stay crispy and delicious for several days, making them perfect for snacking, cheese boards, or serving alongside soups and salads.
Creating crackers from old dough is not just about being resourceful; it’s about opening up a world of culinary creativity. With this simple guide, you’re not only making the most out of leftovers but also treating yourself and your loved ones to something special. So next time you find yourself with some old dough, think twice before you consider tossing it. Happy baking!