How to Make a Beautiful Berry Pavlova Wreath
The holiday season or a joyful gathering is the perfect time for whipping up a sweet treat that’s as stunning to look at as it is delightful to eat. Enter the Berry Pavlova Wreath – a dessert that combines the light, airy texture of pavlova with the fresh, zesty taste of berries, all laid out in a charming wreath shape. What’s not to love? If kitchen adventures scare you, fret not. Here’s your simple guide to making a Berry Pavlova Wreath that’s bound to impress.
Ingredients:
- 4 large egg whites (room temperature)
- 1 cup of caster sugar (superfine sugar)
- 1 teaspoon of white vinegar
- 1 teaspoon of cornstarch
- 1 teaspoon of vanilla extract
- 1 cup of heavy cream
- 2 tablespoons of sugar (for the cream)
- A mix of your favorite berries (such as strawberries, raspberries, blueberries, and blackberries)
- Mint leaves (for garnish)
Step 1: Prep Your Baking Sheet
Start by gearing up your oven to 300°F (150°C). Take a baking sheet and cover it with parchment paper. Drawing a circle on the paper (about 9 inches in diameter) can be a nifty trick to ensure your pavlova wreath has a neat, uniform shape. Use a plate or a compass if you have to. Then, flip the paper over so the pencil mark doesn’t get onto the pavlova.
Step 2: Whisk Those Egg Whites
In a squeaky-clean mixing bowl, whip up the egg whites with an electric mixer until they form soft peaks. This usually takes about 4-5 minutes. Once you’re there, start adding the caster sugar a little at a time, continuing to whip until the mixture is glossy and holds stiff peaks. This is your meringue base, and getting it right is key to a cloud-like pavlova.
Step 3: Add the Magic Touches
Now, sprinkle the vinegar, cornstarch, and vanilla extract over the whipped meringue. Gently fold these in using a spatula. These ingredients help stabilize the meringue, giving it that dreamy, marshmallowy center.
Step 4: Shape the Wreath
Take fresh spoonfuls of your meringue and dollop them along the circle you marked on your baking parchment, forming a beautiful wreath shape. You can be as rustic or as neat as you like. Use the back of the spoon to create little peaks and troughs for a bit of an artistic flair.
Step 5: Bake the Pavlova
Slide your baking sheet into the oven and immediately reduce the temperature to 250°F (120°C). Bake the pavlova for about 1 hour and 15 minutes. When it’s done, it should look crisp and slightly golden. Here’s the crucial part: turn off the oven and let the pavlova cool completely inside. This slow cooling process helps prevent cracks.
Step 6: Whip Up the Cream
While the pavlova is chilling out, you can whip the heavy cream with 2 tablespoons of sugar until it forms soft peaks. Keep it in the fridge until you’re ready to assemble.
Step 7: Assemble Your Masterpiece
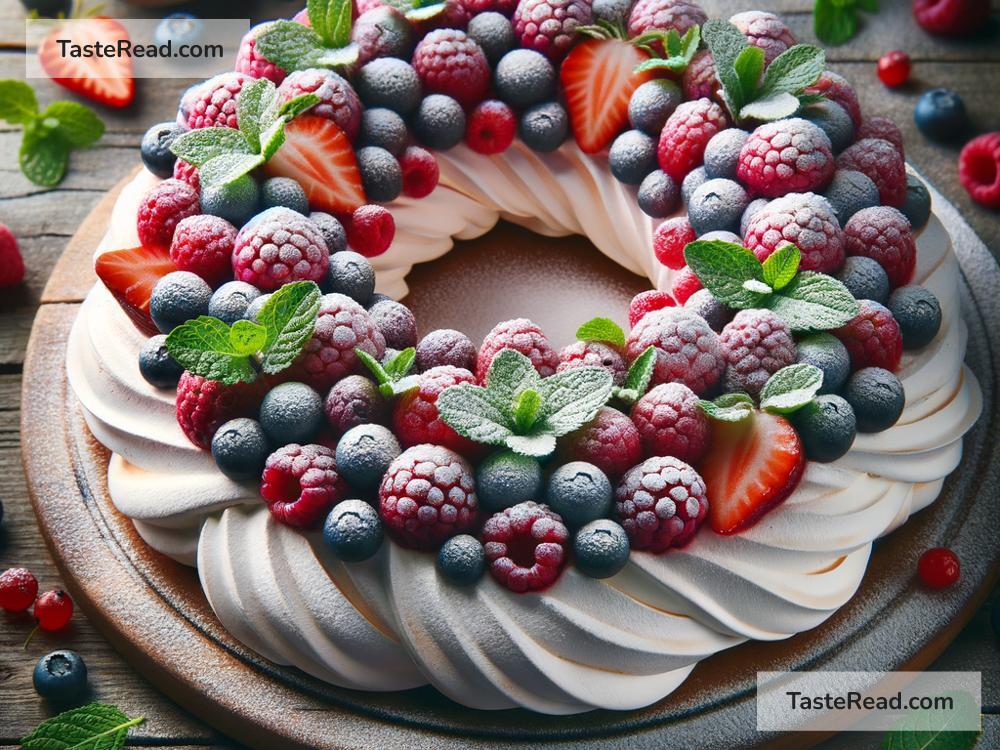
Carefully peel the pavlova off the baking paper and place it on a serving platter. Slather the whipped cream over the top, then scatter your choice of berries all over. For a final touch of color and freshness, add a few mint leaves.
Step 8: Serve and Enjoy!
Present your Berry Pavlova Wreath with a flourish. It’s best enjoyed immediately, with the crisp outer shell complementing the soft inside and the cream and berries adding layers of texture and flavour.
Additional Tips:
- Ensure your bowl and whisk are completely grease-free before whipping the egg whites.
- Feel free to get creative with the toppings. Apart from berries, you can use other fruits or even a drizzle of chocolate.
- For an extra festive touch, dust with a bit of powdered sugar to mimic a snowy effect.
Creating a Berry Pavlova Wreath is as much about enjoying the process as it is about indulging in the result. With this guide, even novices in the kitchen can produce a dessert that’s sure to leave everyone impressed and craving more. So, roll up your sleeves, and let’s make dessert the highlight of your next gathering!