How to Make Fresh Rustic Ciabatta Bread from Scratch
If you love the taste of fresh, homemade bread, then learning how to make rustic ciabatta bread is a must. Ciabatta is a traditional Italian bread that is known for its airy texture, slightly crispy crust, and beautiful irregular holes inside. While it may look fancy and complicated, it’s simpler than you think—and you don’t need any fancy equipment or special skills. In this blog, we’ll guide you step-by-step on how to make delicious fresh ciabatta bread from scratch using simple ingredients.
What Is Ciabatta Bread?
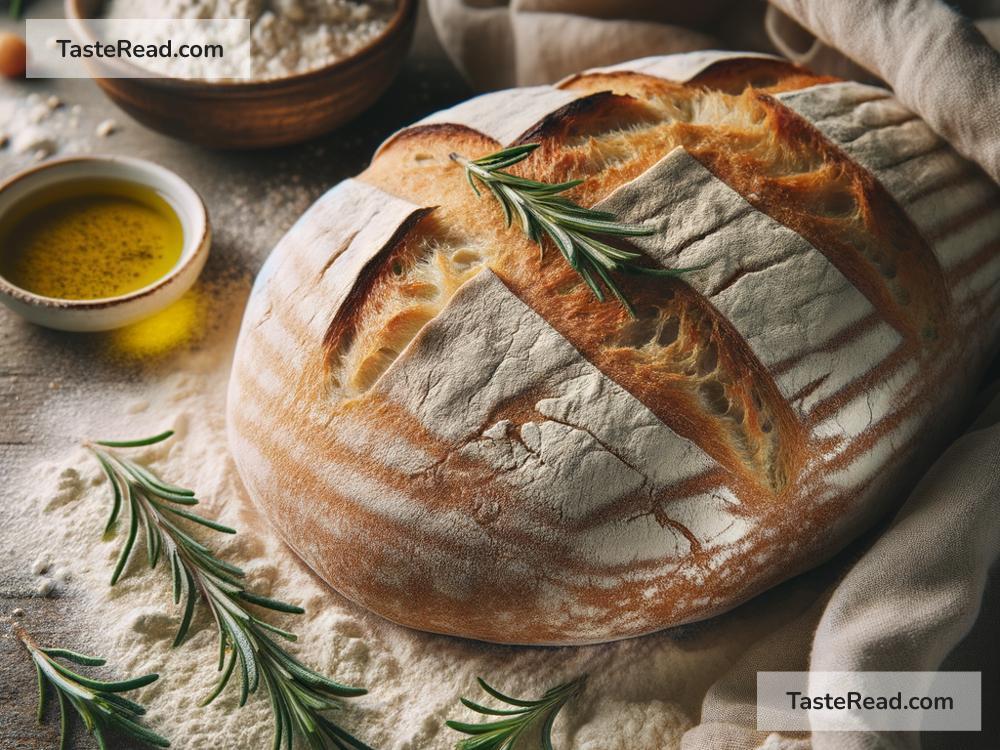
Ciabatta, which means “slipper” in Italian, gets its name because the shape of the bread often resembles a comfy slipper. It’s a flat, rustic bread with a chewy texture and a flavor that’s slightly tangy and savory. Ciabatta is a perfect companion to soups, sandwiches, or dipping into olive oil. Once you learn how to make it yourself, you’ll never want store-bought bread again!
Ingredients You’ll Need
Making ciabatta bread requires just a few basic ingredients:
– 3 ¾ cups (450g) all-purpose flour
– 1 ½ teaspoons salt
– ½ teaspoon instant yeast
– 1 ¾ cups (410ml) warm water
That’s it! No preservatives, fancy additives, or complicated substitutes here—just simple ingredients.
The Secret Behind Ciabatta: Wet Dough
The key to ciabatta bread is in the dough. It’s wetter and stickier than most bread dough, which is what creates those airy pockets and gives the bread a soft, chewy texture. Working with wet dough can be intimidating, but don’t worry! Once you understand the process, it becomes easy.
Step-by-Step Recipe
Step 1: Mix the Dough
Start by combining the dry ingredients: flour, salt, and yeast. Mix them in a large bowl. Then, add the warm water gradually, stirring with a wooden spoon or your hands until all the flour is hydrated. The dough will look wet, sticky, and shaggy—this is exactly what you’re aiming for.
Cover the bowl with a clean kitchen towel or plastic wrap and let it sit for 30 minutes. This resting time is part of the “autolyse” process, where the flour absorbs the water and starts to develop gluten.
Step 2: Stretch and Fold
Instead of kneading, use the “stretch-and-fold” method to develop the dough. Wet your hands to prevent sticking, then gently pull one side of the dough and fold it over the center. Rotate the bowl and repeat this motion 4-5 times (making about a full circle). The dough will become stronger and smoother each time you do this.
Cover the bowl again and let the dough rest for 30 minutes. Repeat the “stretch-and-fold” process 2-3 more times, with 30-minute rests in between each session. This step helps build structure in the dough while maintaining its light texture.
Step 3: Fermentation
Once the stretch-and-fold cycles are complete, cover the dough and let it rise for 2-3 hours at room temperature or until it doubles in size. The dough will look bubbly and full of life at this point.
Step 4: Shaping the Ciabatta
After the dough has risen, gently turn it out onto a well-floured surface. Be careful not to deflate or handle it too much—you want to keep those lovely air pockets intact. Dust your hands with flour and use a bench scraper or sharp knife to divide the dough into two or three rectangular pieces. These will become the ciabatta loaves.
Transfer the loaves to a parchment-lined baking sheet, leaving enough space between each piece. Don’t worry if they look uneven—that rustic shape is part of ciabatta’s charm! Dust the top of the loaves with flour and let them rest for 30-45 minutes.
Step 5: Baking the Bread
Preheat your oven to 450°F (230°C). Place a baking stone or an upside-down baking sheet in the oven to heat up—this helps create a crispy crust. If you’d like, place a small pan with water in the oven to create steam during baking.
Bake the ciabatta loaves for 20-25 minutes, or until the crust is golden brown and sounds hollow when tapped on the bottom. Let the bread cool on a wire rack before slicing.
Tips for Success
- Don’t rush fermentation: Good ciabatta bread takes time. Let your dough rest and rise properly to develop flavor and texture.
- Use wet hands: Wet hands make it easier to handle sticky dough.
- Resist over-handling: The less you disturb the dough during shaping, the better the air pockets inside the bread will be.
Enjoy Your Rustic Ciabatta Bread!
Making ciabatta bread from scratch is incredibly rewarding. When you pull those beautiful, warm loaves out of the oven, you’ll be amazed at what you’ve created with just a handful of simple ingredients. Slice your bread and enjoy it with olive oil and balsamic vinegar, as part of a sandwich, or simply on its own.
Once you’ve mastered this recipe, feel free to experiment with adding toppings like rosemary, olives, or garlic for extra flavor. Rustic ciabatta bread may take a little patience, but the delicious results are well worth the effort.
Happy baking!