Step-by-Step Guide to Crafting a Perfectly Layered Trifle
There’s something magical about a trifle. This layered dessert is a feast for both the eyes and the taste buds. Whether you’re preparing it for a holiday gathering, a birthday party, or simply as a treat for your family, the trifle never fails to impress. And the best part? It’s surprisingly easy to make! In this blog post, we’ll guide you through crafting the perfect trifle step by step using simple ingredients and techniques.
What is a Trifle?
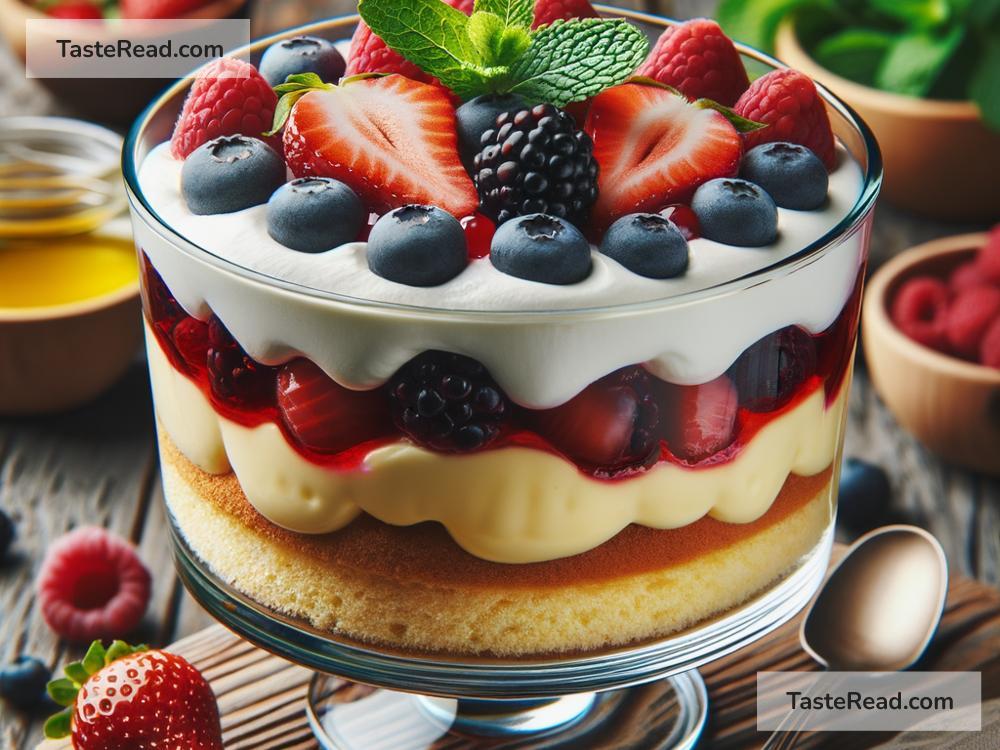
A trifle is a classic dessert that originates from England. It’s made by layering various delicious components, such as cake, fruit, custard, and whipped cream, in a large dish or individual glasses. The result is a beautiful dessert that combines texture and flavor in every bite.
Let’s get started on your perfect layered trifle!
Ingredients You’ll Need
Here’s a basic list of ingredients to create a classic trifle, but feel free to customize based on your taste preferences:
- Cake Base: Sponge cake, pound cake, ladyfingers, or brownies.
- Fruit: Fresh berries like strawberries, raspberries, blueberries, or even canned fruit (like peaches or mandarin oranges).
- Custard: Vanilla custard or pudding (store-bought or homemade).
- Whipped Cream: Freshly whipped cream or canned whipped topping.
- Optional Add-ins: Jelly (or Jell-O), nuts, shredded coconut, or chocolate shavings.
You’ll also need a large glass bowl, trifle dish, or individual glass servings to show off the beautiful layers.
Step-by-Step Instructions
Step 1: Prepare Your Cake Base
Use your favorite cake as the foundation for the trifle. If you’re using sponge cake or pound cake, cut it into bite-sized cubes. Ladyfingers or brownies can be used whole or cut into pieces.
You can bake your own cake or use store-bought for convenience. If you want extra flavor, you can brush the cake pieces with a little fruit juice, coffee, or liqueur (like rum or sherry). Just don’t make it too soggy!
Step 2: Layer the Cake
Place your cake pieces in the bottom of your trifle dish. Spread them evenly to create the first layer. If you’re adding jelly or Jell-O, pour it over the cake and let it set according to the package directions. This step gives a fun, wobbly texture to your trifle.
Step 3: Add the Fruit
Choose colorful and fresh fruits to create the next layer. Wash and chop any large fruit pieces, and arrange them neatly over the cake. You can mix several types of fruit for variety or stick to one kind for a more striking look. Strawberries, raspberries, and blueberries are fantastic choices.
For canned fruit like peaches or mandarin oranges, drain the syrup before using them. The fresh pop of fruit balances the richness of the other layers and makes the dessert feel light.
Step 4: Make the Custard Layer
If you’re making your own custard, prepare it in advance and let it cool. Homemade custard is easy to make using eggs, sugar, milk, and vanilla extract. Alternatively, store-bought pudding works just as well.
Pour the custard carefully over the fruit, ensuring it covers the layer evenly. Don’t worry if a little bit seeps into the fruit layer—it’ll only make the trifle more delicious!
Step 5: Add Whipped Cream
The whipped cream layer comes next. If you’re whipping cream at home, add a bit of sugar and vanilla extract for added flavor. Make sure the cream is fluffy but firm so it holds its shape.
Spread the whipped cream on top of the custard layer. You can use a spoon or piping bag to make it smooth and even. This layer crowns your trifle, so take your time to make it look pretty.
Step 6: Repeat Layers (Optional)
If your dish is deep enough, feel free to repeat the layers to create multiple levels of flavor and color. You can alternate between cake, fruit, custard, and whipped cream until you reach the top. Each extra layer will only make the dessert more indulgent!
Step 7: Decorate the Top
Now for the fun part—decorating! The topmost layer is an opportunity to get creative. Sprinkle on chocolate shavings, crushed nuts, fresh fruit slices, or even candies. For a tropical touch, add shredded coconut. For a festive feel, use colorful sprinkles. The sky’s the limit!
Serving Your Trifle
Once your trifle is layered and decorated, refrigerate it for at least 2–3 hours. Letting it chill allows the flavors to blend together beautifully. Before serving, grab a spoon or serving ladle to scoop out portions so your guests can enjoy the layers in every bite.
A trifle is often served in large portions for sharing, but you can also make individual mini trifles in small cups or mason jars. They’re perfect for parties or gatherings!
Tips for Success
- Use a Clear Dish: A glass bowl or trifle dish lets you show off those gorgeous layers.
- Balance Flavors: Make sure your dessert isn’t overly sweet by balancing rich elements like custard and whipped cream with fresh fruit.
- Keep It Fresh: Use the freshest ingredients possible to make your trifle taste amazing.
- Get Creative: Feel free to customize with a theme or your favorite add-ins!
Final Thoughts
The trifle is a perfect dessert for any occasion. It requires minimal effort but delivers maximum wow-factor. By following these simple steps, you’ll create a layered masterpiece that’s as delightful to eat as it is to look at.
Don’t be afraid to experiment with flavors, textures, and decorations—there’s no wrong way to make a trifle. Now, grab your ingredients and start layering your very own edible work of art!