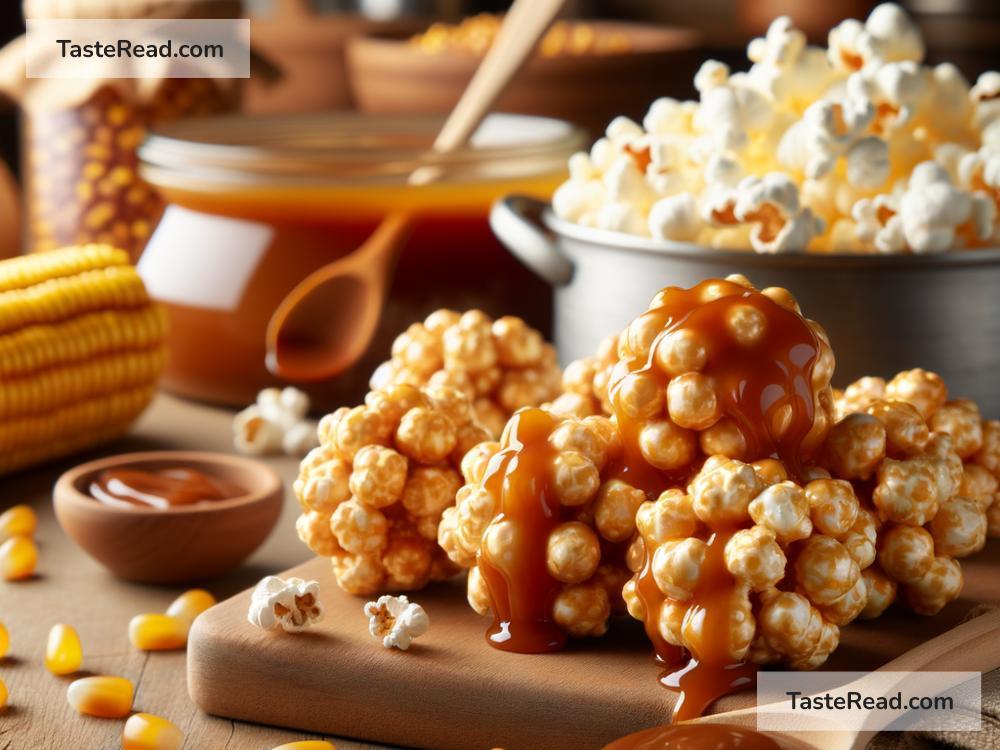
Title: How to Make Sweet Caramel Popcorn Balls: A Simple Guide
There’s something genuinely magical about caramel popcorn balls. They’re sweet, delightfully sticky, and hit the spot every time. If you’ve been wondering how to bring this magic into your kitchen, you’re in luck! Making caramel popcorn balls is a lot easier than it might seem, and today, we’re walking you through a simple recipe that will get you there.
Ingredients You’ll Need:
- ½ cup of popcorn kernels (This should give you about 10 cups of popped popcorn. You can also use pre-popped plain popcorn to save time.)
- 1 cup of packed brown sugar
- ½ cup of unsalted butter (That’s equivalent to one stick of butter.)
- ¼ cup of light corn syrup
- ½ teaspoon of salt
- ½ teaspoon of baking soda
- 1 teaspoon of vanilla extract
Equipment You’ll Need:
- A large pot or a popcorn popper (if you are popping your corn)
- A large baking sheet
- Wax paper or a silicone baking mat
- A large saucepan
- A wooden spoon
- Measuring cups and spoons
- A heat-resistant spatula
Step 1: Pop Your Popcorn
If you’re starting with unpopped kernels, heat a large pot over medium heat, add a couple of kernels and cover. Once those pop, add the rest of your kernels in an even layer. Cover the pot but leave a slight opening for steam to escape. Shake the pot occasionally until the popping sounds slow down. Once popped, transfer your popcorn to a large bowl, removing any un-popped kernels.
Step 2: Prepare for the Magic
Preheat your oven to 250°F (120°C). Spread your popped popcorn on a baking sheet lined with wax paper or a silicone mat. Warm it in the oven for about 10 minutes. This helps the popcorn stay crisp when coated with caramel.
Step 3: Let’s Make Caramel
In a large saucepan over medium heat, combine brown sugar, butter, corn syrup, and salt. Stir continuously until the butter melts and the mixture comes to a boil. Once boiling, let the mixture cook for about 4 minutes without stirring. Be patient and careful; caramel can get very hot!
After 4 minutes, remove the saucepan from the heat, and quickly stir in the baking soda and vanilla extract. The mixture will bubble up, which is exactly what you want. This reaction makes the caramel lighter and easier to coat the popcorn.
Step 4: Combine Popcorn and Caramel
Carefully (it’s hot!) pour the caramel over the warm popcorn on your baking sheet. Use your spatula to fold the popcorn and caramel together until the popcorn is evenly coated. This step needs a bit of speed to ensure an even coat before the caramel hardens.
Step 5: Shape Your Popcorn Balls
Let the coated popcorn cool for a couple of minutes, just so it’s bearable to the touch. Then, lightly grease your hands with butter or spray them with a non-stick cooking spray. Scoop up a handful of the caramel-coated popcorn and press it into a ball shape. Work quickly, as the mixture becomes more challenging to shape as it cools.
Place your formed popcorn balls on a tray lined with wax paper to set. If you want, you can insert a stick into each ball to make caramel popcorn lollipops – a fun twist for parties!
Step 6: Cool and Enjoy
Allow the popcorn balls to cool completely. They will firm up and become less sticky as they set. Once cool, you can wrap them individually in plastic wrap or store them in an airtight container. These sweet treats make perfect gifts, party favors, or a delicious snack for movie nights.
Tips for Success:
- Keep a close eye on the caramel as it cooks. Overcooking can lead to a bitter taste.
- If the caramel starts to harden before you’re done shaping the balls, reheat it gently over low heat to make it pliable again.
- Feel free to mix in nuts, chocolate chips, or dried fruit into the popcorn mixture for an extra flavor punch.
Conclusion:
There you have it—a straightforward guide to making sweet caramel popcorn balls right in your kitchen. This recipe is not just about creating a tasty snack; it’s about creating memories, whether with family during the holidays or a fun project with kids on a rainy day. So, grab your ingredients, and let’s make some sweet, sticky magic! Happy cooking!