How to Make Freshly Baked Danish Pastries
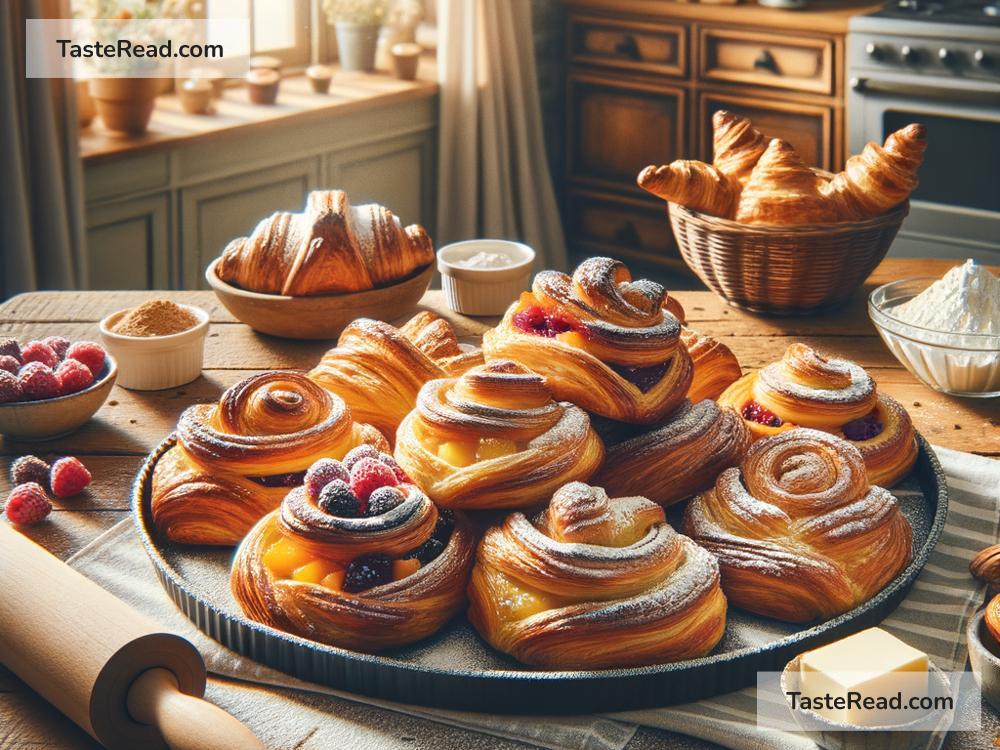
Danish pastries are flaky, buttery, and perfectly sweet. These little pieces of heaven might look like something only a fancy bakery could make, but with a bit of time and patience, you can create them at home. Whether you want fruity fillings or a dollop of creamy custard, Danish pastries are versatile and bound to impress your family and friends. Let’s learn the step-by-step process of baking these delicious treats!
What Are Danish Pastries?
Danish pastries are made from laminated dough, which means layers of dough and butter are folded together to create a flaky texture. They’re similar to croissants, but Danishes are typically sweeter and filled with jams, cream cheese, or custards, making them extra special.
While making Danish pastries might seem complicated, breaking the process into manageable steps can make it fun and rewarding. Plus, your kitchen will smell amazing once they’re baking!
Ingredients You’ll Need
For the dough:
– 4 cups all-purpose flour
– 1/4 cup granulated sugar
– 1 teaspoon salt
– 2 1/2 teaspoons instant yeast
– 1 cup warm milk
– 2 large eggs
– 2 sticks (1 cup) unsalted butter, cold
For the egg wash:
– 1 egg
– 1 tablespoon milk
Filling ideas:
– Jam or fruit preserves (like raspberry or apricot)
– Cream cheese mixed with a teaspoon of sugar
– Custard
– Fresh fruit slices (optional)
Step 1: Making the Dough
Start by making your dough. Whisk together your warm milk with the yeast in a large mixing bowl. Let it sit for 5 minutes to ensure the yeast is active. It should foam slightly. Once it’s ready, add the sugar, eggs, and salt, then mix well.
Gradually add the flour, one cup at a time, until a soft dough forms. You’ll need to knead the dough for about 5–7 minutes until it’s smooth and elastic. If you’re using a stand mixer, use the dough hook attachment to make the process easier. Once the dough is ready, cover it with plastic wrap and let it rest for 30 minutes.
Step 2: Preparing the Butter
Cold butter is essential for creating those flaky layers. Take your butter sticks and place them between two sheets of parchment paper. Use a rolling pin to flatten them into a thin rectangle (about 6 x 10 inches). Keep it cold in the fridge until you’re ready to use it.
Step 3: Laminating the Dough
Now comes the fun part: layering the butter with the dough! Roll out your dough into a large rectangle (about 12 x 18 inches). Place the chilled butter in the center of the dough, then fold the sides of the dough over the butter like an envelope. This will trap the butter inside.
Roll the dough gently into another large rectangle. Fold it into thirds, like folding a letter. Wrap it in plastic wrap and refrigerate for 30 minutes. Repeat this rolling, folding, and chilling process two more times. The key to flaky pastries is keeping the butter cold and intact, so don’t skip this step.
Step 4: Shaping the Pastries
After laminating the dough, roll it out one last time into a large rectangle that’s about 1/4-inch thick. Cut the dough into squares or rectangles, depending on the shape you want your pastries to have. Fold or twist the dough into creative designs, like pinwheels or braids. You can also simply press the dough in the center to create a pocket for your fillings.
Step 5: Adding the Fillings
This is where the magic happens! Scoop out a small spoonful of filling and place it in the center of each pastry. If you’re using jam or fresh fruit, make sure not to overload it—too much filling can leak out during baking. For cream cheese or custard fillings, keep it simple with just a dollop.
Once the pastries are filled, transfer them to a baking sheet lined with parchment paper. Cover them lightly with a clean kitchen towel and let them rise for 45 minutes.
Step 6: Baking the Pastries
Preheat your oven to 375°F (190°C). Before baking, brush each pastry with egg wash (made by whisking an egg with a tablespoon of milk). This will give your pastries a glossy golden finish.
Bake the pastries in the oven for 15–20 minutes, or until they are puffed up and golden brown. Keep an eye on them—every oven is slightly different. Once they’re done baking, let them cool on a wire rack.
Step 7: Optional Glaze
If you want to take your Danish pastries to the next level, drizzle a simple glaze on top. Mix 1 cup of powdered sugar with 2–3 tablespoons of milk or lemon juice until smooth. Drizzle the glaze over cooled pastries for a sweet finishing touch.
Enjoy Your Freshly Baked Danish Pastries
And there you have it! Freshly baked Danish pastries, made right in your own kitchen. Serve them with a hot cup of coffee or tea and watch everyone smile. The buttery layers, sweet fillings, and flaky texture make every bite heavenly.
While making Danish pastries takes time, it’s worth the effort. The process is relaxing, and the results are impressive. Once you get the hang of it, you can experiment with new flavors and shapes—maybe even create your own signature pastry. So roll up your sleeves, gather your ingredients, and start baking these delightful treats today!