How to Make Homemade Nut Milks: A Step-by-Step Guide
Nut milks have become a popular alternative to dairy milk, and for good reason! They’re delicious, creamy, and healthy. Plus, they’re lactose-free, so they’re perfect for people with dairy allergies or sensitivities. Instead of buying store-bought nut milk, you can make it at home with simple ingredients and tools. Homemade nut milk is fresh, customizable, and often cheaper. In this blog, I’ll show you how to make nut milk at home in a few easy steps.
Why Make Nut Milk at Home?
Store-bought nut milk is convenient, but it often contains preservatives, stabilizers, and sweeteners. Making nut milk at home gives you full control over what goes into your drink. You can adjust the sweetness, thickness, and flavor to suit your preferences. Plus, it’s satisfying to know you’ve made something from scratch!
Homemade nut milk is versatile, too. You can drink it straight, pour it over cereal, use it in smoothies, or even add it to coffee or baking recipes.
What You’ll Need to Make Nut Milk
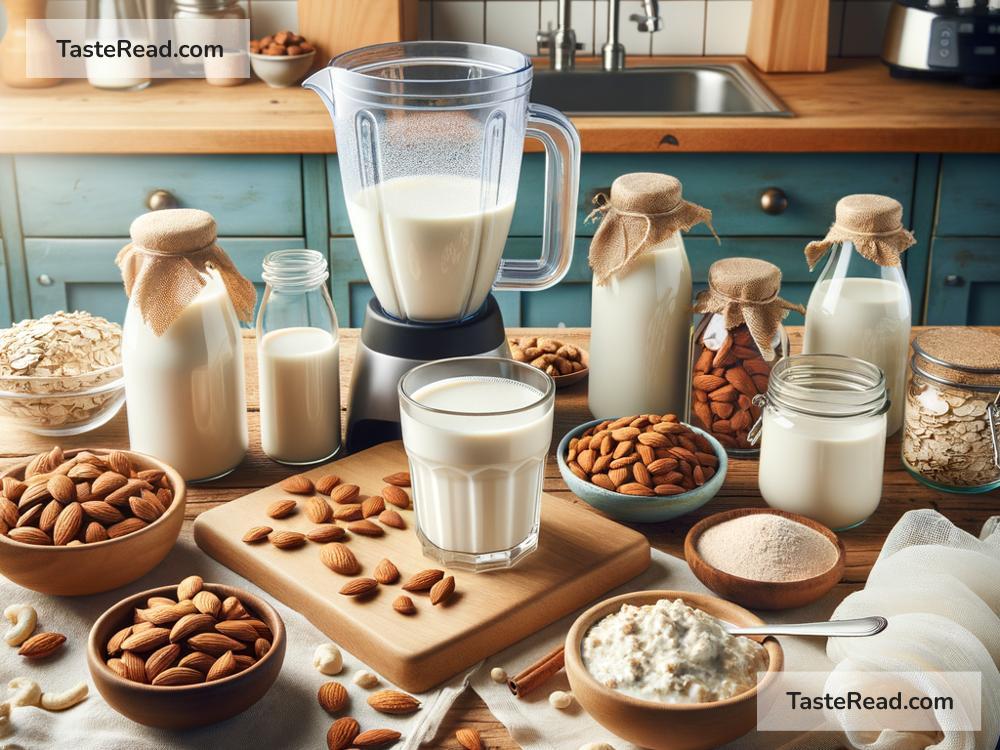
The good news is that making nut milk doesn’t require fancy equipment or ingredients. Here’s what you’ll need:
Ingredients:
- Nuts: Almonds, cashews, hazelnuts, macadamias, or even seeds like sunflower or pumpkin work well. You can also try coconut for a different flavor.
- Water: Filtered water works best.
- Optional Sweeteners: Dates, honey, maple syrup, or agave nectar if you’d prefer your nut milk sweetened.
- Optional Flavorings: Vanilla extract, cinnamon, or even cocoa powder for a unique twist.
Tools:
- Blender: A high-speed blender helps ensure a creamy milk, but any blender will work.
- Nut Milk Bag or Cheesecloth: To strain the milk for the best texture. (You can also use a fine-mesh strainer.)
- Large Bowl: To catch the milk while straining.
- Storage Container: A glass jar or bottle works great for storing the milk in your fridge.
Step-by-Step Instructions
Follow these simple steps to make nut milk at home:
Step 1: Soak the Nuts
Start by soaking the nuts. This step softens the nuts, making them easier to blend and improving the overall creaminess of the milk.
- Place 1 cup of raw nuts in a bowl and cover them with water. Make sure there’s plenty of water, as the nuts absorb some of it while soaking.
- Let the nuts soak for at least 8 hours or overnight. If you’re using softer nuts like cashews, you can soak them for just 4 hours.
- After soaking, drain the water and rinse the nuts thoroughly to remove any residue.
Step 2: Blend the Nuts and Water
Once the nuts are soaked, it’s time to blend them into milk.
- Add the soaked nuts to your blender along with 4 cups of fresh water. The ratio of 1 cup of nuts to 4 cups of water is a good starting point, but you can adjust it depending on how thick or creamy you want your milk.
- Blend on high for 1–2 minutes, or until the mixture looks smooth and creamy.
If you want to add sweetness or flavor, now is the time! You can throw in a few pitted dates, a splash of vanilla extract, or a sprinkle of cinnamon before blending.
Step 3: Strain the Milk
To get silky-smooth nut milk, you’ll need to strain it.
- Place your nut milk bag or cheesecloth over a large bowl or container.
- Pour the blended mixture into the bag or cloth and gently squeeze out the liquid. The nut pulp will remain in the bag while the creamy milk passes through.
If you don’t have a nut milk bag or cheesecloth, you can use a fine-mesh strainer. Just press the mixture down with a spoon to extract as much liquid as possible.
Step 4: Store Your Nut Milk
Transfer your freshly made nut milk to a jar or bottle with a lid. Store it in the fridge for up to 3–5 days. Remember to shake it before using since homemade nut milk tends to naturally separate.
Extra Tips and Ideas
- What to Do with the Leftover Pulp: Don’t throw away the nut pulp after straining! You can use it to make cookies, smoothies, energy balls, or even add it to oatmeal.
- Experiment with Flavors: Try blending in strawberries, chocolate, or even matcha powder for a fun twist on your nut milk.
- Make Smaller or Larger Batches: Adjust the recipe based on how much nut milk you need. For a single serving, try ¼ cup of nuts and 1 cup of water.
The Bottom Line
Making homemade nut milk is simple, fun, and rewarding. With just nuts, water, and a blender, you can have fresh, creamy nut milk in no time. By trying different nuts, sweeteners, and flavors, you can create a drink that’s perfect for you.
So, why not give it a try? Once you taste the difference, you might never go back to store-bought nut milk again! Share your creations with friends and family—they’ll be impressed by your homemade skills.
Enjoy your nut milk adventure!