Discover the Delights of Traditional Japanese Taiyaki: A Step-by-Step Guide
Japanese cuisine is celebrated across the globe for its delightful flavors and artistic presentation. Among its sweet treats, Taiyaki holds a special place in the hearts of many. This fish-shaped cake, traditionally filled with sweet red bean paste, is not just a treat for the palate but also a feast for the eyes. Today, let’s embark on a culinary journey to explore how you can make traditional Japanese Taiyaki with red bean filling right in the comfort of your kitchen!
What is Taiyaki?
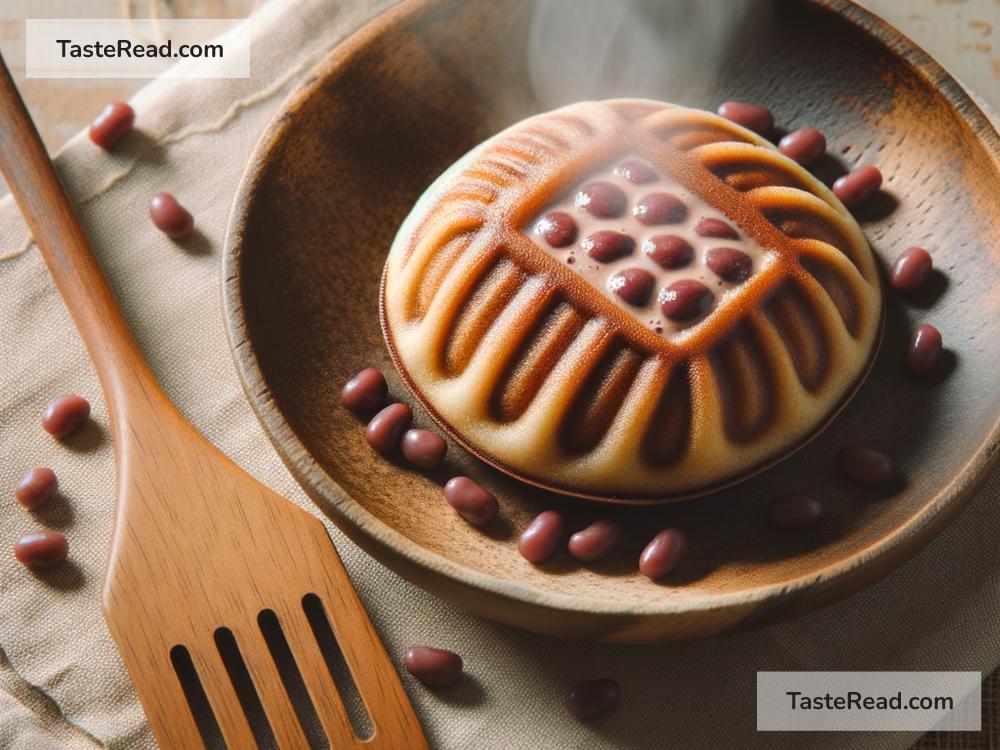
Taiyaki is a popular Japanese street snack that resembles the shape of a Tai (Japanese for sea bream), which is considered a symbol of good fortune and happiness. The classic filling for Taiyaki is Anko (sweet red bean paste), though modern takes include fillings like chocolate, custard, and cheese. The perfect Taiyaki is crispy on the outside and soft and sweet on the inside.
Ingredients You’ll Need
- For the Batter:
- 2 cups all-purpose flour
- 2 tbsp sugar
- ½ tsp baking soda
- ½ tsp salt
- 1 egg
-
1 ½ cups milk
-
For the Filling:
-
1 cup Anko (sweet red bean paste), pre-made or homemade
-
Equipment:
- Taiyaki pan
Preparing the Red Bean Paste (Anko) — Optional
If you’re up for making your Anko, start with boiling 1 cup of Azuki beans until soft. Mash them or pass through a sieve to obtain a smooth texture. Cook the mashed beans with sugar to taste (usually around ¾ cup), and a pinch of salt, frequently stirring until the mixture thickens. Let it cool, and your homemade Anko is ready!
Let’s Make Taiyaki!
Step 1: Mix the Batter
In a large bowl, mix the all-purpose flour, sugar, baking soda, and salt. In another bowl, beat the egg and mix it with the milk. Combine the wet and dry ingredients, stirring until you have a smooth, lump-free batter. Let the batter rest for about 15 minutes.
Step 2: Heat the Taiyaki Pan
Preheat your Taiyaki pan over medium heat. If you’re using an electric Taiyaki maker, turn it on and let it preheat. A properly heated pan is crucial for the perfect Taiyaki.
Step 3: Grease the Pan
Use a brush or a piece of paper towel to lightly grease the pan with oil. This step ensures your Taiyaki doesn’t stick to the pan and has a nice, golden exterior.
Step 4: Pour the Batter
Pour the batter into the fish-shaped molds of the pan, but only fill them about halfway. It’s vital not to overfill as the batter will expand and overflow when you add the filling and close the pan.
Step 5: Add the Filling
Spoon a generous amount of Anko into the center of each half-filled mold. Be mindful not to put too much, or else sealing the edges will become difficult.
Step 6: Seal the Deal
Carefully pour a little more batter over the Anko to cover it. Then, close the pan and flip it. This step is crucial for ensuring the Taiyaki cooks evenly and gets its iconic fish shape.
Step 7: Cook to Perfection
Let the Taiyaki cook for about 3-4 minutes on each side. The key to a golden, crispy exterior is patience — don’t open the pan too soon. Once done, carefully remove the Taiyaki from the pan. They should be golden brown and slightly crispy to the touch.
Step 8: Serve and Enjoy!
Congratulations! You’ve just made traditional Japanese Taiyaki. Let them cool for a minute before serving. Taiyaki is best enjoyed warm, with the crispy exterior complementing the sweet, soft filling.
Final Thoughts
Making Taiyaki at home is a delightful experience that brings a piece of Japanese street food culture to your kitchen. Whether enjoyed as a dessert or a snack, Taiyaki’s charming fish shape and delicious filling make it a hit among all ages. Experiment with different fillings and find your favorite. Happy cooking, and enjoy the taste of Japan from your home!