How to Prepare a Perfect Dark Chocolate Tart
If you’re a chocolate lover, the thought of a rich, decadent dark chocolate tart probably makes your heart beat faster. Imagine a silky, smooth chocolate filling sitting in a buttery, crisp tart shell, each bite melting in your mouth, delivering a burst of intense chocolate flavor. The good news? Preparing this heavenly dessert is easier than you might think, and in this article, we’ll guide you through the steps to create a perfect dark chocolate tart that will impress anyone who has the pleasure of trying it.
Before we dive into the preparations, let’s ensure you have everything you need. You’ll require some basic baking tools: a 9-inch tart pan with a removable bottom, mixing bowls, a saucepan, and an electric mixer or whisk. For the ingredients, you’ll need flour, butter, sugar, salt, eggs, heavy cream, and, most importantly, high-quality dark chocolate. Choosing a good quality chocolate is key to the rich flavor of your tart, so don’t compromise here.
Step 1: Prepare the Tart Shell
First things first, let’s make the tart shell.
- In a bowl, mix 1 1/4 cups of all-purpose flour, 1/2 cup of unsalted butter (chilled and cubed), 1/4 cup of powdered sugar, and a pinch of salt until the mixture resembles bread crumbs.
- Add an egg yolk and 1-2 tablespoons of ice water and mix until the dough comes together. Be careful not to overmix; we’re aiming for a dough that’s just combined.
- Flatten the dough into a disk, wrap it in cling film, and refrigerate for at least 30 minutes. This resting time helps the dough to firm up and makes it easier to roll.
- After chilling, roll out the dough on a lightly floured surface to fit your tart pan. Gently press the dough into the pan, trim the edges, and prick the bottom with a fork. This prevents the dough from puffing up during baking.
- Freeze the tart shell for about 15 minutes, then bake in a preheated oven at 350°F (175°C) for 20-25 minutes, or until it’s golden and cooked through.
Step 2: Make the Chocolate Filling
While the shell cools, it’s time to prepare the dark chocolate filling.
- Chop 8 ounces of dark chocolate and place it in a bowl.
- In a saucepan, heat 1 cup of heavy cream until it just starts to simmer. Don’t let it boil.
- Pour the hot cream over the chopped chocolate and let it sit for a minute to soften the chocolate.
- Whisk the mixture until it’s smooth and the chocolate has completely melted. If you like, you can add a pinch of salt or a teaspoon of vanilla extract for extra flavor.
- Once the chocolate mixture is smooth, pour it into the cooled tart shell.
Step 3: Let It Set and Serve
- Carefully transfer the tart to the refrigerator and let it set for at least 4 hours, or overnight for best results. This waiting time ensures that the filling becomes firm and cuts cleanly.
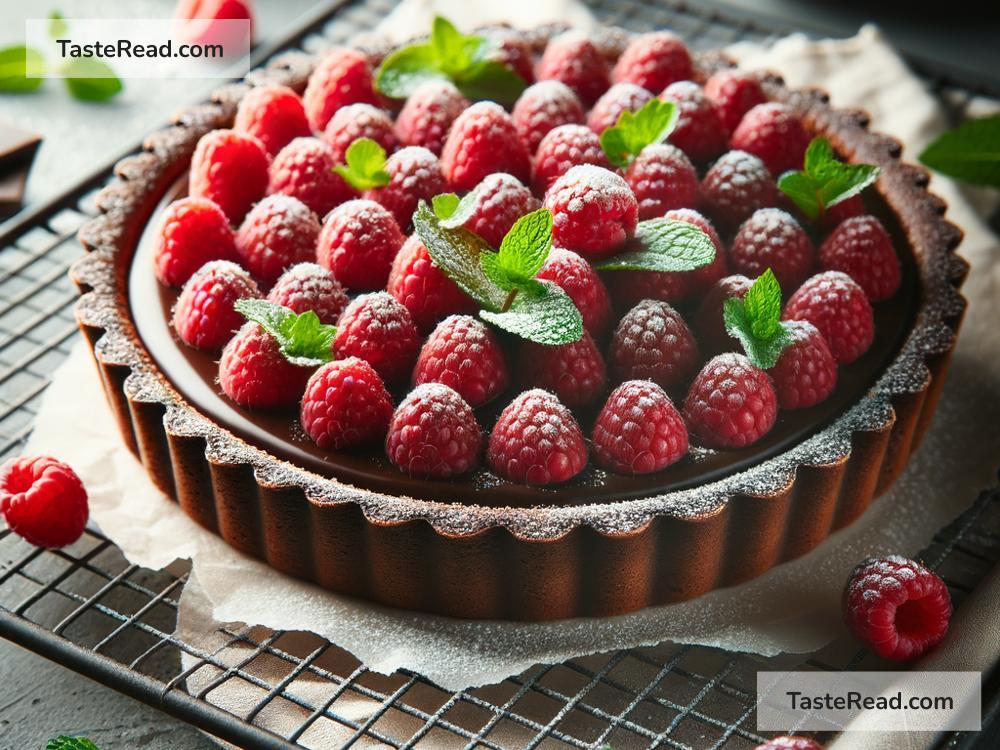
- Once set, you can garnish the tart to your liking. Fresh berries, whipped cream, a dusting of powdered sugar, or even a drizzle of caramel are excellent choices.
Expert Tips for a Perfect Tart
- Make sure all your ingredients, especially the butter and egg for the dough, are cold. This helps to achieve a flaky crust.
- Don’t skip chilling the dough before rolling and again after fitting it into the pan. This helps prevent shrinking during baking.
- Choose a dark chocolate you enjoy eating on its own. The quality and flavor of the chocolate directly influence the overall taste of the tart.
- If you find the filling a bit too rich, a dollop of lightly sweetened whipped cream can add a nice balance when serving.
Creating the perfect dark chocolate tart might seem daunting at first, but by following these simple steps, you’ll find it surprisingly manageable. This recipe not only promises a delicious dessert but also an opportunity to impress and delight your family, friends, or anyone lucky enough to get a slice. So, why wait? Grab your baking gear, and let’s make some chocolate magic. Happy baking!