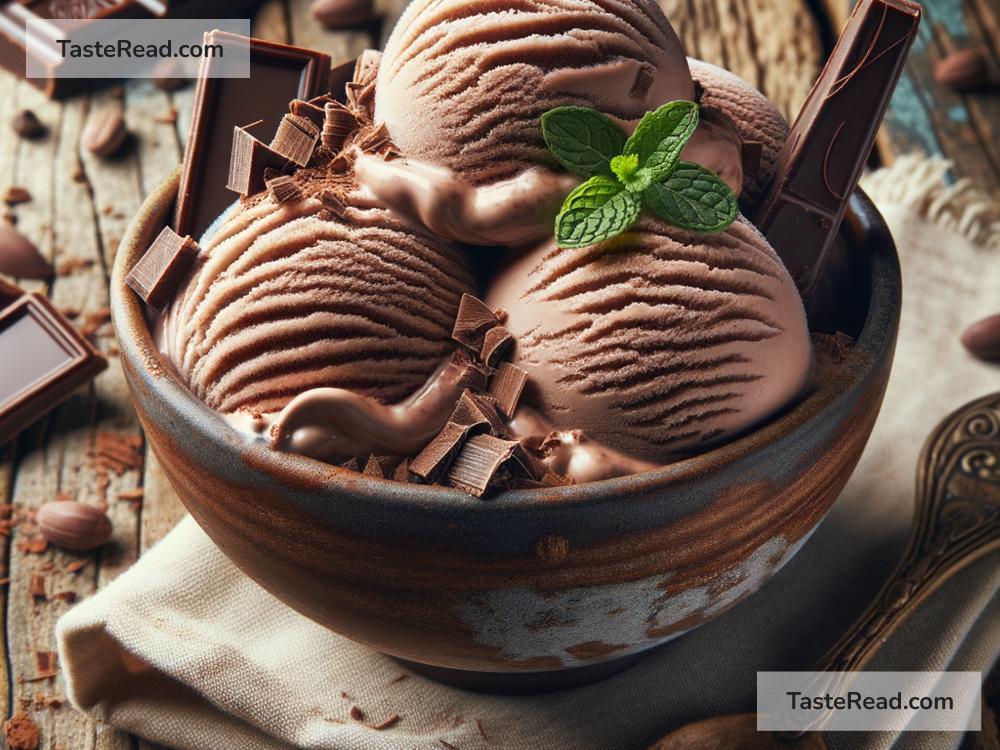
How to Make Chocolate Ice Cream at Home: A Simple Guide
Who doesn’t love chocolate ice cream? It’s creamy, rich, and full of chocolatey goodness! What’s even better is that you can make it at home with just a few ingredients and steps. In this blog post, we’ll show you how to create chocolate ice cream using simple English instructions. Whether you’re a beginner or an experienced cook, you’ll find this recipe easy and fun!
What You’ll Need
To make chocolate ice cream from scratch, you only need basic ingredients. Here’s your shopping list:
Ingredients:
– 2 cups of heavy cream (this makes the ice cream rich and creamy)
– 1 cup of whole milk
– ½ cup of granulated sugar
– 1 cup of cocoa powder
– 1 teaspoon of vanilla extract
– Optional: a pinch of salt (to enhance the chocolate flavor)
Tools:
– A mixing bowl
– Whisk or spoon for stirring
– Saucepan (optional, if you need to heat the mixture)
– Ice cream maker (if you don’t have one, don’t worry—we’ll explain how to make ice cream without it!)
Step-by-Step Instructions
Let’s dive right into the process of making chocolate ice cream. You’ll be amazed at how easy it is!
Step 1: Mix the Dry Ingredients
In a mixing bowl, add the cocoa powder, sugar, and a pinch of salt (if you’re using it). Stir the dry ingredients together until they’re well combined. This helps avoid clumps of cocoa powder in your ice cream.
Step 2: Combine the Wet Ingredients
Next, pour the heavy cream, whole milk, and vanilla extract into the bowl with the dry ingredients. Whisk everything together until the mixture is smooth and uniform. If you see any lumps, keep stirring! The cocoa powder will dissolve and blend with the cream over time.
Step 3: Heat the Mixture (If Needed)
This step is optional. If you want your chocolate flavors to truly shine, you can heat the ice cream base. Pour the mixture into a saucepan and place it over low heat. Stir gently for 2–3 minutes, but make sure it doesn’t boil! Once heated, let it cool to room temperature before moving on to the next step.
Step 4: Chill the Mixture
To make ice cream, you need the mixture to be cold. Place your bowl in the fridge for 2–3 hours to chill the base. Cooling it helps the ice cream freeze better during the later steps.
Making the Ice Cream
At this point, your chocolate ice cream base is ready. Now it’s time to turn it into frozen goodness!
Option 1: Using an Ice Cream Maker
If you have an ice cream maker, follow these steps:
1. Pour the chilled mixture into your ice cream maker.
2. Turn the machine on and follow the manufacturer’s instructions. Most machines will churn the ice cream in 20–30 minutes.
3. Once the ice cream reaches a thick consistency, transfer it to a container and freeze for 2–4 hours for firmer scoops—or enjoy it right away as soft-serve!
Option 2: Making Ice Cream Without an Ice Cream Maker
Don’t worry if you don’t own an ice cream maker—you can still make delicious chocolate ice cream. Here’s how:
1. Pour the chilled mixture into a freezer-safe container.
2. Place the container in the freezer.
3. Every 30 minutes, remove the container and stir the mixture with a spoon or fork. This breaks up ice crystals and helps create a creamy texture.
4. Repeat this process for 4–6 hours, stirring every 30 minutes. The more you stir, the creamier your ice cream will be!
5. Once it’s frozen and smooth, scoop and enjoy!
Tips for the Best Chocolate Ice Cream
- Use High-Quality Cocoa Powder: The better the cocoa, the richer and more intense your ice cream will taste.
- Customize the Flavor: Add mix-ins like chocolate chips, nuts, or caramel sauce for extra fun!
- Store Properly: Keep your ice cream in an airtight container to prevent freezer burn.
Why Make Chocolate Ice Cream at Home?
Making ice cream at home is a rewarding experience. You control the ingredients, ensuring there are no artificial additives. Plus, it’s a great activity to do with family and friends—kids especially love helping out!
Time to Treat Yourself!
Congratulations! You’ve learned how to make chocolate ice cream from scratch. Whether you use an ice cream maker or the stirring method, you’ll end up with a creamy and delicious dessert that rivals store-bought options. So, grab your favorite toppings, scoop out your ice cream, and enjoy the chocolatey goodness you made with your own hands.
Try this recipe today and let us know how it turns out! Don’t forget to share your photos and creative flavor ideas in the comments.
Enjoy every scoop! 🍨🍫