How to Create Buttery Garlic Herb Biscuits (Step-by-Step Guide)
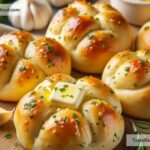
Who doesn’t love biscuits? They’re warm, flaky, and perfect for pairing with any meal. Buttery garlic herb biscuits take this classic treat to the next level. With their irresistible flavor and melt-in-your-mouth texture, they’re guaranteed to be a hit at your table. The best part? You don’t need to be a professional baker to whip them up! This recipe is simple, beginner-friendly, and ready in no time. Let’s dive in and learn how to make buttery garlic herb biscuits from scratch.
Ingredients You’ll Need
Before you start, gather these simple ingredients for the biscuits:
For the Dough:
- 2 cups (250g) all-purpose flour
- 1 tablespoon baking powder
- ½ teaspoon baking soda
- 1 teaspoon sugar
- ½ teaspoon salt
- 1 teaspoon garlic powder
- 6 tablespoons unsalted butter (cold and cubed)
- ¾ cup buttermilk (cold)
For the Garlic Herb Topping:
- 2 tablespoons unsalted butter (melted)
- 1 teaspoon garlic powder (or minced fresh garlic)
- 1 tablespoon chopped fresh parsley
- ½ teaspoon dried thyme (optional)
Step-by-Step Instructions
Now that you have all your ingredients, let’s get started! Follow these easy steps to make your buttery garlic herb biscuits.
Step 1: Prep Your Oven and Equipment
First, preheat your oven to 425°F (220°C). Biscuits bake best in a hot oven. Line a baking sheet with parchment paper or lightly grease it to prevent sticking. This ensures your biscuits come out clean and easy to handle after baking.
While your oven heats up, grab a large mixing bowl, a whisk, and a pastry cutter (or a fork if you don’t have one).
Step 2: Mix Your Dry Ingredients
In a large mixing bowl, whisk together the dry ingredients: flour, baking powder, baking soda, sugar, salt, and garlic powder. Whisking helps distribute the ingredients evenly, ensuring your biscuits rise properly and taste amazing.
Step 3: Incorporate the Butter
Now it’s time to incorporate the cold butter into your dry mixture. The key here is that the butter needs to stay cold for flaky biscuits. Add your cubed butter to the dry mix and use a pastry cutter (or fork) to cut the butter into small pieces. You’re aiming for a mixture that looks crumbly, with the butter bits resembling small peas. These butter pockets will give your biscuits their signature flakiness!
Step 4: Add Buttermilk
Once the butter is mixed in, pour in the cold buttermilk. Stir gently with a spoon or rubber spatula until the dough starts coming together. Be careful not to overmix; you want the dough to stay tender. If the dough feels sticky, it’s okay—that’s what makes the biscuits soft later on.
Step 5: Shape the Dough
Dust a clean surface (like your countertop or a cutting board) with a little flour. Turn your dough out onto the floured surface and gently knead it a few times to bring it together. Avoid overworking the dough, as it can make the biscuits tough.
Next, pat the dough into a rectangle or circle about ¾ inch thick. Use a biscuit cutter (or a glass) to cut out rounds. Press straight down—don’t twist—when cutting to help the biscuits rise evenly. Gather any dough scraps and re-roll them to cut out more biscuits.
Place the biscuits on your prepared baking sheet, close together but not touching. This creates soft edges when they bake.
Step 6: Bake
Slide your tray of biscuits into the preheated oven and bake for about 12-15 minutes, or until the tops turn golden brown. Keep an eye on them—it’s so exciting to watch them rise and become fluffy!
Step 7: Make the Garlic Herb Topping
While the biscuits bake, prepare your delicious topping. Melt 2 tablespoons of unsalted butter in a small saucepan or microwave-safe bowl. Add garlic powder (or fresh minced garlic) and stir. Then mix in the chopped parsley and thyme. This simple topping is what gives the biscuits their mouthwatering, savory finish.
Step 8: Brush the Biscuits
When the biscuits are done baking, remove them from the oven and let them cool for 1-2 minutes. Using a pastry brush, generously apply the garlic herb butter on top of each biscuit while they’re still warm. The butter will soak into the biscuits, making them even more tender and flavorful.
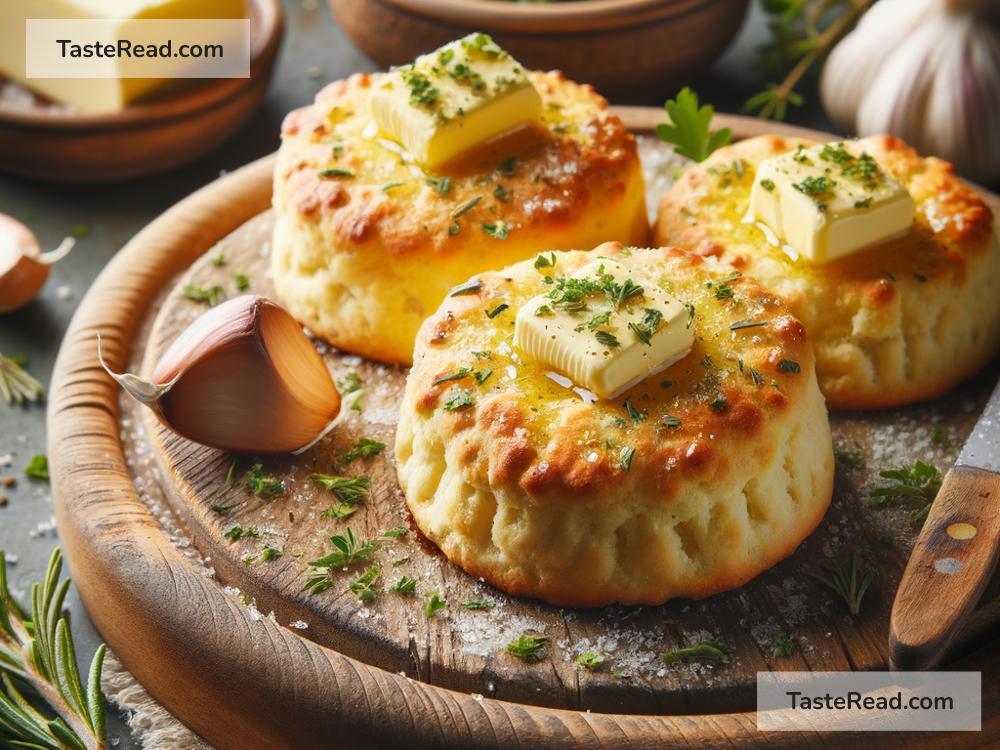
Step 9: Serve and Enjoy
Your buttery garlic herb biscuits are ready! Serve them fresh from the oven alongside soups, pasta, or even a big holiday dinner. They’re perfect on their own, too, as a snack or breakfast treat. Don’t be surprised if the entire batch disappears quickly—they’re that good!
Tips for Success
- Use Cold Butter: Cold butter creates steam when baking, which makes biscuits fluffy and flaky. Don’t let it melt before it goes in the dough.
- Don’t Overmix: Handling the dough gently preserves the tender texture of the biscuits.
- Make Your Own Buttermilk: Don’t have buttermilk? Mix ¾ cup of regular milk with 1 tablespoon of lemon juice or vinegar. Let it sit for 5 minutes before using.
Final Thoughts
Making buttery garlic herb biscuits at home is easier than you think. With just a few basic ingredients and steps, you can create something truly special. Whether you’re hosting a dinner party or just treating yourself, these biscuits will bring joy and comfort to your plate. So, grab your apron and give this recipe a try—you’ll be amazed at your baking skills!