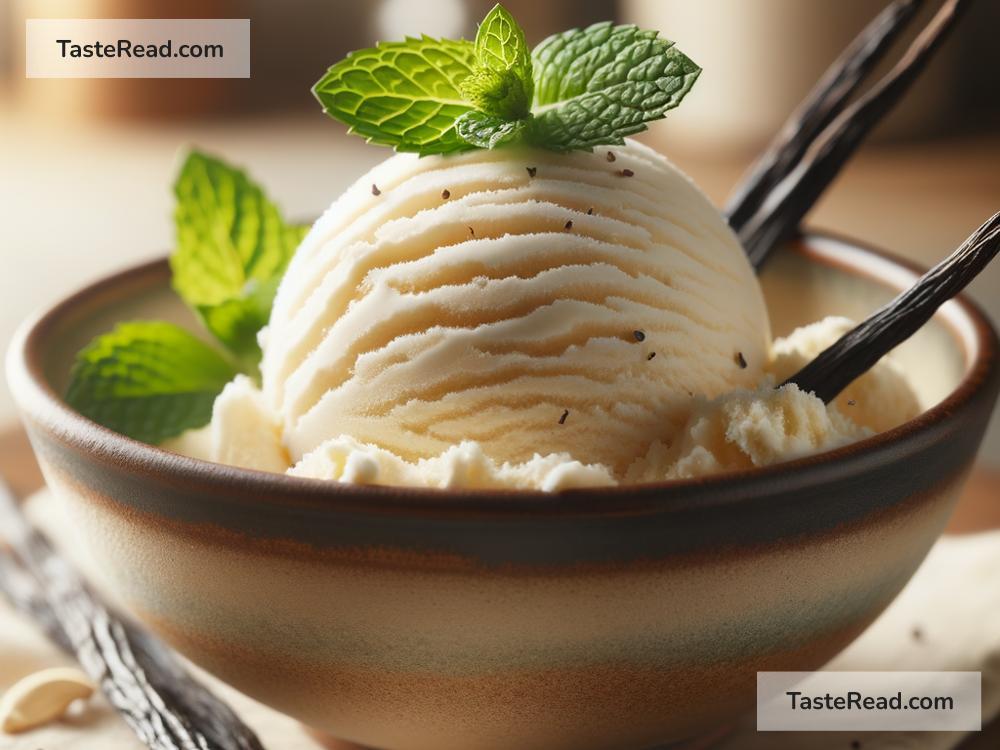
How to Make Creamy Vanilla Bean Ice Cream at Home
Who doesn’t love a scoop of creamy, dreamy vanilla bean ice cream? It’s a classic treat that’s perfect on its own, served on a slice of warm pie, or topped with your favorite dessert toppings. Making vanilla bean ice cream at home may sound intimidating, but with this simple recipe, you’ll see how easy—and rewarding—it can be. Plus, homemade ice cream tastes better because you can use fresh ingredients and customize it to suit your preferences.
In this blog post, we’ll walk you through how to make homemade vanilla bean ice cream using simple ingredients and step-by-step instructions. No fancy skills are needed; just a love for good ice cream and a little patience. Let’s get started!
What You’ll Need
Before we dive into the recipe, let’s go over the basic ingredients and tools you’ll need. You don’t need a complicated shopping list, and chances are, you already have some of these items at home.
Ingredients:
- 2 cups (480ml) heavy cream
- 1 cup (240ml) whole milk
- ¾ cup (150g) granulated sugar
- 2 vanilla beans (or 2 tsp vanilla extract if vanilla beans aren’t available)
- 4 large egg yolks
- A pinch of salt
Tools Needed:
- A medium-sized saucepan
- A whisk
- Mixing bowls
- A fine-mesh sieve or strainer
- A spatula
- An ice cream maker (optional, but highly recommended for smooth texture)
Step-by-Step Instructions
Step 1: Prepare Your Vanilla Beans
Vanilla beans add an intense, aromatic flavor to your ice cream. If you’re using vanilla beans, start by slicing them open lengthwise with a knife. Use the back of your knife to scrape out the tiny seeds inside; this is where the real flavor is. Set the seeds and the pods aside—we’ll use both!
If you don’t have vanilla beans, no problem! You can use pure vanilla extract instead; it’s a great alternative for this recipe.
Step 2: Heat the Cream and Milk
In a medium-sized saucepan, combine the heavy cream, whole milk, sugar, and the scraped vanilla seeds and pods. Add a pinch of salt to balance the flavors. Heat the mixture over medium heat, stirring constantly until the sugar dissolves and the cream is warm but not boiling.
You’ll know it’s ready when steam begins to rise, but the mixture doesn’t boil. This step helps infuse the cream with vanilla flavor. Remove the saucepan from the heat and set it aside for a few moments.
Step 3: Whisk the Egg Yolks
In a mixing bowl, whisk the egg yolks until they’re light and creamy. Egg yolks are the secret to a rich and velvety texture in ice cream. They act as a thickener and prevent the ice cream from becoming icy.
Step 4: Temper the Eggs
Here’s an important step! The cream mixture is hot, and if you add egg yolks directly to it, they will scramble (and nobody wants scrambled eggs in their ice cream!). To avoid this, you’ll need to temper the eggs.
Slowly pour about ½ cup of the warm cream mixture into the egg yolks while whisking constantly. This step gradually raises the temperature of the eggs, making them less likely to curdle. Once tempered, pour the egg mixture back into the saucepan with the rest of the cream.
Step 5: Cook Until Thickened
Place the saucepan back over medium-low heat. Stir the mixture constantly with a spatula, making sure to scrape the bottom of the pan so nothing sticks. Cook until the mixture thickens enough to coat the back of a spoon. This takes about 5-7 minutes, but don’t rush—it’s worth the wait!
To check if it’s ready, dip a spoon into the mixture and swipe your finger across the back. If the line stays intact, it’s thickened perfectly. Remove the saucepan from the heat as soon as it’s ready.
Step 6: Strain and Chill
Pour the thickened mixture through a fine-mesh sieve into a clean bowl. This step removes any lumps or bits of cooked egg, leaving you with a smooth base. If you used vanilla pods, discard them now.
Cover the bowl with plastic wrap, pressing the wrap directly onto the surface of the mixture to prevent a skin from forming. Refrigerate for at least 4 hours, or until completely chilled. For best results, chill it overnight.
Step 7: Churn the Ice Cream
Once your ice cream base is fully chilled, it’s time to churn it! Pour the mixture into your ice cream maker and follow the manufacturer’s instructions. After churning, the ice cream will be soft and creamy. You can enjoy it right away, or transfer it to an airtight container and freeze for a few hours to firm up.
Step 8: Serve and Enjoy!
Scoop your homemade vanilla bean ice cream into bowls or cones, and let the magic begin! The flavor is rich, the texture is smooth, and the little flecks of vanilla bean make it extra special.
Tips for Perfect Ice Cream
- If you don’t have an ice cream maker, you can freeze the mixture in a shallow dish and stir it every 30 minutes until it reaches the desired consistency.
- Feel free to add mix-ins, such as chocolate chips, caramel swirls, or fruit, during the churning step for a fun twist.
Making vanilla bean ice cream at home is simpler than you think, and the taste is worth every minute. Give it a try the next time you’re craving something sweet—your friends and family will thank you (and probably ask for seconds)!
Happy ice cream making!


