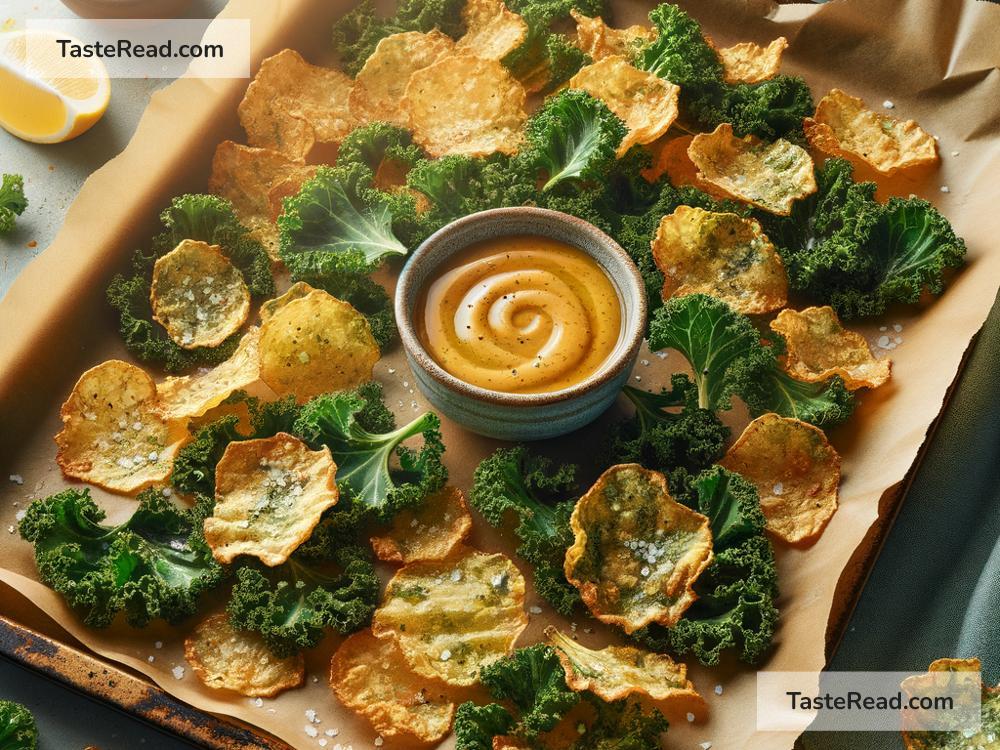
How to Make Crispy Baked Kale Chips at Home
If you’re looking for a healthy snack that’s crunchy, tasty, and easy to make, baked kale chips are the way to go! Kale chips are a great alternative to regular potato chips because they’re packed with nutrients like vitamins, antioxidants, and fiber. Plus, they’re super simple to make in your own kitchen. In this blog post, I’ll walk you through how to make crispy baked kale chips with a few basic ingredients and tips for success!
Why Kale Chips?
Kale is a leafy green vegetable that’s loaded with health benefits. It’s considered a superfood because it’s packed with vitamins A, C, and K, along with calcium and other essential nutrients. However, raw kale can taste bitter to some people. Baking kale into crispy chips transforms its texture and flavor, making it a fun snack that even kids can enjoy.
The best part? You can customize kale chips to suit your taste by adding different seasonings like garlic powder, paprika, or cheesy nutritional yeast.
What You’ll Need
Before you get started, gather your ingredients and equipment. You don’t need much to make this delicious snack:
Ingredients:
– 1 large bunch of fresh kale (curly kale works best)
– 1-2 tablespoons olive oil
– Salt, to taste (start with a pinch and adjust later)
– Optional seasonings: garlic powder, onion powder, paprika, nutritional yeast, or anything you like!
Equipment:
– Baking sheet
– Parchment paper (optional, for easier cleanup)
– Large bowl
– Salad spinner or clean kitchen towel
– Oven
Step-by-Step Instructions
Follow these simple steps to make perfectly crispy baked kale chips:
Step 1: Preheat Your Oven
Preheat your oven to 300°F (150°C). This low temperature ensures the kale dries out slowly and evenly, resulting in crispy chips without burning.
Step 2: Wash and Dry the Kale
Start by washing the kale thoroughly under cool water to remove dirt or debris. Then dry it well using a salad spinner or a clean kitchen towel. Drying the kale completely is crucial—if there’s too much moisture, the chips will turn soggy instead of crisp.
Step 3: Remove the Stems and Tear the Leaves
Kale stems are tough and chewy, so you’ll want to remove them before baking. Simply hold the stem with one hand and pull the leaf off with the other. Tear the leaves into bite-sized pieces, about the size of a potato chip. Keep in mind that the kale will shrink as it bakes, so don’t make the pieces too small.
Step 4: Season the Kale
Place the torn kale leaves into a large bowl. Drizzle 1-2 tablespoons of olive oil over the kale, then use your hands to massage the oil into the leaves. This helps distribute the oil evenly, ensuring every piece gets crispy in the oven.
Next, sprinkle salt and any other seasonings you’d like. Be careful not to over-season—the flavors will become more intense as the kale shrinks during baking.
Step 5: Arrange on a Baking Sheet
Line your baking sheet with parchment paper for easy cleanup. Spread the kale leaves out in a single layer on the baking sheet, making sure they don’t overlap. If you overcrowd the leaves, they’ll steam instead of crisp up.
Step 6: Bake in the Oven
Place the kale in the preheated oven and bake for 20-30 minutes. Check the kale every 10 minutes to ensure it doesn’t burn. Use a spatula to gently flip the pieces halfway through baking for even crispiness.
Step 7: Cool and Enjoy
When the leaves are light and crispy, take them out of the oven and let them cool for a few minutes. The chips will continue to crisp up as they sit. Once cooled, enjoy your homemade kale chips as a guilt-free snack!
Tips for Perfect Kale Chips
-
Don’t Skip the Drying: Excess moisture is the number one reason kale chips turn soggy. Take your time drying the leaves thoroughly before baking.
-
Use the Right Temperature: Baking at 300°F (150°C) ensures the chips become crispy without burning. Avoid higher temperatures, as kale can burn easily.
-
Season Lightly: Less is more when it comes to seasoning. You can always add more after baking if needed.
-
Store Properly: Kale chips are best enjoyed fresh, but if you need to store them, keep them in an airtight container at room temperature for up to 2 days. Avoid storing them in the fridge, as they’ll lose their crispiness.
Why You’ll Love Kale Chips
Homemade kale chips are easy to make and are much healthier than store-bought snacks. Once you try them, you might never want to go back to regular chips! They’re perfect for movie nights, midday munching, or packing in lunchboxes.
Plus, kale chips are endlessly customizable. Whether you like them salty, spicy, or cheesy, there’s a seasoning option for everyone. Have fun experimenting with flavors to find your favorite combination!
Final Thoughts
Making crispy baked kale chips is simple and satisfying. With just a few ingredients and steps, you can create a nutritious snack that’s both delicious and good for you. Give this recipe a try, and let us know how your kale chips turn out!