How to Create Crunchy Roasted Chickpea Snacks
Are you looking for a healthy, satisfying snack that’s easy to make and full of flavor? Crunchy roasted chickpeas are a fantastic option! Not only are they packed with protein and fiber, but they’re also endlessly customizable. You can add your favorite spices and seasonings to suit your taste. Plus, they’re quick to prepare and make for a great replacement for chips or other fried snacks. In this blog, we’ll walk you through a simple, step-by-step guide to creating these crispy delights at home.
What Are Chickpeas?
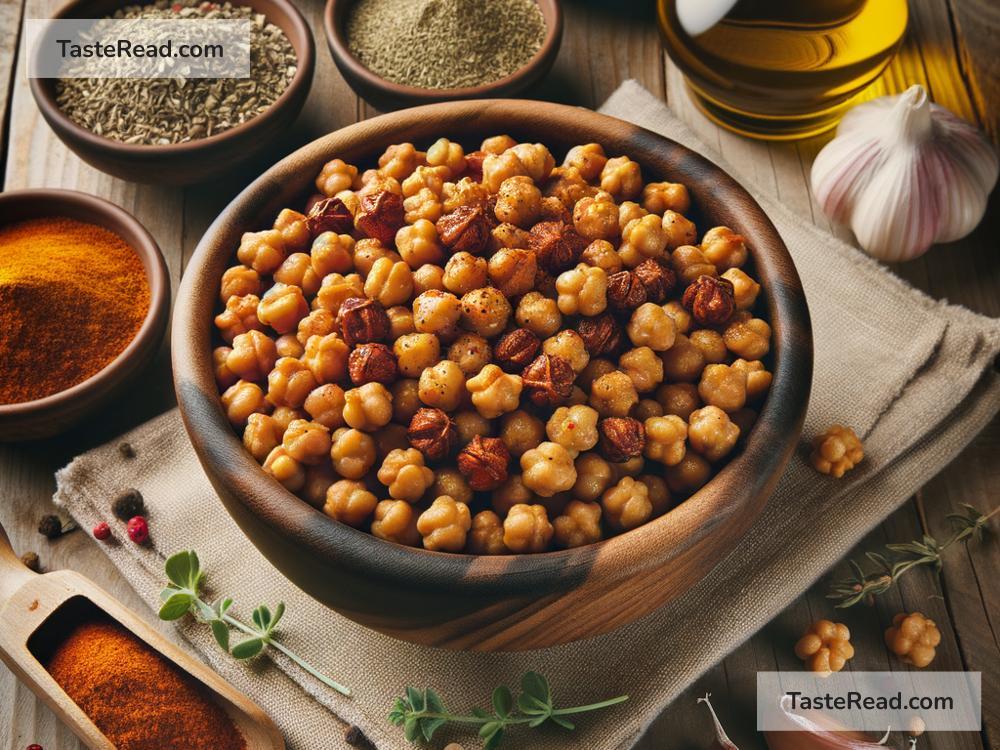
Chickpeas, also known as garbanzo beans, are small, round legumes that are commonly used in dishes like hummus, curries, and salads. But one of the best ways to enjoy chickpeas is by roasting them in the oven until they’re crunchy and golden brown. When roasted, chickpeas turn wonderfully crisp and are perfect for snacking.
What You’ll Need
Before we dive into the recipe, here’s what you’ll need:
Ingredients:
– 1 can (15 ounces) of chickpeas (or 1.5 cups of cooked chickpeas)
– 1–2 tablespoons of olive oil (or any oil you prefer, like avocado or sunflower oil)
– Spices and seasonings of your choice (e.g., paprika, garlic powder, ground cumin, chili powder, black pepper, salt)
Tools:
– Baking sheet
– Parchment paper (optional, for easier cleanup)
– Bowl
– Paper towels or a clean kitchen towel
– Oven
Step-by-Step Instructions
Step 1: Preheat the Oven
Start by preheating your oven to 400°F (200°C). A hot oven is essential for getting the chickpeas crispy and evenly roasted.
Step 2: Prepare the Chickpeas
If you’re using canned chickpeas, drain and rinse them under cold water in a colander. Rinsing removes any residue from the can. Next, spread the chickpeas out on paper towels or a clean kitchen towel to dry them thoroughly. Excess moisture can prevent them from crisping up, so don’t skip this step!
If you’re using cooked chickpeas from scratch, make sure they’re completely cooled before roasting. Dry them the same way to ensure a crunchy result.
To make them even crispier, you can remove the thin skins from the chickpeas. Simply rub them gently between your hands or a towel, and the skins will peel off. While this step is optional, it can make a noticeable difference in texture.
Step 3: Season the Chickpeas
Once your chickpeas are dried, transfer them to a bowl. Drizzle 1–2 tablespoons of olive oil over the chickpeas and toss to coat them evenly.
Now comes the fun part! Add your favorite spices and seasonings to the bowl. Here are some flavor ideas:
– Spicy: Paprika, cayenne, and chili powder
– Savory: Garlic powder, onion powder, and black pepper
– Mediterranean: Ground cumin, coriander, and oregano
– Sweet and Spicy: Cinnamon, a pinch of sugar, and a dash of cayenne
Sprinkle the seasonings over the oiled chickpeas and toss until each one is coated.
Step 4: Spread and Roast
Line a baking sheet with parchment paper (optional) for easy cleanup, and spread the seasoned chickpeas out in a single layer. Make sure they’re not crowded—this helps them roast evenly.
Place the baking sheet in the oven and roast the chickpeas for about 25–35 minutes. The cooking time can vary depending on your oven and the size of the chickpeas, so check on them regularly. Give the baking sheet a shake or stir the chickpeas every 10 minutes to prevent them from sticking and ensure even roasting.
Keep an eye on the chickpeas during the final minutes; they should turn golden brown and crispy. If they’re still soft, roast for a few more minutes until they’re crunchy to your liking. Be careful not to let them burn!
Step 5: Cool and Enjoy
Once the chickpeas are roasted and crispy, remove them from the oven and let them cool for 10–15 minutes. They’ll continue to crisp up as they cool.
Enjoy your crunchy roasted chickpeas as a snack on their own, or use them to add a flavorful crunch to salads, soups, or grain bowls. They’re best eaten fresh on the same day but can be stored in an airtight container for a couple of days. Keep in mind they may lose their crunch over time, so it’s a good idea to roast smaller batches for maximum freshness.
Bonus Tips
- Batch Size: If you want to make more than one batch, roast them in separate layers rather than piling them up, as overcrowding can lead to soggy chickpeas.
- Experiment with Flavors: Don’t be afraid to get creative with seasonings! Try blends like taco seasoning, curry powder, or even a sprinkle of grated Parmesan cheese.
- Re-Crisping: If stored chickpeas begin to soften, you can pop them back in the oven for a few minutes to restore their crunch.
Final Thoughts
Making crunchy roasted chickpeas at home is quick, easy, and endlessly fun. Whether you like them spicy, savory, or sweet, there’s a flavor combination out there for you. These snacks are a guilt-free way to curb those cravings while adding protein and fiber to your diet. Now that you know how simple they are to make, why not give it a try? Your perfect snack is just an oven away!
Happy roasting!