How to Make Homemade Butterscotch Pudding: A Simple Guide
Butterscotch pudding is a classic dessert that combines the sweet, buttery flavor of butterscotch with the creamy, smooth texture of pudding. While it might sound fancy or intimidating, making butterscotch pudding from scratch at home is surprisingly easy! With just a few basic ingredients and some patience, you can whip up this delicious treat that beats anything you’d get in a box. Let’s dive into the step-by-step process of creating homemade butterscotch pudding in simple English.
What Is Butterscotch Pudding?
Before we begin, let’s talk about what butterscotch pudding actually is. “Butterscotch” refers to a sweet mixture made from butter, brown sugar, and cream that’s cooked until rich and golden. When combined with milk, eggs, and some thickening agents, you turn it into a luscious pudding with a nostalgic, melt-in-your-mouth flavor. This dessert is perfect for family dinners, parties, or just a sweet moment for yourself.
Ingredients You’ll Need
Here’s everything you need to make butterscotch pudding. Most of these ingredients are simple items you probably already have in your kitchen:
- 2 cups of whole milk (You can use 2% milk if you prefer, but whole milk makes it richer.)
- ½ cup of heavy cream (For extra creaminess!)
- ½ cup of brown sugar (Packed tightly; this creates the caramel-like sweetness.)
- 3 tablespoons of unsalted butter (Make sure it’s unsalted!)
- 3 tablespoons of cornstarch (To thicken the pudding.)
- 1 teaspoon of vanilla extract (For extra warmth and flavor.)
- 1 pinch of salt (To balance the sweetness.)
- 2 large egg yolks (They help create a creamy texture.)
Step-by-Step Instructions
Now let’s get started. Follow these steps carefully, and you’ll be enjoying a bowl of homemade butterscotch pudding in no time!
Step 1: Mix the Dry Ingredients
Start by taking a small bowl and whisking together the cornstarch and salt. This helps ensure no lumps in the pudding later on.
Step 2: Warm the Milk and Cream
In a saucepan, combine the milk and heavy cream. Place the saucepan over medium heat and let the mixture warm up gently. You don’t want it to boil—just heat it until tiny bubbles start forming around the edges. Stir occasionally to prevent the milk from scorching. Once warmed, set it aside.
Step 3: Melt Butter and Brown Sugar
In another saucepan, melt the unsalted butter over medium heat. Once melted, add the packed brown sugar. Stir the mixture often so the sugar dissolves properly into the butter. At this stage, your kitchen will start to smell amazing!
Let the sugar and butter mixture cook for about 2–3 minutes. You want it to look smooth and slightly bubbly—this is where the classic butterscotch flavor comes to life.
Step 4: Combine Butterscotch and Milk
Slowly pour the warmed milk and cream mixture into the butterscotch mixture, whisking as you go. Be careful—hot liquid can splash if poured too quickly. Stir until everything is combined evenly.
Step 5: Add the Cornstarch
Gradually whisk the cornstarch and salt mixture into the saucepan. This step is important because cornstarch helps thicken the pudding. Stir consistently to avoid lumps.
Step 6: Temper the Egg Yolks
In a small bowl, whisk the egg yolks lightly. Now, here’s a crucial step called “tempering the eggs.” You need to add a little of the hot pudding mixture (about 2 tablespoons) into the yolks while whisking—this prevents the eggs from scrambling when added to the pudding. Once tempered, pour the egg yolk mixture back into the saucepan with the pudding base. Keep stirring until everything is fully blended.
Step 7: Cook Until Thickened
Continue cooking the pudding over medium heat, stirring constantly. After about 5–7 minutes, the mixture will thicken noticeably—this is when it’s ready. To check, dip a spoon into the pudding. If the pudding coats the back of the spoon and you can run your finger through it without the streak disappearing, it’s done!
Step 8: Add Vanilla
Remove the saucepan from the heat and stir in vanilla extract. This final touch deepens the flavor and makes the pudding taste even more heavenly.
Step 9: Chill and Serve
Pour the pudding into individual bowls or a larger dish. Cover the surface with plastic wrap, making sure the wrap touches the pudding directly to prevent a “skin” from forming. Let the pudding cool at room temperature for about 10 minutes before transferring it to the refrigerator. Chill for at least 2 hours.
Final Touches
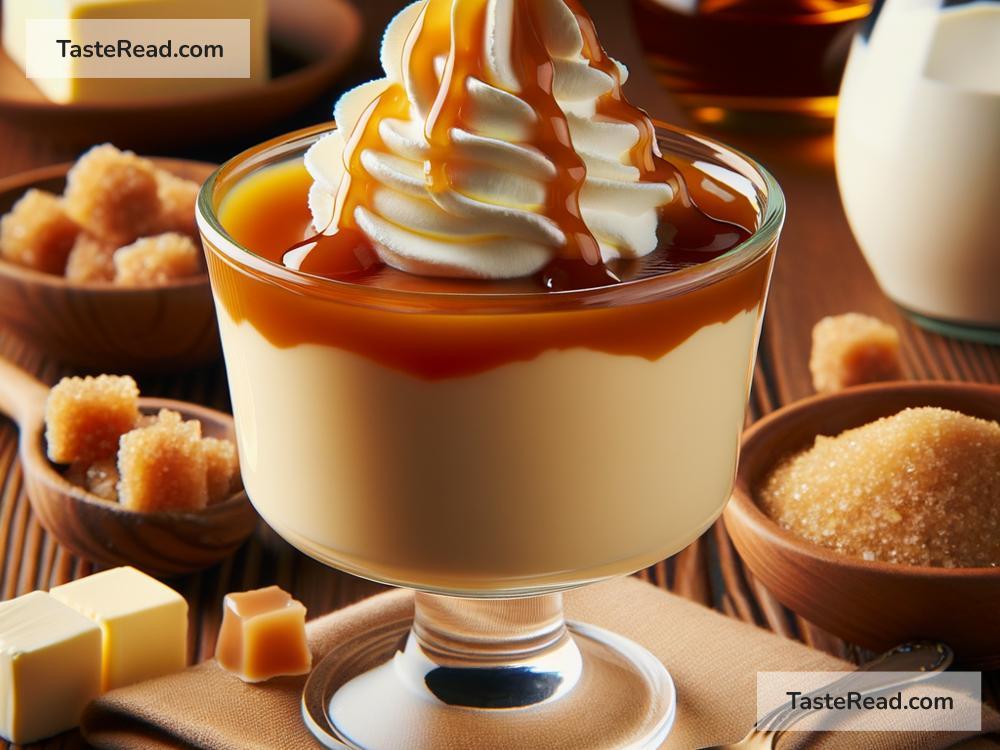
Serve your butterscotch pudding with whipped cream, a sprinkle of crushed nuts, or even a drizzle of caramel sauce for extra flair. Or, enjoy it just as it is—the rich, buttery flavor speaks for itself.
Why Make It Homemade?
Making pudding from scratch lets you control the ingredients and skip artificial flavors or preservatives. Plus, it’s so satisfying to create something delicious with your own two hands!
Conclusion
Homemade butterscotch pudding is a simple and rewarding dessert to make. By following these steps, you can create a comforting treat that’s sure to impress your family and friends—or yourself! Whether you’re new to cooking or a seasoned chef, this recipe is perfect for anyone who loves a touch of sweetness in life.
So, grab those ingredients and give it a try. Happy pudding-making!