How to Make Homemade Marshmallows: A Sweet and Simple Guide
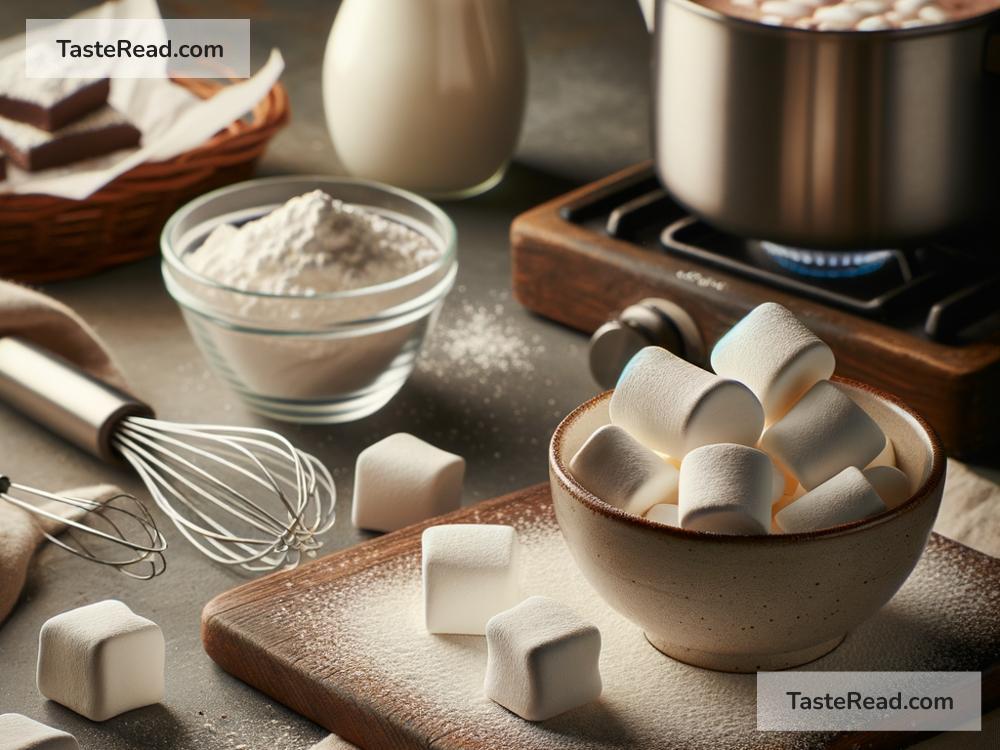
Marshmallows are soft, fluffy treats that make every dessert and hot chocolate extra special. While store-bought marshmallows are convenient, nothing beats the freshness and satisfaction of making your own at home. Plus, homemade marshmallows taste better and allow you to customize flavors and shapes. The process might seem intimidating at first, but it’s easier than you think! In this blog, I’ll show you how to make marshmallows step-by-step using simple ingredients and tools.
What You’ll Need:
Before we jump into the recipe, gather these ingredients and tools:
Ingredients:
- 3 tablespoons unflavored gelatin
- 1 cup cold water (divided into ½ cup and ½ cup)
- 2 cups granulated sugar
- ½ cup light corn syrup
- ¼ teaspoon salt
- 1 teaspoon vanilla extract (or any flavor you like)
- Powdered sugar (for dusting)
Tools:
- Medium saucepan
- Large mixing bowl (or stand mixer)
- Whisk or handheld mixer (stand mixer works best)
- Candy thermometer
- 9” x 13” baking dish
- Sifter or sieve
- Spatula
- Nonstick spray
Step-by-Step Instructions:
Step 1: Prepare Your Pan
Spray your baking dish with nonstick spray and dust it lightly with powdered sugar. This keeps your marshmallows from sticking and makes them easy to remove later. Set the dish aside.
Step 2: Bloom the Gelatin
In a large mixing bowl, sprinkle the gelatin over ½ cup of cold water. Let it sit for about 5-10 minutes. This process is called “blooming,” and it ensures the gelatin dissolves properly later. You’ll notice that the gelatin absorbs the water and forms a thick, jiggly texture—don’t worry, that’s normal!
Step 3: Make the Sugar Syrup
In a medium saucepan, combine the granulated sugar, corn syrup, salt, and the remaining ½ cup of water. Place the pan over medium-high heat, stirring gently until the sugar dissolves completely. Once it dissolves, stop stirring!
Attach a candy thermometer to the side of the saucepan, making sure it doesn’t touch the bottom of the pan. Heat the mixture until it reaches 240°F (known as the “soft-ball stage”). This step takes about 6-8 minutes, and it’s important to watch the temperature carefully.
Step 4: Combine Sugar Syrup with Gelatin
Once your sugar syrup reaches 240°F, carefully remove it from the heat. Slowly and carefully pour the hot syrup into the bowl with the bloomed gelatin. You may want to ask for help here, as the syrup is very hot. Start mixing immediately with a whisk, handheld mixer, or stand mixer on low speed.
Step 5: Whip the Mixture
After you’ve combined the syrup and gelatin, increase the mixer speed to high. Beat the mixture for 10-12 minutes until it turns thick, fluffy, and glossy. It should look like marshmallow fluff at this stage. Add your vanilla extract (or other flavorings) in the last minute of mixing.
Step 6: Pour into the Pan
Once your marshmallow mixture is ready, use a spatula to transfer it into the prepared baking dish. Spread it out evenly and use the spatula to smooth the surface. Dust the top with powdered sugar. Let the marshmallows sit uncovered at room temperature for 6-8 hours (or overnight) to set. If you’re in a hurry, you can refrigerate them for 2-3 hours.
Step 7: Cut and Dust
Once the marshmallows are firm, dust a cutting board with powdered sugar. Carefully remove the marshmallow slab from the pan and place it onto your cutting board. Use a knife or pizza cutter to cut the marshmallows into squares, rectangles, or fun shapes. Roll each piece in powdered sugar to keep them from sticking together.
Bonus Tips:
-
Experiment with Flavors and Colors: Try adding different extracts like peppermint, almond, or orange. You can also add a few drops of food coloring to make colorful marshmallows.
-
Use Fun Shapes: Get creative with cookie cutters to make star-shaped, heart-shaped, or seasonal marshmallows.
-
Store Properly: Keep your marshmallows in an airtight container for up to 2 weeks. If they start sticking together, toss them in a little powdered sugar.
-
Upgrade Your Hot Chocolate: Drop a homemade marshmallow into your hot chocolate for a fancy, café-style drink. You’ll never want store-bought marshmallows again!
Why Homemade Marshmallows Are Worth It:
Making marshmallows from scratch might seem like a small task, but it’s such a rewarding experience. You get to control the ingredients, avoid preservatives, and even make them healthier (less sugar or artificial flavors if you’d like!). Plus, it’s a fun activity to do with family or friends, and everyone will be impressed when they find out you made marshmallows at home.
Give this recipe a try, and enjoy the magic of homemade marshmallows. Whether you use them for s’mores, hot drinks, or just snacking, they’re bound to bring a smile to your face. Happy marshmallow making!


