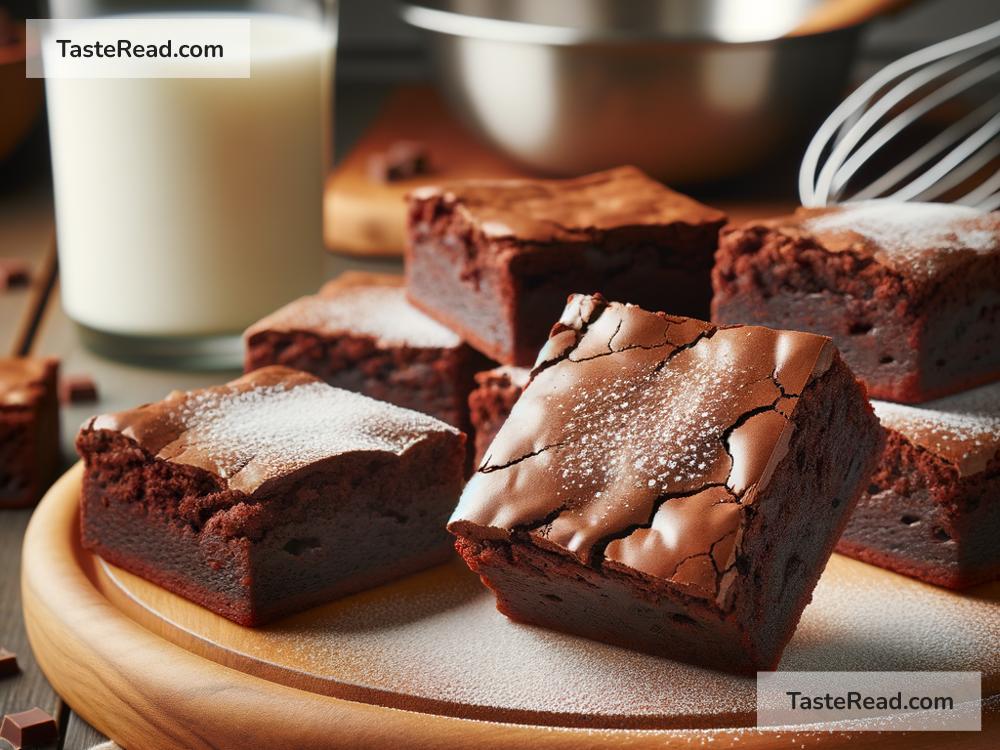
How to Create Classic Chocolate Fudge Brownies
If you’re a dessert lover (who isn’t?), chances are you’ve tasted chocolate fudge brownies—their rich, gooey texture and deep chocolate flavor make them a favorite treat for kids and adults alike. The best part is, you don’t need fancy gadgets or complicated ingredients to whip up a batch of classic chocolate fudge brownies. All you need are a few simple ingredients, some time, and a love for baking. In this blog, we’ll break down how to create these delicious brownies step-by-step.
Ingredients You’ll Need
Before we dive into the process, let’s gather the essentials. Here are the ingredients for making classic chocolate fudge brownies:
- 1/2 cup (115 grams) unsalted butter
- 1 cup (200 grams) white granulated sugar
- 2 large eggs
- 2 teaspoons vanilla extract
- 1/2 cup (65 grams) all-purpose flour
- 1/3 cup (40 grams) unsweetened cocoa powder
- 1/4 teaspoon salt
- 1/4 teaspoon baking powder
That’s it! Most of these items are probably sitting in your pantry right now. If you like your brownies extra fancy, you can add chopped nuts, chocolate chips, or drizzle caramel sauce on top, but for now, let’s stick to the classic version.
Step-by-Step Instructions
Step 1: Prepare Your Baking Pan
Before you start mixing, it’s important to prep your pan. Take an 8×8-inch (20×20 cm) square baking dish and either grease it with butter or line it with parchment paper. This ensures your brownies won’t stick to the pan, making them easy to remove once baked.
Preheat your oven to 350°F (175°C) so it’s ready when you are. Preheating is key for evenly baked brownies!
Step 2: Melt the Butter
In a microwave-safe bowl or on the stovetop, melt the unsalted butter until it’s completely liquid. Butter is the secret to creating that rich, fudgy texture we all love. Let the melted butter cool slightly so it doesn’t cook the eggs later when you mix them in.
Step 3: Mix Sugar and Butter
Add the granulated sugar to your melted butter and whisk the two together. This forms the sweet base for your batter. Stir until the mixture is smooth and shiny—it should look wet but creamy.
Step 4: Add Eggs and Vanilla
Crack the eggs into the sugar-butter mixture, and pour in the vanilla extract. Vanilla enhances the chocolate flavor and gives the brownies a balanced sweetness. Whisk everything together until fully combined. The batter should look fluffy and glossy at this stage.
Step 5: Sift in Dry Ingredients
In a separate bowl, sift together the all-purpose flour, cocoa powder, salt, and baking powder. Sifting ensures there are no clumps in the mixture, leading to smoother brownies. Slowly add the dry ingredients to the wet ingredients, folding gently with a spatula. Be careful not to overmix—stir just until the flour disappears into the batter. Overmixing can make your brownies dry and tough, and we want them soft and fudgy!
Step 6: Pour into the Pan
Once the batter is ready, pour it into your prepared baking pan. Spread the batter evenly across the pan using the back of a spoon or a spatula. Leveling the batter ensures all parts bake evenly.
Step 7: Bake Your Brownies
Place the pan in your preheated oven and bake for 20-25 minutes. Keep a close eye near the end of the baking time. You’ll know the brownies are done when a toothpick inserted into the center comes out with a few moist crumbs (not raw batter). Don’t overbake; undercooked brownies are better than dry ones!
Step 8: Cool and Cut
Once baked, remove the pan from the oven and let the brownies cool completely before cutting. Cooling allows the brownies to set, making them easier to slice. Cutting them while hot can cause them to crumble.
Use a sharp knife to slice the brownies into squares or rectangles—whatever size you prefer. If you lined the pan with parchment paper, you can lift the entire batch out before cutting.
Tips for Perfect Brownies
- Use quality cocoa powder. The quality of your cocoa will directly impact the flavor of your brownies, so try to use a good brand for the best results.
- Don’t skip the salt. A pinch of salt enhances the chocolate flavor and balances the sweetness.
- Experiment with mix-ins. Add chopped walnuts, pecans, chocolate chips, or even a swirl of peanut butter to customize your brownies to your liking.
- Store leftovers properly. Keep leftover brownies in an airtight container at room temperature for up to three days. You can also freeze them for long-term storage—just thaw them before serving.
Why Homemade Brownies Are the Best
Making brownies from scratch not only tastes better but is also less processed than store-bought mixes. Plus, baking at home is a fun and relaxing activity that lets you bond with family or friends. Who wouldn’t love a warm, freshly baked brownie straight out of the oven?
Final Thoughts
Creating classic chocolate fudge brownies is simple, rewarding, and utterly delicious. With just a few pantry staples and less than an hour of your time, you can whip up a dessert that delights everyone at the table. So, the next time you’re in the mood for something sweet, skip the box mixes and make your own homemade brownies. Happy baking!
This article focuses on simple instructions and helpful tips for beginners. Let me know if you’d like additional variations or a specific brownie style added!