How to Create Crispy Baked Coconut Shrimp: A Simple Recipe
Coconut shrimp is a popular dish, loved for its combination of sweet coconut flavors and crunchy texture. Typically, coconut shrimp is deep-fried, but we’re going to show you an easier and healthier method: baking! This delicious recipe ensures you still get that golden, crispy texture without the extra oil. It’s easy to make and perfect for a family meal, party appetizer, or snack. Let’s dive into the details!
Ingredients You Will Need:
Before we start, gather these simple ingredients (enough for 4 servings):
- Shrimp – 1 pound of large shrimp, peeled and deveined, with tails left on.
- Flour – ½ cup of all-purpose flour for coating.
- Eggs – 2 large eggs to help the breading stick.
- Breadcrumbs – ¾ cup of panko breadcrumbs (for extra crunch).
- Coconut – ¾ cup of shredded, unsweetened coconut. Sweetened coconut can also work if you prefer a sweeter coating.
- Spices – ½ teaspoon of paprika, ½ teaspoon of garlic powder, and a pinch of salt and pepper.
- Cooking Spray – To lightly coat the baking tray.
Step 1: Prepare Your Shrimp
Start by washing the shrimp under cold water and patting them dry with a paper towel. Keeping the tails on makes them easier to grab and eat—but it’s optional if you’d rather remove the tails. Set the shrimp aside while you prepare the coating stations.
Step 2: Set Up Your Ingredients for Coating
You’ll need three shallow bowls or plates for your coating process. Arrange them as follows:
-
Bowl 1: Flour Mix
Combine the all-purpose flour, paprika, garlic powder, salt, and pepper. This seasoned flour will help your coating stick to the shrimp. -
Bowl 2: Egg Wash
Beat your eggs until smooth. The egg wash acts as the glue for the breadcrumbs and coconut. -
Bowl 3: Breadcrumb and Coconut Mix
Mix the panko breadcrumbs and shredded coconut thoroughly. This mixture will give your shrimp that signature crispy texture.
Step 3: Coat the Shrimp
Here comes the fun part! One by one, coat your shrimp using the three bowls:
- Roll each shrimp in the seasoned flour, making sure it’s evenly coated.
- Dip the shrimp into the egg wash, ensuring all the flour is covered by the egg.
- Press the shrimp into the breadcrumb-and-coconut mix, firmly but gently pressing the coating onto the shrimp.
Place the coated shrimp on a plate or tray while you finish the rest. Take your time to ensure every shrimp is fully covered for maximum crunch!
Step 4: Prepare the Baking Tray
Preheat your oven to 425°F (220°C). While the oven heats, line a baking sheet with parchment paper or aluminum foil to prevent sticking. Spray a light layer of cooking spray over it.
You can also place a metal wire rack on top of the tray for even crispier shrimp. The rack allows hot air to circulate under the shrimp, ensuring they bake evenly.
Step 5: Bake the Shrimp
Arrange your shrimp in a single layer on the baking tray or rack. Be sure to leave a little space between each piece—this helps them cook evenly.
Spray a light mist of cooking spray over the top of the shrimp. This step is crucial for achieving golden, crispy shrimp in the oven.
Bake the shrimp for 12-15 minutes, flipping them over halfway through the cooking time (around 6-7 minutes). You’ll know they’re ready when they’re golden brown, crispy, and cooked through.
Step 6: Serve and Enjoy!
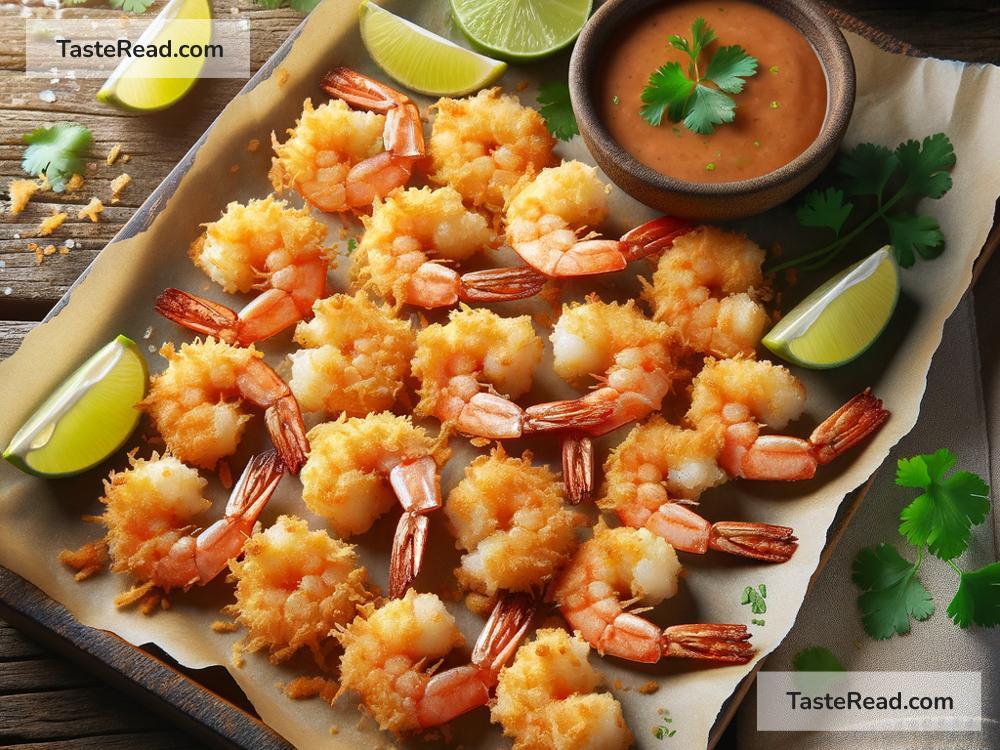
Once your shrimp are done, remove them from the oven and let them cool slightly before serving. You can serve coconut shrimp on their own, with rice, or over salad. Pair them with dipping sauces like sweet chili sauce, lime aioli, or spicy mayo to elevate the flavors.
Pro Tips for Perfect Coconut Shrimp
-
Choose Fresh Shrimp
Fresh shrimp will give you better flavor and texture than frozen. If you do use frozen shrimp, make sure to thaw them completely before cooking. -
Don’t Skip the Flip
Flipping the shrimp halfway ensures both sides get evenly crispy. -
Customizing Flavor
Want to make the shrimp sweeter? Use sweetened coconut or add a pinch of sugar to the breadcrumb-and-coconut mix. Prefer a spicier kick? Add cayenne pepper to the flour mix. -
Reheating for Crunch
If you’re storing leftovers, reheat them in the oven instead of the microwave to maintain their crispy texture.
Why Baked Shrimp?
Baking coconut shrimp is a great alternative to frying. Not only does it use less oil, making it healthier, but it’s also less messy! Plus, baking allows you to focus on other parts of your meal while the shrimp cook in the oven.
Final Thoughts
Crispy baked coconut shrimp is easy to make, packed with flavor, and a healthier twist on a traditional favorite. With this simple recipe, you can enjoy restaurant-quality food in the comfort of your own home. Whether you’re making it for guests or treating yourself, this dish is sure to impress.
Try this recipe today, and let us know how it turns out! Happy cooking!