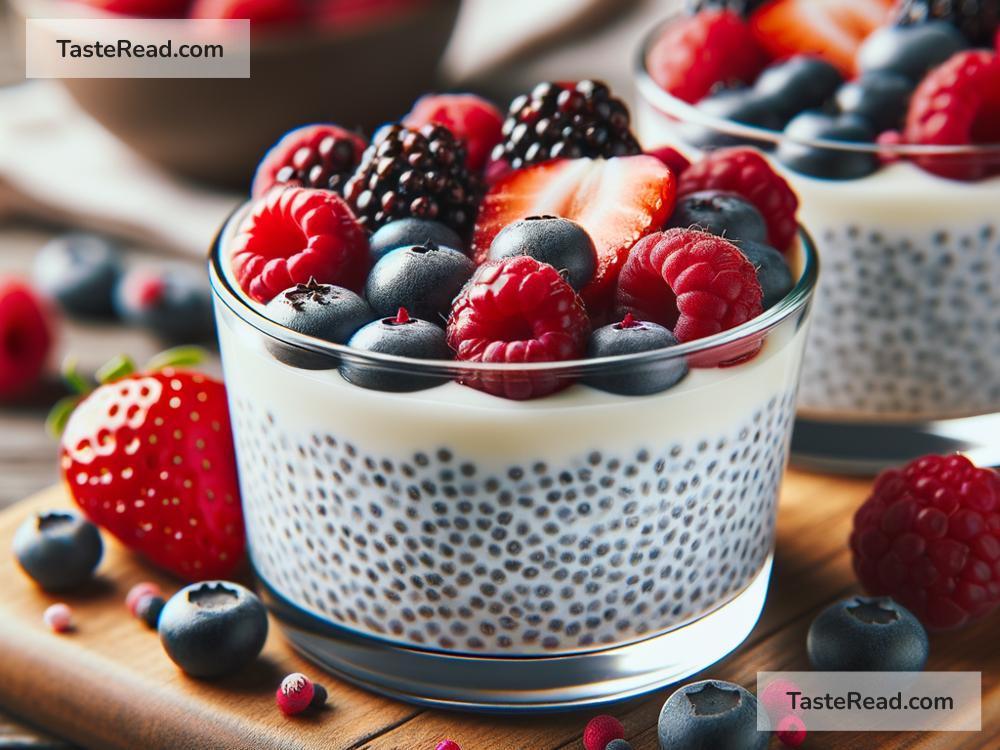
How to Prepare Sweet Vanilla Chia Pudding Cups
If you are on the hunt for a healthy and delicious treat that you can enjoy anytime, you have to try making sweet vanilla chia pudding cups. Not only are they incredibly easy to whip up, but they also come with a bonus of being good for you. Chia seeds are packed with nutrients like omega-3 fatty acids, fiber, and protein, making this dessert a guilt-free pleasure. Let’s dive into how you can prepare these delightful cups of joy with ingredients you probably already have in your kitchen.
Ingredients You’ll Need:
- 2 cups of milk (any kind you prefer, almond milk works great for a vegan option)
- 1/2 cup of chia seeds
- 1/4 cup of maple syrup or honey (adjust according to your sweetness preference)
- 1 teaspoon of vanilla extract
- A pinch of salt (optional)
- Your favorite toppings (fruits, nuts, coconut flakes, etc.)
Step-by-Step Guide:
1. Mix Your Base: In a medium-sized bowl, mix together the milk, chia seeds, maple syrup (or honey), vanilla extract, and a pinch of salt if you’re using it. Whisk it well so that the chia seeds are evenly distributed throughout the liquid. The seeds have a tendency to sink and clump together at the bottom, so this step is essential.
2. Let It Settle: Once everything is mixed thoroughly, let the mixture sit for about 5 minutes. This brief wait allows the chia seeds to start soaking up the liquid, beginning their magical transformation into pudding. After 5 minutes, give the mixture another good stir to break up any clumps that have formed.
3. Chill: Cover the bowl with a lid or plastic wrap, and place it in the refrigerator. You’ll need to let it chill for at least 2 hours, but leaving it overnight is best. This resting period gives the chia seeds ample time to absorb the liquid fully, thickening into a beautiful pudding consistency.
4. Prepare Your Cups: While your pudding is setting in the fridge, you can start preparing your cups or jars, if you prefer individual servings. This isn’t a necessary step, but it can make serving and enjoying your pudding a little more fun and personalized. If you’re in a creative mood, you can layer your pudding with fresh fruits or nuts at the bottom of each cup for a surprise texture.
5. Check the Consistency: Once the chilling time is up, take your pudding out of the fridge. It should have a thick and creamy consistency by now. If it seems too thick, you can add a little more milk and stir until you reach your desired consistency.
6. Serve: Spoon the pudding into your prepared cups or jars. This is where you can get creative with your toppings. Fresh fruits like berries or sliced bananas, a sprinkle of granola, a few chocolate chips, or a dollop of nut butter on top can transform your vanilla chia pudding into a decadent yet healthy dessert or breakfast.
7. Enjoy! Now comes the best part – enjoying your creation. Whether as a sweet start to your day, a midday snack, or a light dessert, these vanilla chia pudding cups are sure to satisfy your cravings in the most delightful way.
A Few Tips:
-
Consistency Adjustment: Remember, you can always adjust the thickness of your pudding by playing with the amount of milk. Add more if you prefer it thinner, or less if you like it really thick.
-
Sweetness to Taste: The recipe suggests a certain amount of maple syrup or honey, but you should adjust this according to how sweet you like your pudding. You can even experiment with other sweeteners like agave or date syrup.
-
Keep It Fresh: Although chia pudding can be stored in the refrigerator for up to 5 days, it’s best enjoyed within the first couple of days for maximum freshness and flavor.
Preparing sweet vanilla chia pudding cups is as simple as mix, set, and enjoy. With minimal ingredients and effort, you can have a satisfying treat that not only tastes fantastic but also offers numerous health benefits. So, go ahead, give this recipe a try and watch these little seeds work their magic. Enjoy your delicious creation!