Paleo-friendly date and nut bars are a nutritious and delicious treat that you can enjoy without feeling guilty. They are made from all-natural ingredients, including dates, nuts, and sometimes seeds or other mix-ins. These bars are perfect for those on a paleo diet or anyone looking to eat cleaner and cut out processed foods. Not only are they easy to make, but they also require no baking! Let’s dive into how you can whip up these healthy snacks in your own kitchen.
Why Make Your Own Paleo Bars?
The beauty of making your own paleo-friendly date and nut bars is that you have complete control over the ingredients. Many store-bought bars can contain added sugars, preservatives, or ingredients that don’t align with paleo principles. By making your own, you can ensure they’re 100% clean and suited to your dietary needs.
Ingredients You’ll Need:
Before you start, here’s a basic list of what you’ll need. Feel free to get creative and add or substitute ingredients based on your preferences.
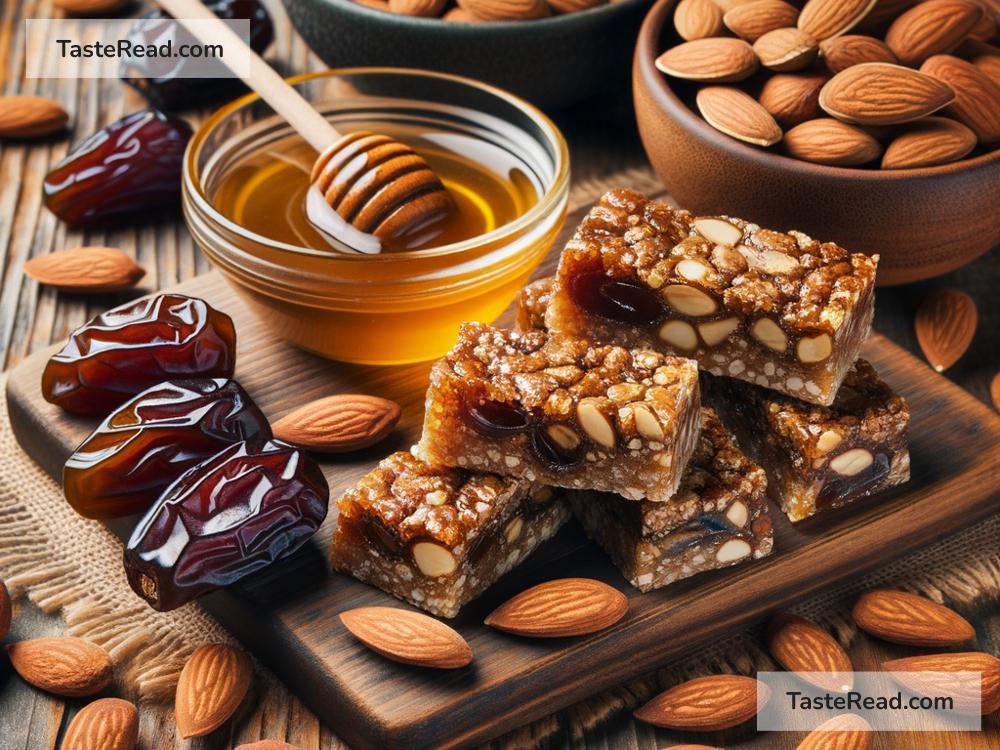
- 1 cup Medjool dates (pitted)
- 1 cup nuts (almonds, cashews, walnuts, or a mix – whatever you prefer)
- Optional mix-ins: seeds (like pumpkin or sunflower), shredded coconut, dried fruit (cranberries or cherries), a pinch of salt, or a dash of vanilla extract.
Step-by-Step Guide to Making Paleo-Friendly Date and Nut Bars:
1. Prepare Your Dates:
Ensure your dates are pitted. If they feel too hard, soak them in warm water for about 10 minutes to soften them up, then drain.
2. Blend the Nuts:
Take your nuts (and seeds if using) and pulse them in a food processor or high-powered blender. You want a chunky texture rather than a fine powder to give your bars some crunch.
3. Add Dates:
Add your dates to the blender with the nuts. Now is also the time to add any optional mix-ins you’d like – think shredded coconut, dried fruit, or a splash of vanilla extract. Blend until the mixture starts to come together. It should be sticky and hold together when pinched. If it’s too dry, you can add a few more dates or a tiny bit of water.
4. Shape Your Bars:
Line a baking dish or tray with parchment paper. Transfer your mixture from the blender and press it firmly into an even layer. Using the back of a spoon (or your hands) can help press it flat and compact.
5. Refrigerate:
Place your dish in the refrigerator for at least an hour. This helps the bars set and makes them easier to cut.
6. Cut and Enjoy:
Once chilled, lift the parchment paper to remove the set mixture from the dish. Place it on a cutting board and cut it into bars or squares, depending on your preference.
Storage Tips:
Your paleo-friendly date and nut bars can last up to a week in an airtight container in the refrigerator. For longer storage, you can also freeze them. Just wrap the bars individually in parchment paper before placing them in a freezer-safe bag. They’re perfect for an on-the-go snack or a quick energy boost.
Variations to Try:
The great thing about these bars is how versatile they are. Once you’re comfortable with the basic recipe, don’t hesitate to experiment. Here are a few ideas:
- Chocolate Lover’s Delight: Add a handful of dark chocolate chips or a tablespoon of cocoa powder to the mix for a rich, chocolatey treat.
- Tropical Twist: Incorporate dried pineapple and shredded coconut for a tropical flavor.
- Nut Butter Swirl: Once you’ve pressed the mixture into the dish, swirl in some almond or peanut butter for an extra creamy texture.
Conclusion:
Making your own paleo-friendly date and nut bars is a simple and rewarding process. With just a few natural ingredients, you can create a wholesome snack that’s both nutritious and satisfying. Whether you stick to the basic recipe or venture into your own unique variations, these bars are sure to become a staple in your healthy snacking repertoire. Enjoy the process and the delicious results!