How to Make Paleo-Friendly Pizzas with Cauliflower Crust: A Step-by-Step Guide
In today’s world, where eating healthy has become more than just a trend, the Paleo diet stands out for its benefits and satisfying meals. However, one thing most of us miss on this diet? Pizza! But what if I told you that you could enjoy this beloved dish without breaking your Paleo principles? Intrigued? Let’s dive into the world of Paleo-friendly pizzas with a game-changing ingredient: cauliflower crust.
Why Cauliflower?
Cauliflower is a Paleo enthusiast’s dream. It’s versatile, packed with vitamins, and its neutral taste makes it the perfect base for a variety of toppings. Turning cauliflower into a pizza crust might sound like magic, but it’s actually simple and incredibly delicious.
The Ingredients You Need
- 1 large head of cauliflower
- 1/4 cup almond flour
- 1/4 cup coconut flour
- 1/2 teaspoon sea salt
- 1/2 teaspoon garlic powder
- 2 eggs
- Your favorite Paleo-friendly toppings (think vegetables, meats that are minimally processed, and for those who include it in their diet, cheese)
Making Your Cauliflower Crust Pizza
Step 1: Prep Your Cauliflower
Start by washing your cauliflower and then chopping it into florets. You’ll want to turn these florets into cauliflower ‘rice’. You can do this by grating them with a box grater or pulsing them in a food processor until they reach a rice-like consistency.
Step 2: Cook the Cauliflower Rice
Transfer your cauliflower rice to a microwave-safe bowl and microwave it for about 7-8 minutes, or until soft. It’s also possible to steam it on the stove if you prefer. Let it cool down.
Step 3: Squeeze Out the Moisture
This step is crucial. Cauliflower contains a lot of water, which can make your crust soggy if not removed. Once the cauliflower rice is cool, wrap it in a clean kitchen towel or cheesecloth and squeeze out as much moisture as you can. The dryer, the better for your crust.
Step 4: Make the Dough
In a large bowl, mix your dried cauliflower rice, almond flour, coconut flour, sea salt, garlic powder, and eggs. Work it together until you have a dough-like consistency. If it feels too wet, add a bit more flour.
Step 5: Shape Your Crust
Preheat your oven to 400°F (205°C). Take your dough and form it into a ball. Place it on a piece of parchment paper and press it down into your desired pizza shape, making sure it’s not too thick or too thin. Aim for about 1/4 inch thick.
Step 6: Pre-Bake the Crust
Transfer the crust, still on the parchment paper, to a baking sheet. Bake in the preheated oven for about 15-20 minutes, or until it begins to turn golden brown. This helps ensure your crust will be able to handle the toppings without getting soggy.
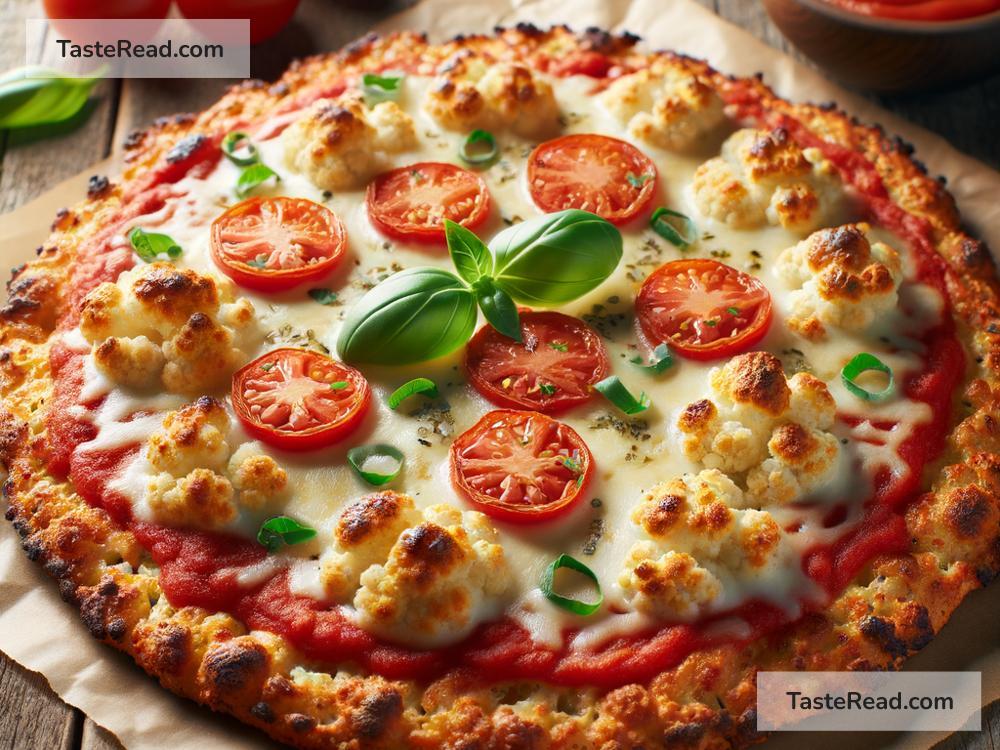
Step 7: Add Toppings
Remove the crust from the oven and let it cool slightly. Now’s the fun part—adding your toppings! Spread your favorite sauce (ensure it’s Paleo-friendly), and arrange your chosen toppings on the crust. If you’re using cheese, sprinkle it on top.
Step 8: Final Bake
Put the pizza back in the oven and bake for an additional 5-10 minutes, or until the toppings are hot and the cheese (if using) is melted.
Step 9: Enjoy!
Remove your pizza from the oven, let it cool for a few minutes, and then dig in! You’ve just made a delicious, Paleo-friendly pizza that’s as satisfying as its grain-filled counterpart.
Conclusion
Who said being on a Paleo diet means you can’t enjoy pizza? With this cauliflower crust pizza, you compromise on neither taste nor your dietary goals. It’s a win-win situation. Experiment with different toppings to find what combination you love the most. Happy cooking!
Remember, eating healthy doesn’t mean giving up your favorite foods; sometimes, it just requires a little creativity. So, get your apron on, and let the magic of the cauliflower transform your pizza nights!